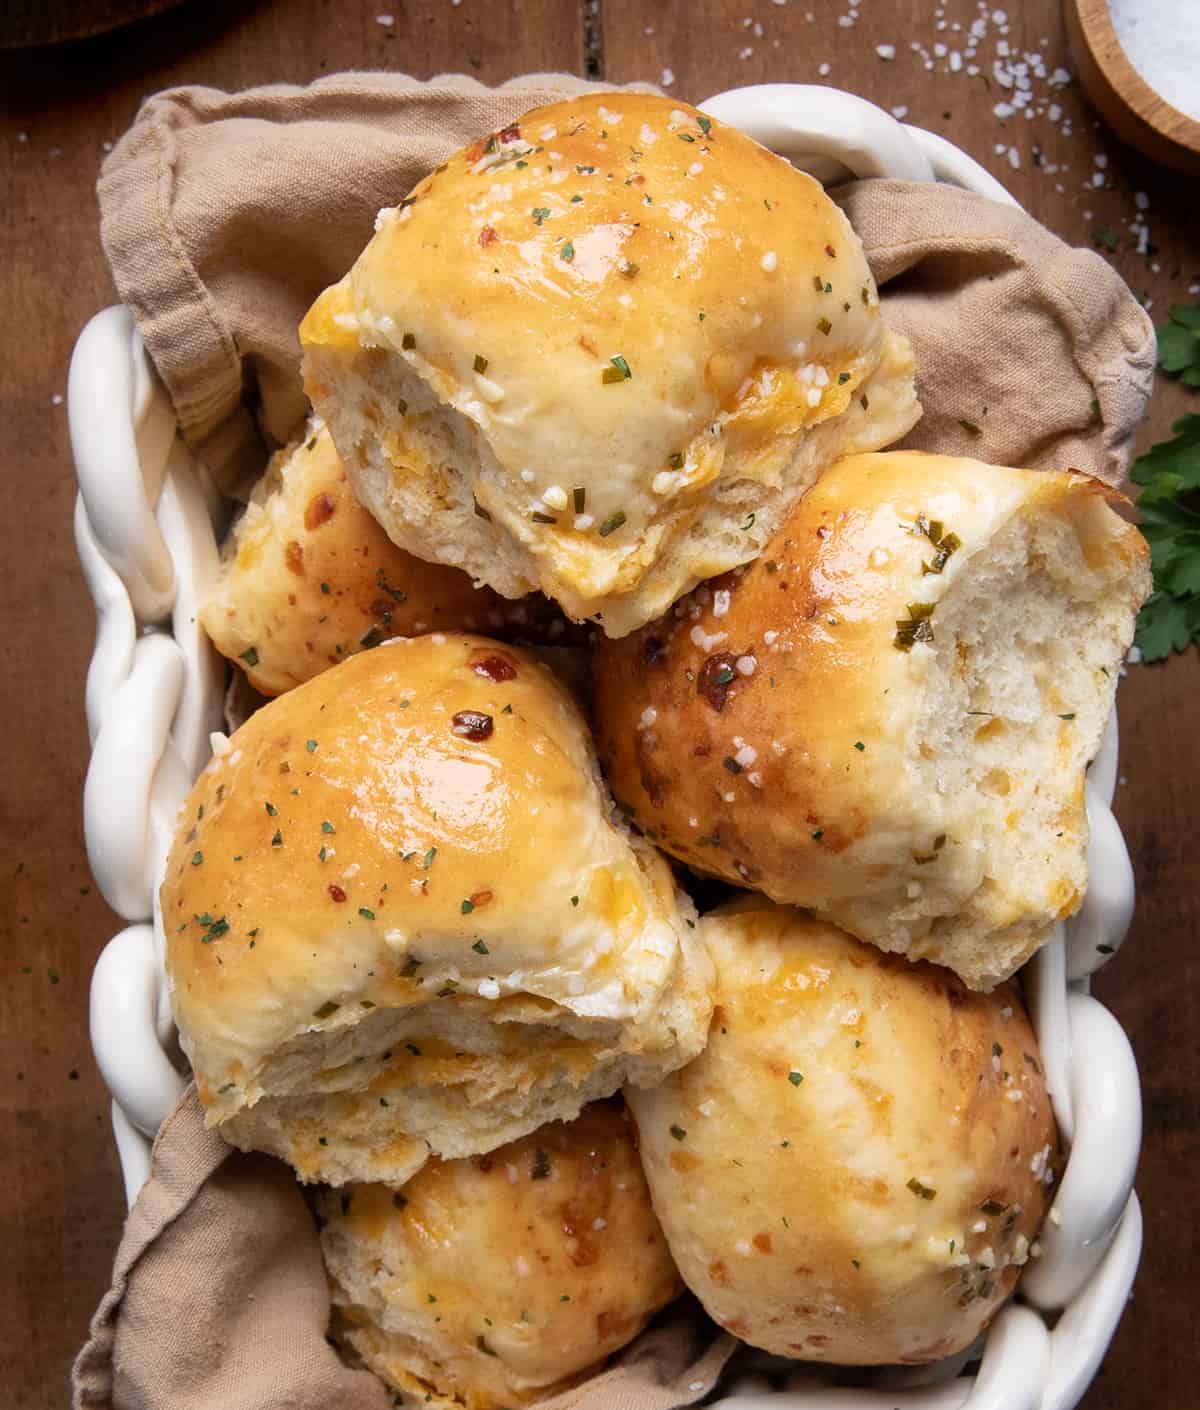
Cheesy Garlic Dinner Rolls are pillowy soft rolls made with sharp cheddar cheese, garlic, and chives, topped with garlic butter and salt. Once you serve these rolls, everyone will be asking for the recipe! But, the hardest part will be sharing the rolls, they are so good! And, they can be made in under a couple of hours. They are a variation of my popular Easy Dinner Rolls, which you will also want to try!
Ingredients & Substitutions
Flour: All-purpose flour provides structure and texture to the rolls. I have not tested the recipe with other kinds of flour, so I can’t speak to its effectiveness.
Yeast: Look for rapid-rise yeast, also known as instant yeast. Using this variety of yeast allows for a shorter rise time, about 1 hour and 15 minutes total.
Cheese: I prefer sharp cheddar cheese for its more pronounced flavor. But, you could use mild cheddar, Colby, or Monterey Jack cheese, to name a few. Choose thickly cut shredded cheese (not finely shredded) for more noticeable pockets of melted cheese in each roll.
Garlic: You will need minced garlic for the rolls and the melted butter topping.
Chives: Adding chives to the rolls and the melted butter brushed on top adds more flavor to each bite!
Salt: After brushing the garlic butter over the tops of the warm rolls, sprinkle a little bit of kosher salt, too. When we tasted the rolls, we thought the salt added the perfect amount of saltiness to make the rolls even better!
How to Make “Perfect” Dough Balls
To make your dinner rolls perfectly round and even, first, just sprinkle some flour on your countertop or work surface. Then, gently roll each ball of dough using the cupped palm of your hand. It’s an easy and effective technique that works fast once you get the hang of it.
Can I Make Dinner Rolls Ahead Of Time?
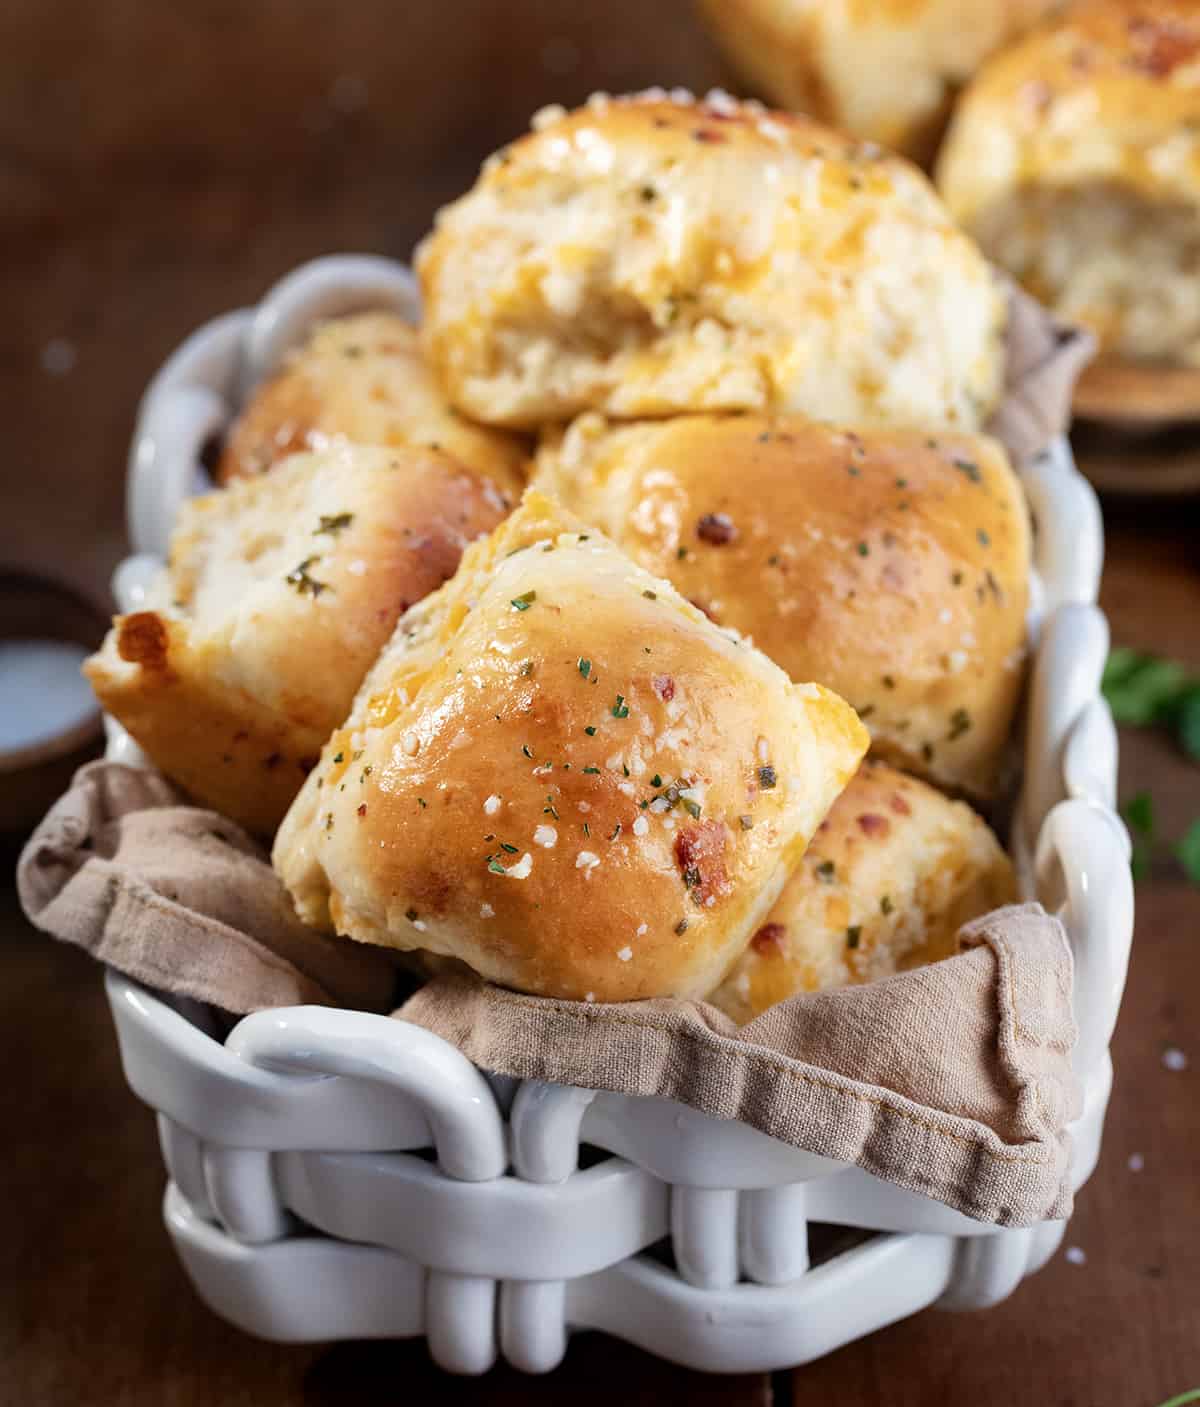
Yes! Freezing the dough balls before baking the rolls can save you a lot of time when you are craving or wanting to serve these cheesy garlic dinner rolls. Follow these instructions if planning to freeze the rolls before baking:
- After the dough has risen for the first time, punch it down and form into individual-sized rolls.
- Next, place the dough balls onto a lined baking sheet and into the freezer to flash-freeze. Once the rolls are solid, transfer them to a freezer-safe bag or container.
- Freeze for up to 1-2 months.
- When ready to bake the rolls, remove them from the freezer and place them onto a lined baking sheet, leaving enough space for them to rise.
- Allow the rolls to thaw and rise at room temperature, which could take a few hours.
- Once thawed and risen, bake as instructed.
- Brush the garlic butter over the warm rolls and sprinkle with salt.
How To Store Cheesy Garlic Dinner Rolls
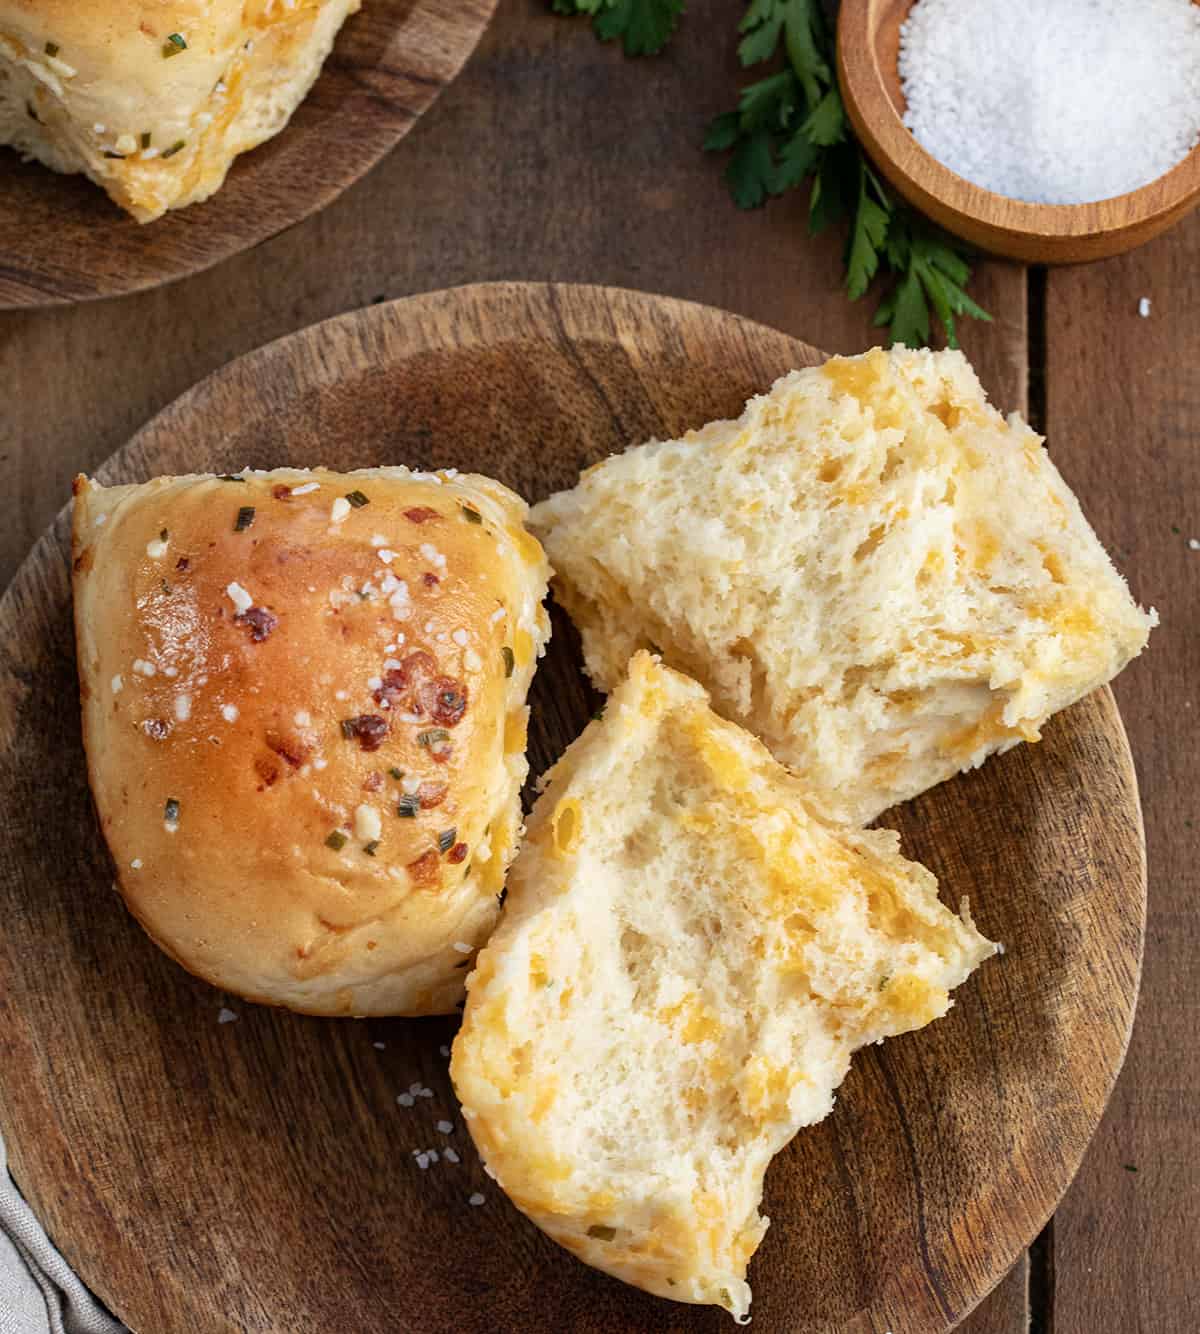
To store cheesy garlic dinner rolls, first, let them cool completely. Then, if you plan on eating the rolls within a day or two, store them in an airtight container at room temperature. You could also store them in the refrigerator for a little bit longer, like a few days, but that may dry out the rolls faster. If you need to save some for later, freeze the rolls.
Freezing Dinner Rolls
To freeze baked rolls, first, let them cool completely. Then, wrap them tightly in aluminum foil. (Do not use plastic wrap, it could trap in condensation and make the rolls soggy.) Place the rolls in a tightly sealed and labeled freezer bag or storage container and freeze for 2-3 months. When ready to enjoy a roll (or two) let them thaw in the refrigerator overnight before reheating in the oven at a low temperature or microwave.
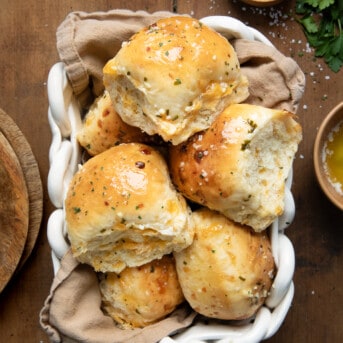
Cheesy Garlic Dinner Rolls
Ingredients
- 4 cups (500 g) all-purpose flour, divided, plus more if needed
- 2 envelopes (about 4 ½ teaspoons) rapid-rise yeast
- ¼ cup (50 g) granulated sugar
- 1 large egg, room temperature
- 1 teaspoon kosher salt
- 1 ½ cups (366 g) whole milk
- 2 cups (226 g) sharp cheddar cheese, shredded (thick cut)
- 1 tablespoon fresh garlic, minced
- 1 tablespoon fresh chives, minced
Toppings
- 2 tablespoons salted butter, melted
- 1 teaspoon fresh garlic, minced
- 1 teaspoon fresh chives, minced
- 1 teaspoon kosher salt
Instructions
- To the bowl of a stand mixer with the dough hook attachment, add 3 cups of flour, dry yeast, sugar, egg, and salt. Mix to combine.
- Heat milk until warm (110°F-115°F).
- Add warm milk to the flour mixture. Knead for 2 minutes at medium speed, stopping to scrape the sides of the bowl as needed.
- Add another ½ cup flour. Knead at medium speed for another 2 minutes.
- Add remaining ½ cup flour, cheese, garlic, and chives. Knead until the dough is very soft, pulling away from the sides of the bowl. If the dough seems too wet, add more flour in ¼ cup increments until the dough has pulled away from the sides of the bowl while kneading.
- Cover with plastic wrap. Let rise for 45 minutes, or until doubled in size.
- When ready, remove the plastic wrap and punch down the dough.
- Spray a 9×13-inch baking dish with nonstick cooking spray.
- Divide the dough into 12 equal-sized pieces and shape into balls. Place into the prepared baking dish.
- Cover the rolls with plastic wrap and let them rise for 30 minutes, or until doubled in size.
- Preheat the oven to 375°F.
- Bake the rolls for 22-27 minutes, or until golden brown.
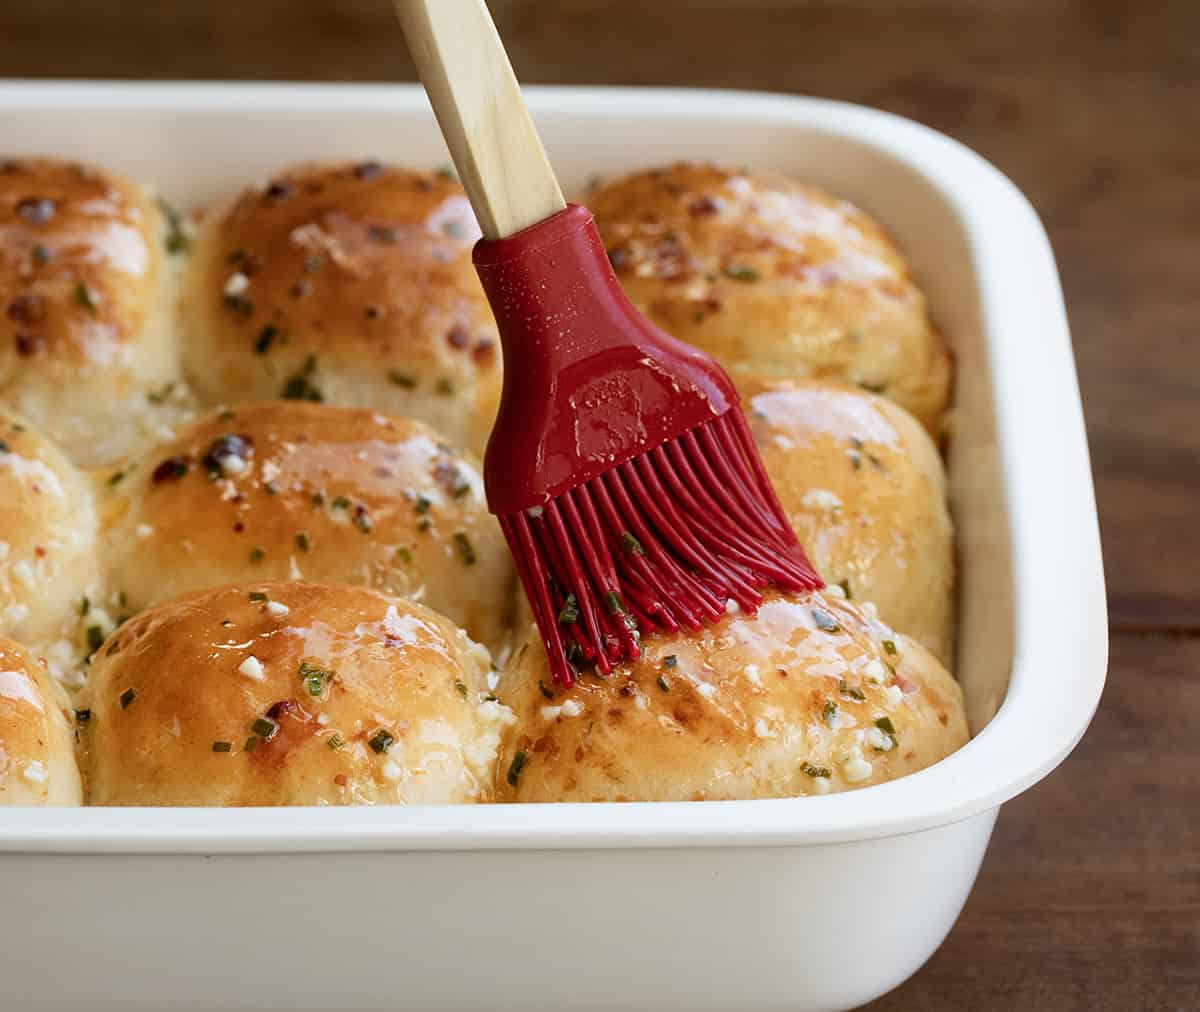
- In a small bowl, combine melted butter, garlic, and chives. Brush the warm rolls with the garlic butter mixture.
- Sprinkle the tops of the rolls with salt. Serve warm.
Video
Did you make this recipe?
You can tag me at @iamhomesteader.
What the Test Kitchen had to say about this recipe:

Autumn
Wow, these are de-li-cious! So full of flavor! These would make an impressive addition to literally any meal.

Elizabeth
I will take the entire pan of these rolls, thank you very much! I love our dinner rolls, so adding cheese and garlic was a delicious idea! Perfect rolls in both taste and texture.

Rachael
You had me at cheese and garlic. These rolls are full of melty cheese and garlic flavor. I could eat the whole pan they are so addicting!

Annabelle
This is likely the best dinner roll I've ever tried! They're cheesy and super flavorful, these would be great with any meal!

Bella
Cheesy dinner rolls? Who would turn that down?! These are amazing, tender, and flavorful. The cheese and garlic really add flavor to these rolls. These are a must-try!
Better make a double batch of these! They are so delicious and will fly off the table with their beautiful golden exterior and soft, cheesy, flavorful interior!
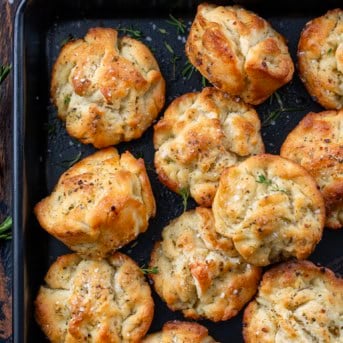

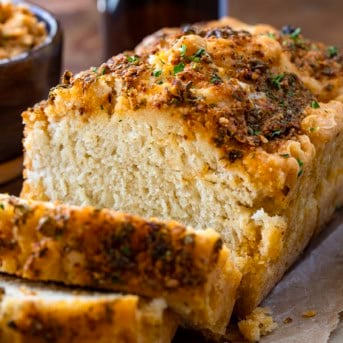
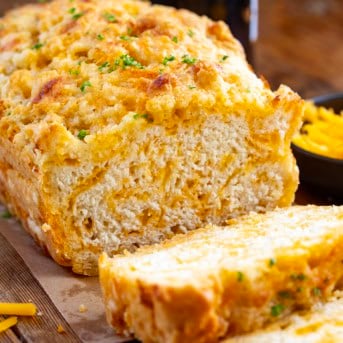
Perfect😋
Can you do this without a stand mixer
Sure
My new fav!!
Can you make the dough ahead of time and cook later?
Hi! Here is what is written in the blog post:
Can I Make Dinner Rolls Ahead Of Time?
Yes! Freezing the dough balls before baking the rolls can save you a lot of time when you are craving or wanting to serve these cheesy garlic dinner rolls. Follow these instructions if planning to freeze the rolls before baking:
After the dough has risen for the first time, punch it down and form into individual-sized rolls.
Next, place the dough balls onto a lined baking sheet and into the freezer to flash-freeze. Once the rolls are solid, transfer them to a freezer-safe bag or container.
Freeze for up to 1-2 months.
When ready to bake the rolls, remove them from the freezer and place them onto a lined baking sheet, leaving enough space for them to rise.
Allow the rolls to thaw and rise at room temperature, which could take a few hours.
Once thawed and risen, bake as instructed.
Brush the garlic butter over the warm rolls and sprinkle with salt.
I HATE to bake (too much chemistry!). But I did these, and they were delicious.
hahahahahaha, I’m glad you tried them and liked them!!
Could you make this with a sourdough discard?
Yes, you can absolutely adapt this recipe to incorporate sourdough discard! Using sourdough discard in recipes like these cheesy garlic dinner rolls can add a delightful tangy flavor and enhance the texture of the bread.
Here’s how you can modify the recipe:
Replace Some of the Flour: Instead of using only all-purpose flour, you can replace a portion of it with sourdough discard. For example, you could start by using 1 cup of sourdough discard and adjust the amount of all-purpose flour accordingly to achieve the desired consistency of the dough.
Adjust the Liquid: Since sourdough discard adds moisture to the dough, you may need to slightly reduce the amount of milk used in the recipe. Start by using a little less milk than the recipe calls for and adjust as needed while kneading the dough.
Extend the Rising Time: Sourdough discard typically takes longer to rise compared to commercial yeast. Allow the dough to rise for a longer period, if necessary, until it has doubled in size during both the initial rise and the second rise after shaping the rolls.
Enhance Flavor: Sourdough discard already contributes a unique flavor profile, but you can further enhance it by adding additional garlic, chives, or herbs to complement the sourdough taste.
Experiment and Adjust: Baking with sourdough discard can sometimes require a bit of experimentation to get the texture and flavor just right. Feel free to adjust the recipe based on the consistency of your sourdough discard and your personal preferences.