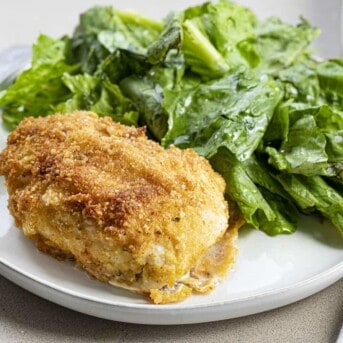
Chicken Kiev is a chicken breast wrapped around a cheesy, garlicky butter roll, all lightly pan-fried and baked to a golden brown. Try my Ham and Cheese Stuffed Chicken recipe for another delicious stuffed chicken dish.
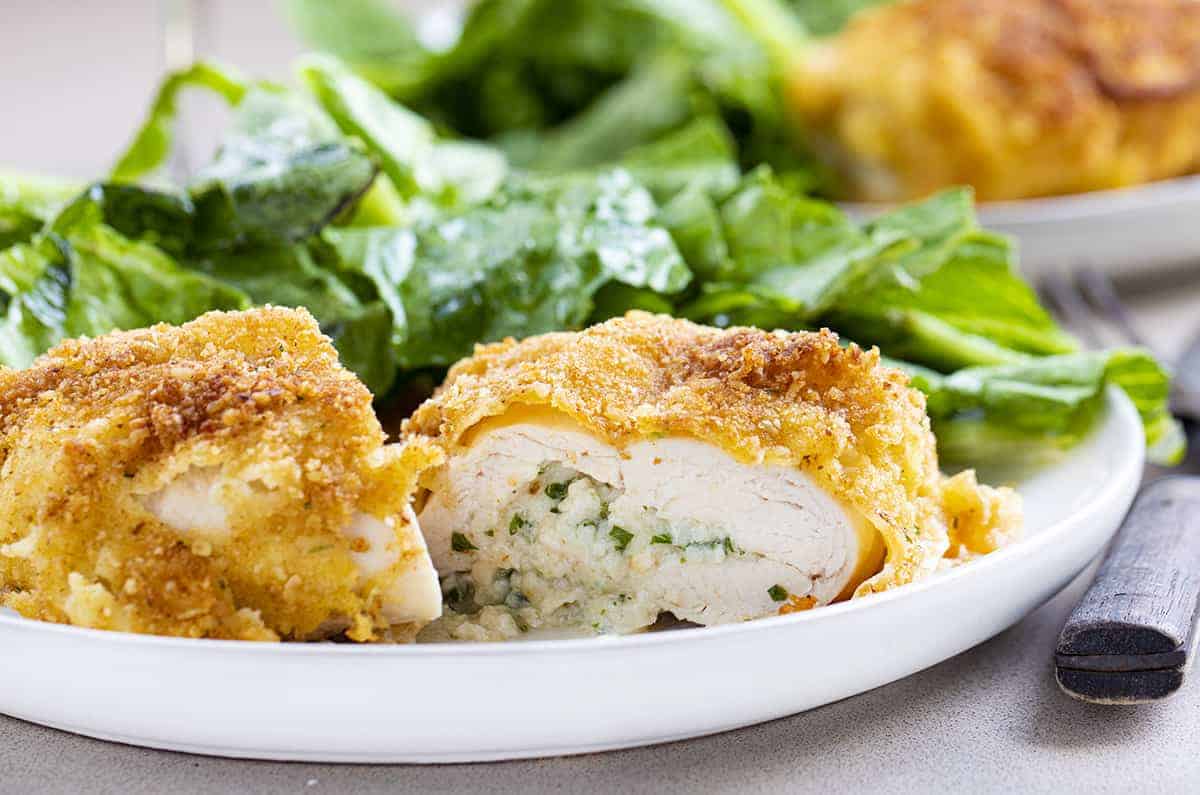
Chicken Kiev
This is one of those dishes that has been around for hundreds of years, but it is still a mystery as to how it got its name. One version is that chefs from Kiev, Ukraine tweaked the original recipe a bit, giving it the name. Other accounts state that France stole the recipe from Russia and added the garlic to the butter that is wrapped up in the chicken. However it got its name, there won’t be any arguing over how delicious this Chicken Kiev is!
Chicken Kiev Recipe
There are two parts to this recipe that have remained consistent over time–the garlic butter roll and the chicken. But, you may notice that I added a little cheese to the garlic butter filling, and it was amazing!
Butter Ingredients (full recipe below)
- Unsalted butter
- Mozzarella cheese
- Garlic
- Kosher salt
- Parsley
- Lemon juice
Chicken Ingredients
- Olive oil
- Boneless, skinless chicken breasts
- Kosher salt
- Black pepper
- Cayenne pepper
- All-purpose flour
- Eggs
- Water
- Seasoned breadcrumbs
How to Make Chicken Kiev
This recipe has a few key parts to it that you will have to prepare before putting it all together. But, it turned out so delicious, it is worth the time it takes to get this dish on the dinner table!
Butter Filling
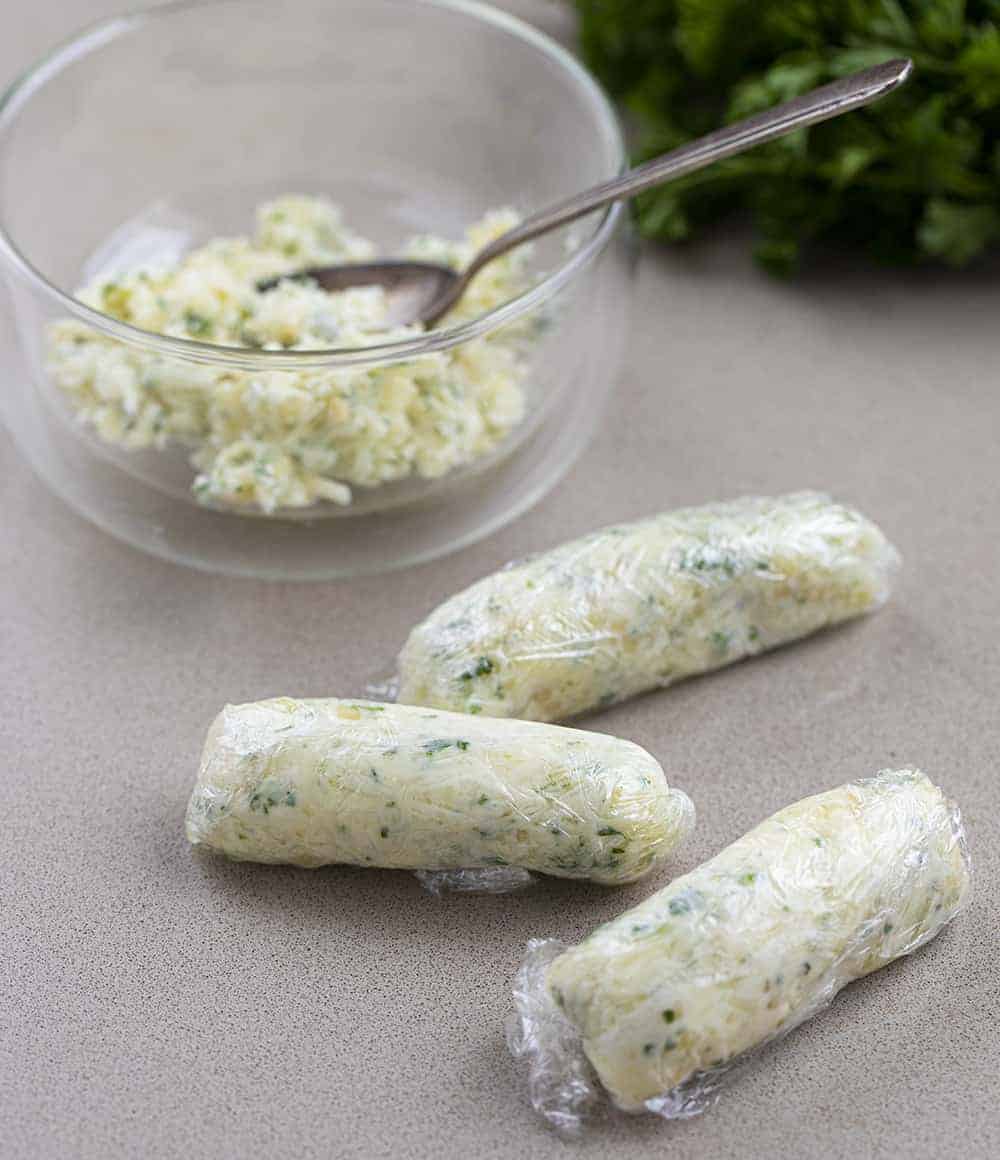
To make the garlicky butter that will be wrapped inside the chicken breast, simply combine the butter, mozzarella, garlic, salt, parsley, and lemon juice in a medium bowl. Mix it well, and then set out four pieces of plastic wrap that are each about 5 inches wide. Divide the butter mixture equally between each sheet and wrap the butter completely. Put them in the freezer for about 15 minutes.
Butterfly and Flatten the Chicken
For this recipe and other stuffed chicken recipes, you will need to butterfly the chicken. To butterfly the chicken put your chicken breast on a chopping board and, with your hand flat on top of it, use a sharp knife to slice into one side of the breast, starting at the thicker end and ending at the thin point. Be careful not to cut all the way through to the other side. You are essentially doubling the size of the chicken breast without cutting it in two.
Place the butterflied chicken in between two sheets of plastic wrap and pound it with a meat mallet until it reaches an even thickness. It should be about 1/4-inch thick. If you don’t have a meat mallet, any heavy object would do like a skillet or even a wine bottle.
Rolling the Chicken
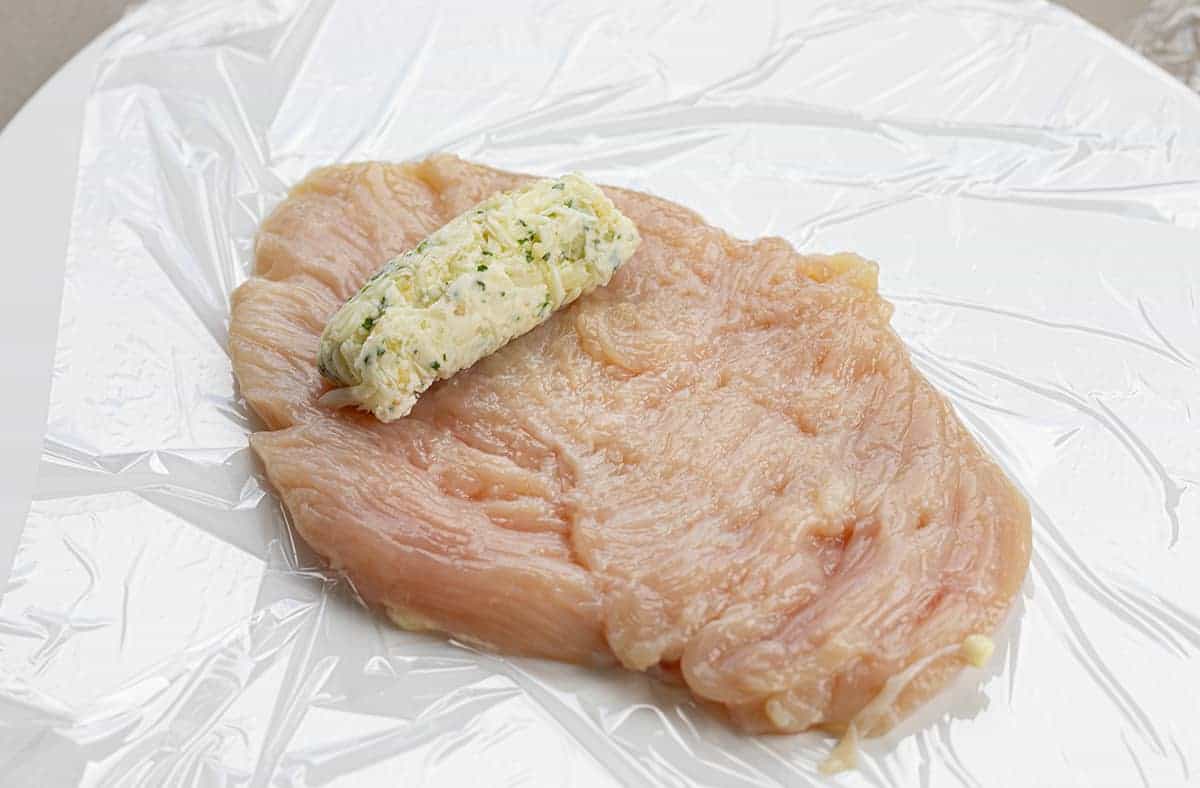
After the chicken breasts have been flattened, season both sides with salt and pepper. Set out another four sheets of plastic wrap (about 10 inches wide) and place each pounded chicken breast on each sheet. Take the wrapped butter roll out of the freezer, unwrap it, and place it at the top of the long edge of chicken.
Fold the butter roll into the chicken breast, first by folding in the sides a bit (like the beginning of rolling up a huge burrito). Use the plastic wrap to continue to roll the chicken breast around the butter filling, making it look like a small log.
Wrap the chicken breast tightly in the plastic and twist the ends to secure (like a tootsie roll wrapper). You can use a toothpick to secure any openings. Place them in the freezer for about 30 minutes before adding the breading and baking the Chicken Kiev.
Assembling the Chicken Kiev
It’s finally time to get all that preparation on the stovetop and in the oven! Preheat the oven to 400°F and get out three large plates. On the first plate, whisk together the flour and cayenne pepper. Whisk together the eggs and water on the second plate. On the third plate, add the breadcrumbs.
First, unwrap the chilled Chicken Kiev and dip the stuffed chicken in the flour mixture, followed by the egg and water mixture, and finally, the breadcrumbs. Press the breadcrumbs into the chicken to set the final coat.
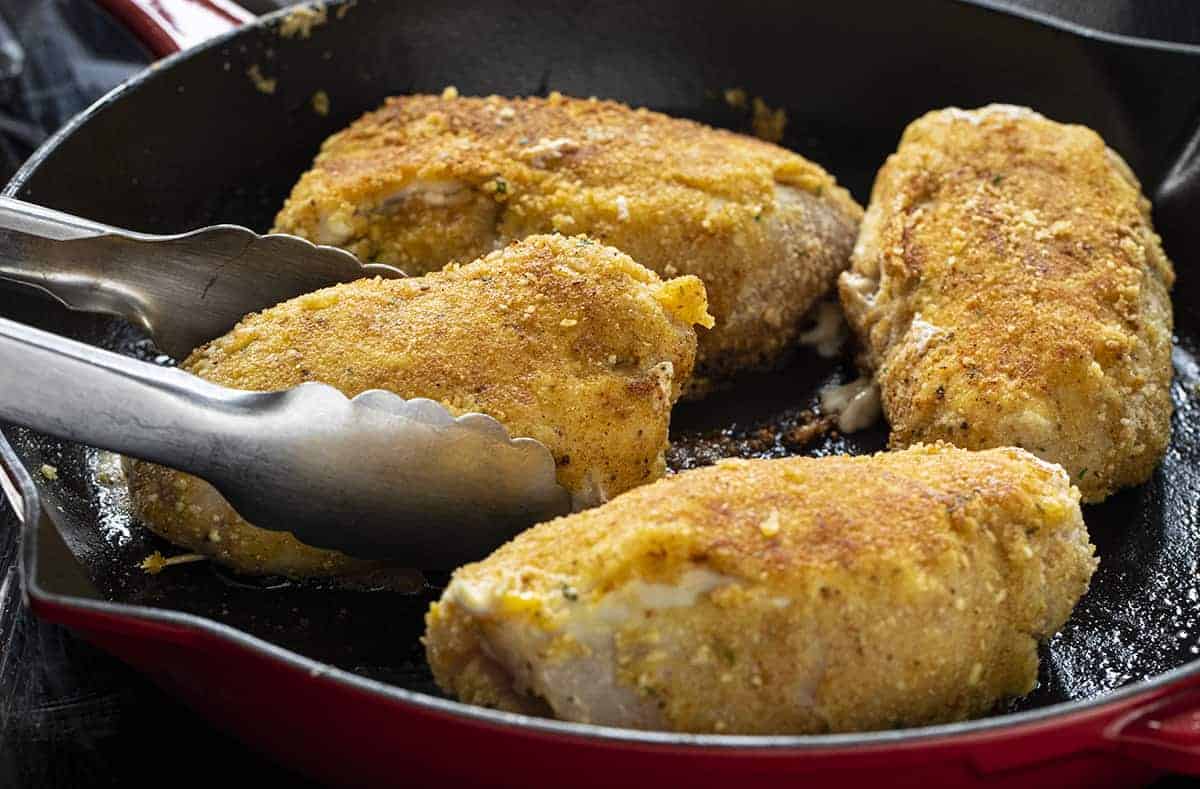
Heat up the olive oil in a large, oven-safe skillet over medium heat. You will be transferring this right to the oven, so a cast-iron skillet would be perfect for this recipe. Add the chicken to the skillet and cook on one side for 1-2 minutes, or until it is lightly golden brown. Flip and repeat on the other side.
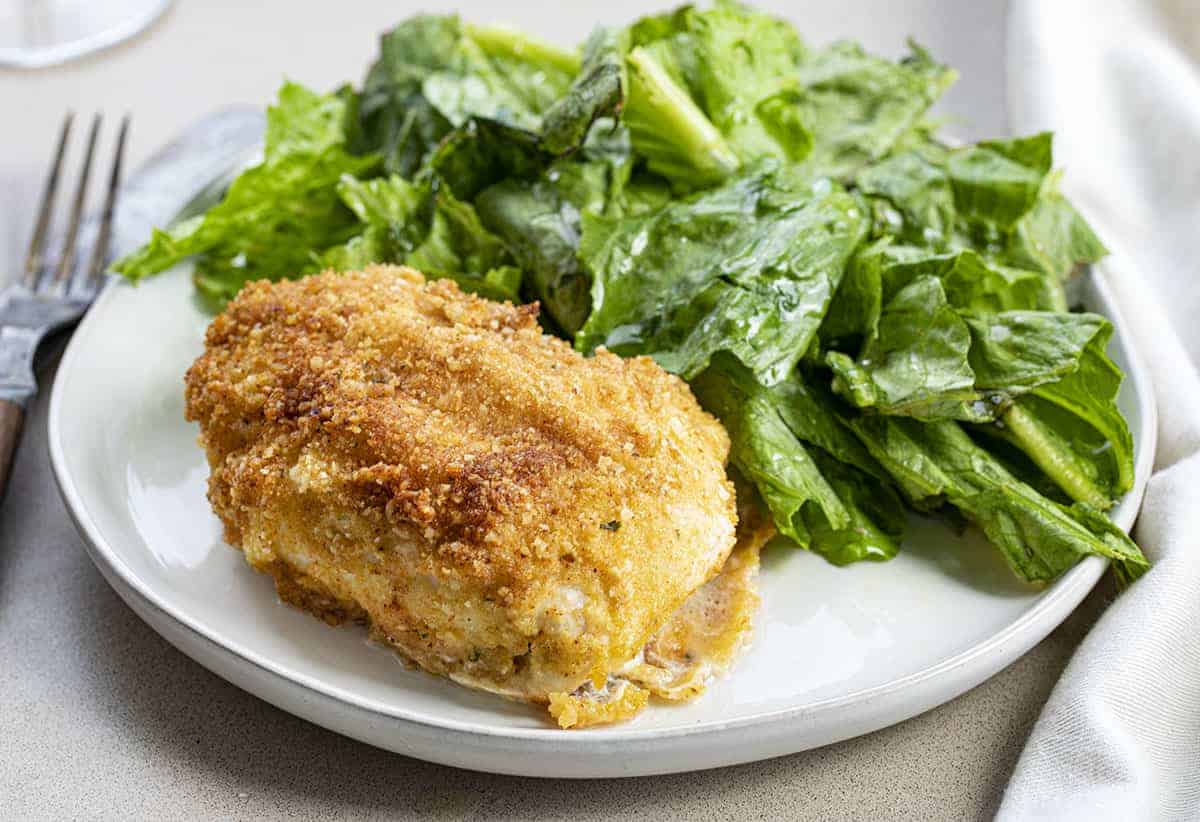
Transfer the Chicken Kiev to the oven and bake for 15-20 minutes, or until the internal temperature of the chicken is 165°F. Serve with a side of Roasted Parmesan Green Beans.
Can I Make Chicken Kiev Ahead of Time?
Yes! This is a great freezer meal that you can prepare ahead of time and take out to bake when needed. Once you have all the prep work done, the garlic butter wrapped in the chicken and the chicken coated, wrap each tightly in wax paper and then foil. Label and date before placing them in the freezer. When you are ready to bake, remove the wax and foil and place on a baking sheet. Cook from frozen 45-50 minutes (or until golden brown).
More Chicken Recipes
Chicken Kiev
Ingredients
Butter
- 4 tablespoons unsalted butter, room temperature
- 1/2 cup mozzarella cheese
- 3 cloves garlic, minced
- 1/4 teaspoon Kosher salt
- 2 tablespoons parsley, minced
- 1 tablespoon fresh lemon juice
Chicken
- 2 tablespoons olive oil
- 4 boneless skinless chicken breasts, pounded out to about 1/4-inch thick
- 1/2 teaspoon Kosher Salt
- 1/4 teaspoon freshly ground black pepper
- 1/4 teaspoon cayenne pepper
- 1 cup flour
- 2 large eggs, room temperature
- 1 tablespoon water
- 2 cups seasoned breadcrumbs
Instructions
Butter
- In a medium bowl combine butter, mozzarella, garlic, salt, parsley, and lemon juice. Mix well. Set out 4 sections of plastic wrap (about 5 inches wide). Divide the butter mixture evenly between each sheet. Wrap the butter completely and freeze for 15 minutes.
Chicken
- Wash, dry, and butterfly chicken breasts. (To butterfly put your chicken breast on a chopping board and, with your hand flat on top of it, use a sharp knife to slice into one side of the breast, starting at the thicker end and ending at the thin point. Be careful not to cut all the way through to the other side or your butter will leak out).
- Place each breast flat between 2 sheets of plastic wrap and pound until it reaches an even thickness of about 1/4 inch.
- Season all sides with salt and pepper.
- Set out 4 more sheets of plastic wrap (about 10 inches wide) and place a piece of pounded chicken each (laying flat). Unwrap the frozen butter roll and place it at the top of the long edge. Fold up the side edges slightly and then use the plastic wrap to roll the entire chicken breast up creating a tight pocket (it should look like a small log). Wrap the chicken breast tightly in the plastic (twist the ends to secure). Use a toothpick to secure any loose openings.
- Chill in the freezer 30 minutes.
Assembly
- Preheat the oven to 400°F.
- Pour the flour and cayenne pepper onto a wide and deep plate, whisking to combine.
- On a second plate, whisk the egg and water together.
- On a third plate, add the breadcrumbs.
- Working one chicken breast at a time, dredge the chicken into the flour, then the egg, then the breadcrumbs. Make sure to coat the entire chicken breast each time.
- Gently press the breadcrumbs into the chicken to set the final coat.
- Heat the olive oil in a large oven-safe skillet over medium heat. Add the chicken to the skillet and cook on one side until the chicken is lightly golden brown (about 1-2 minutes). Flip and repeat with the opposite side.
- Transfer to the oven.
- Bake 15-20 minutes or until chicken reaches an internal temperature of 165 °F.
Did you make this recipe?
You can tag me at @iamhomesteader.
