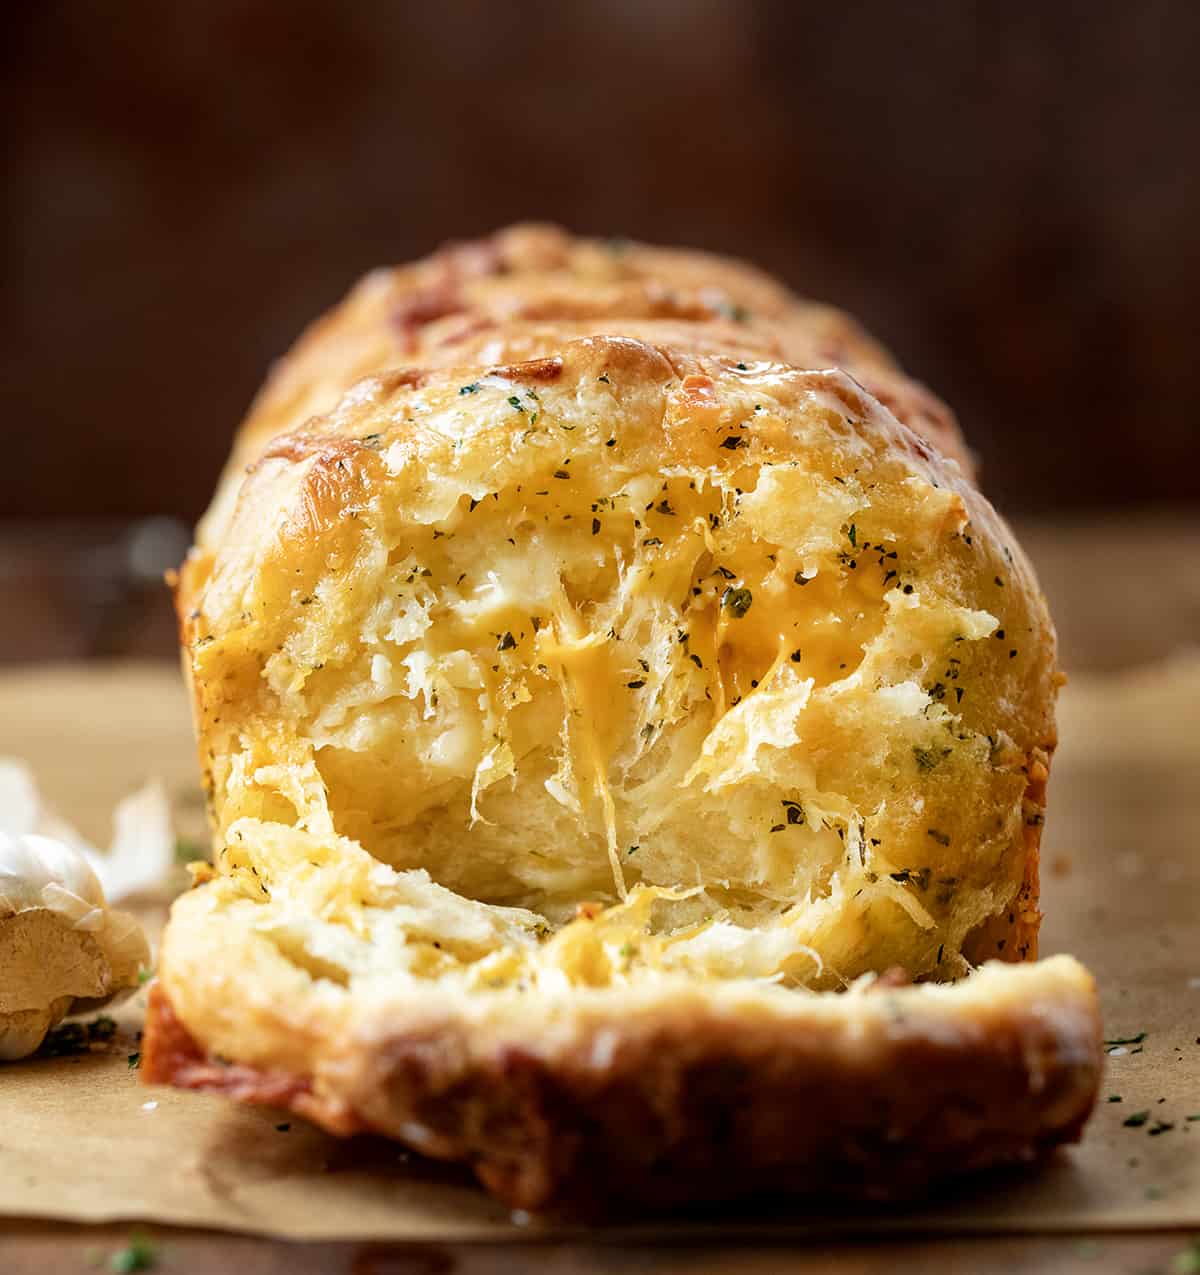
From Scratch Cheesy Garlic Pull-Apart Bread are layers of soft homemade dough brushed with garlic butter with a blend of cheese in between each layer, baked to golden brown. Then, melted butter is brushed over the top of the warm bread with a sprinkle of salt and garnished with parsley. It will be hard to pull yourself away from this pull-apart bread, it is THAT good! If you are shorter on time, try my Cheesy Garlic Pull Apart Bread made with store-bought biscuit dough.
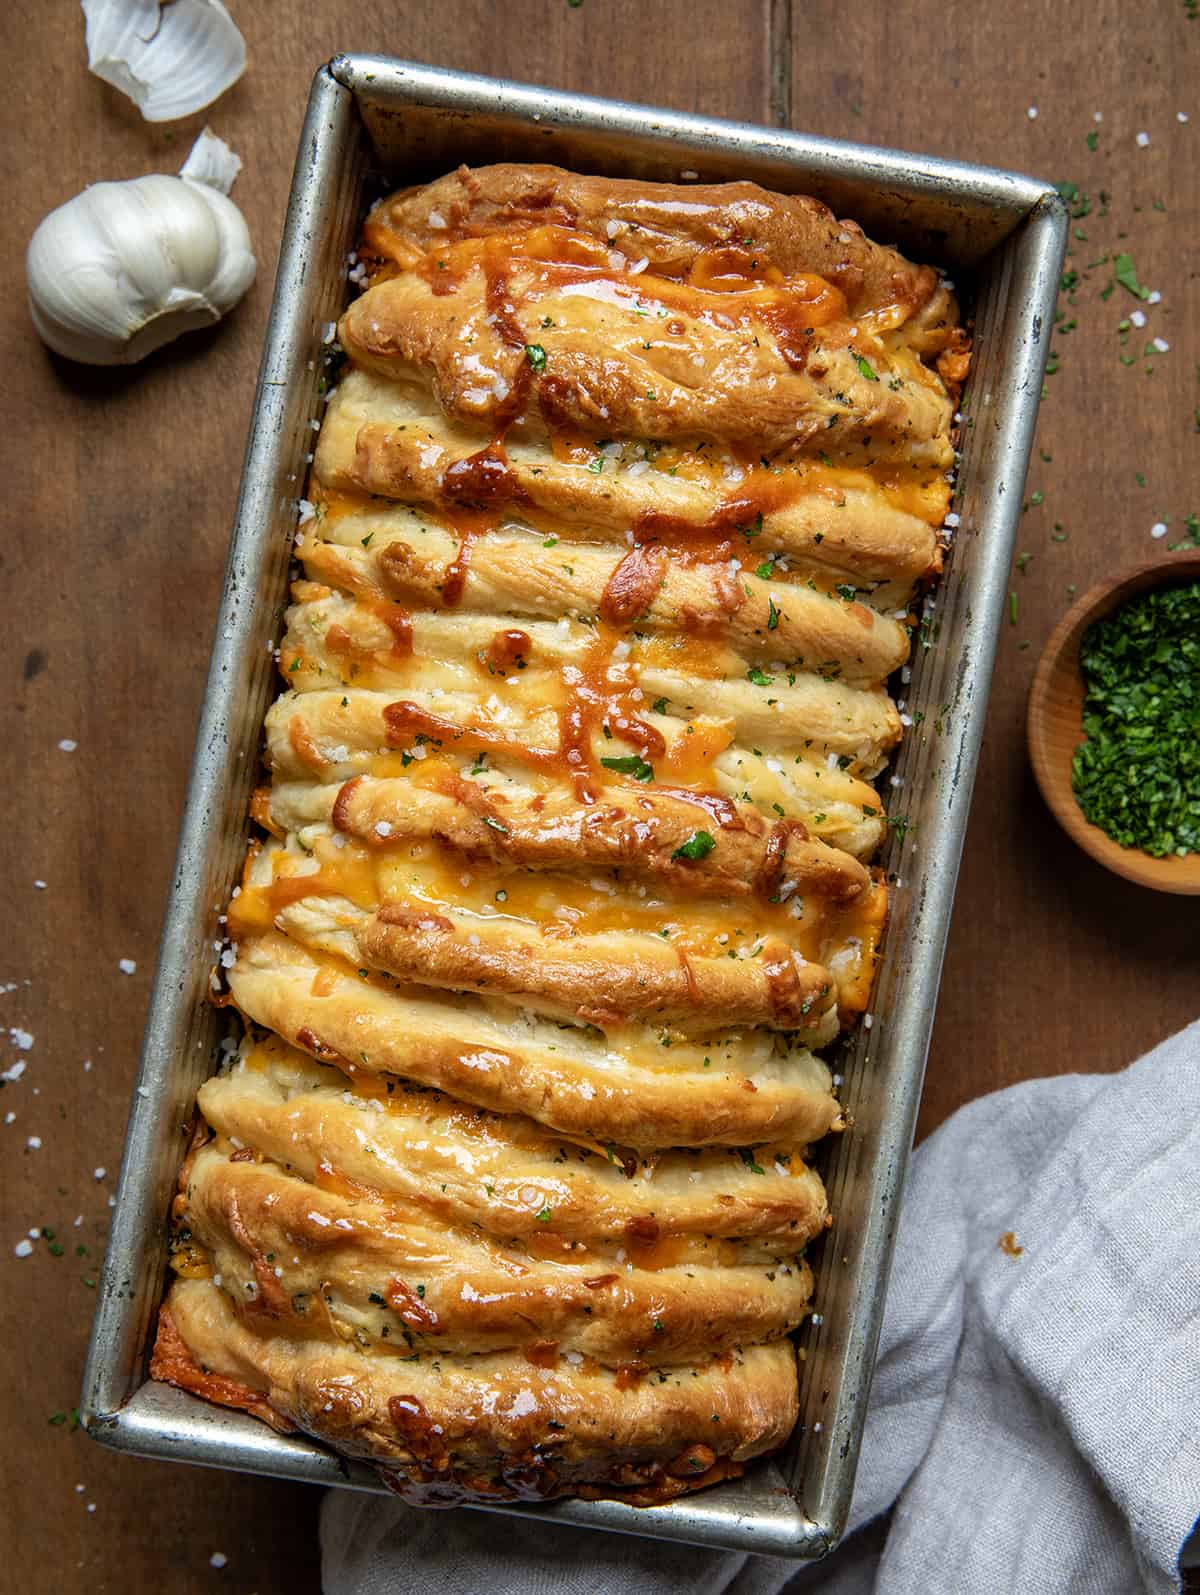
Ingredients & Substitutions
Yeast: I used instant yeast, also known as quick-rise or fast-rising yeast, for the dough, which doesn’t need any time to be activated. If using active dry yeast, you will need to combine it with the warm milk and the sugar. Then, let it sit for 5-10 minutes until foamy, or activated. Following the activation, continue with the recipe.
Butter: You will need unsalted butter for the dough, the garlic butter, and to brush over the warm bread. I prefer unsalted butter to have control over salt added to the recipe. If using salted butter, you may want to lessen the amount of salt.
Garlic Butter: Garlic butter will be brushed on each layer of the dough for plenty of garlic flavor in each bite. It’s a simple mixture of melted butter, garlic, chopped parsley, and salt.
Cheese: On top of each layer of garlic butter, I sprinkled a blend of shredded mozzarella and sharp cheddar cheese. You could use your favorite kind of cheese or cheese blend. Or, skip the cheese and add more garlic butter to each layer!
Topping: Brush melted butter over the warm bread and sprinkle a little salt over the top for added flavor.
Can I Make This Bread Without A Stand Mixer?
Yes! You can definitely make this bread without a stand mixer. First, mix the flour, sugar, yeast, and salt. Next, combine the warm milk and butter (which you may need to melt). Pour the warm milk mixture into the dry ingredients and combine with a wooden spoon. Once the dough starts to come together, turn it out onto a floured surface and knead by hand for about 10 minutes or so. Then, follow the rest of the instructions as written.
Checking Pull-Apart Bread For Doneness
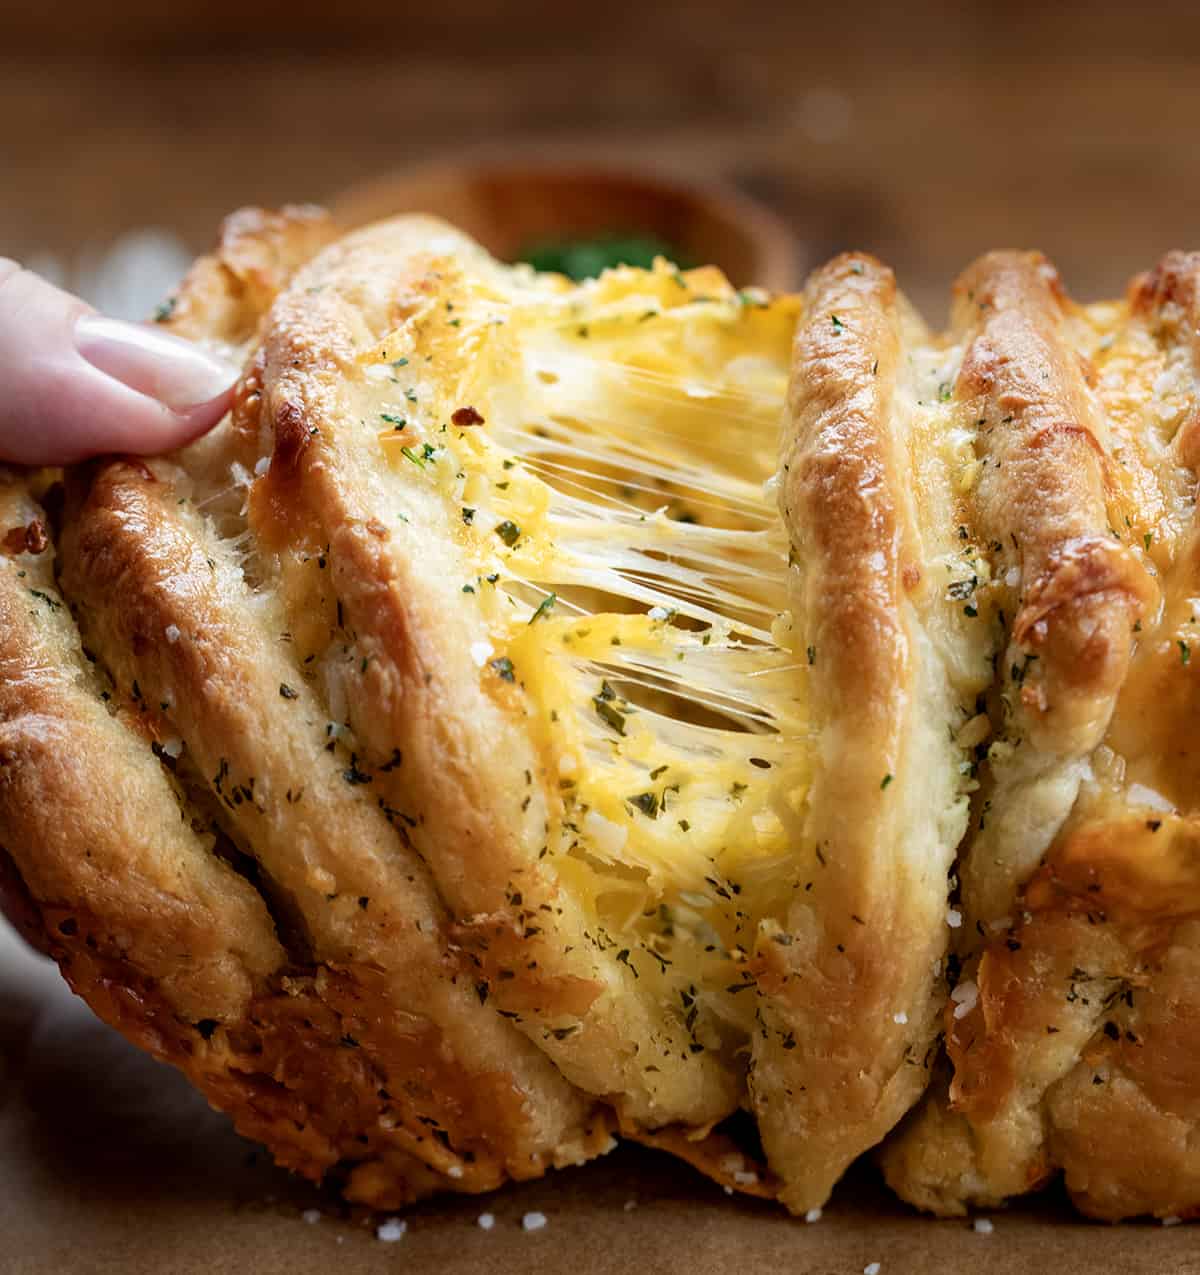
After cooking this pull-apart bread, you don’t want to pull it apart and see dough in the middle! To check that the bread is fully cooked, use these strategies:
- Look at the top and the edges. It should be a nice golden brown.
- Another way to check for doneness is by gently pressing on the center of the loaf. It should feel firm and spring back slightly.
- Without hitting the cheesy parts, check the internal temperature of the bread. It should read 190°F.
How To Store Pull-Apart Bread
This bread is best served warm, out of the oven. But, you can store leftovers if need be. To store the pull-apart bread, first, let it cool to room temperature. Next, wrap it in plastic wrap or aluminum foil. It will last up to a couple of days at room temperature. Or, store it in the refrigerator for up to 3-4 days. Reheat the bread in the oven at a low temperature or in the microwave.
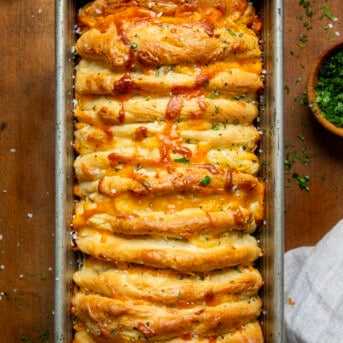
From Scratch Cheesy Garlic Pull-Apart Bread
Ingredients
Dough
- 2 ¼ cups (281 g) all-purpose flour
- 2 tablespoons granulated sugar
- 2 teaspoons instant yeast
- 1 ½ teaspoons kosher salt
- ¾ cup (184 g) whole milk, warmed (105°F to 115°F)
- 3 tablespoons unsalted butter, softened
Filling
- ½ cup (1 stick / 113 g) unsalted butter, softened
- 1 tablespoon garlic, minced
- 1 tablespoon parsley, chopped, plus extra for garnish
- ½ teaspoon kosher salt
- 1 cup (113 g) mozzarella cheese, shredded
- ½ cup (56.5 g) sharp cheddar cheese, shredded
Toppings
- 1 tablespoon unsalted butter, melted
- kosher salt, for garnish
Instructions
Dough
- In the bowl of a stand mixer fitted with a dough hook, combine flour, sugar, yeast, and salt.
- With the mixer on low speed, mix in the warm milk and butter until just combined.
- Knead on medium speed for 5-6 minutes, or until smooth and elastic. If the dough is too dry, add more milk, 1 tablespoon at a time. Or, add more flour if too wet until the dough reaches the desired consistency.
- Transfer dough to a greased medium bowl. Cover with plastic wrap and let rise in a warm spot until doubled in size, about 1 hour and 30 minutes.
Filling
- While the dough rises, combine softened butter, minced garlic, chopped parsley, and salt in a small bowl. Set aside.
- In a separate bowl, combine mozzarella and cheddar cheese. Set aside.
Assembly
- Spray an 8 ½ x 4 ½-inch loaf pan with nonstick cooking spray. Set out a sheet pan lined with parchment paper. Set aside.
- Punch down the risen dough and transfer to a clean surface. Divide the dough into 12 equal pieces.
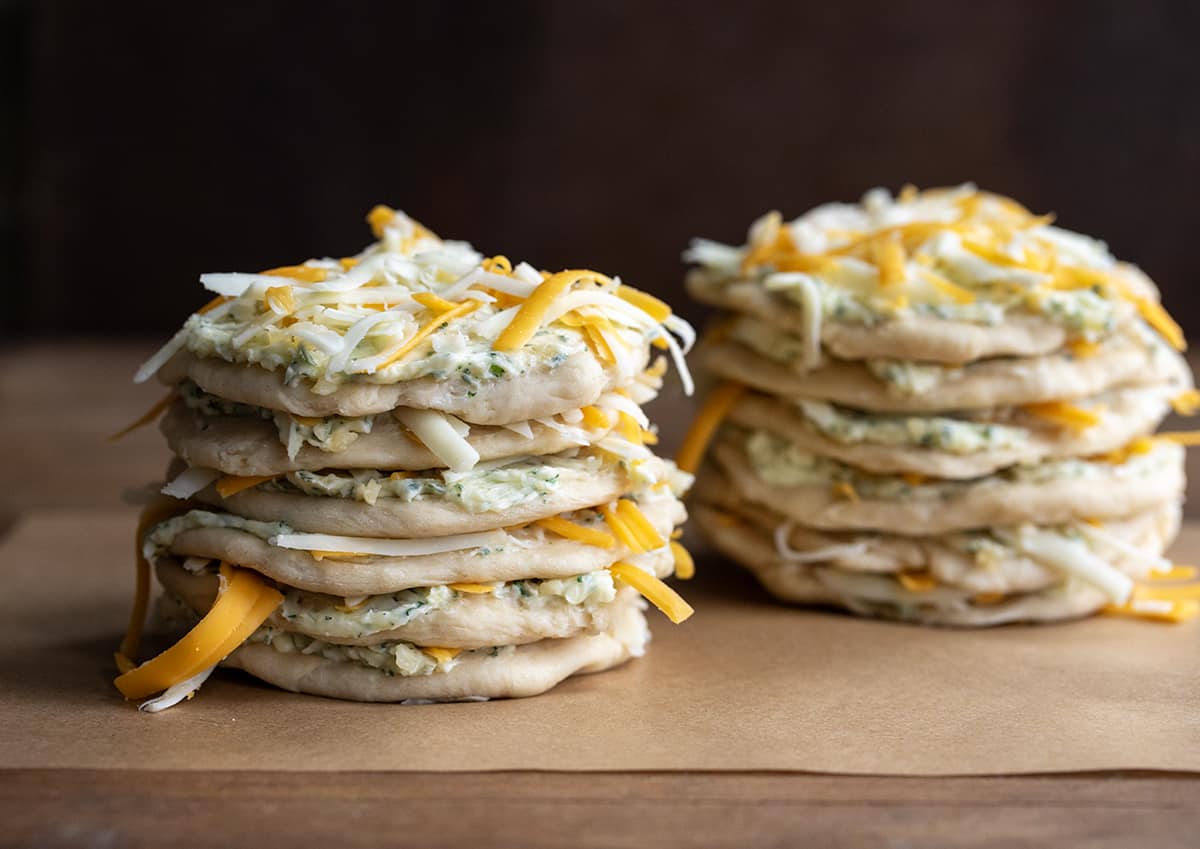
- Flatten each piece into a 4-inch round disc and place onto the lined baking sheet.
- To each round disc of dough, spread the garlic butter mixture. Then, top each with an equal amount of the shredded cheese mixture.
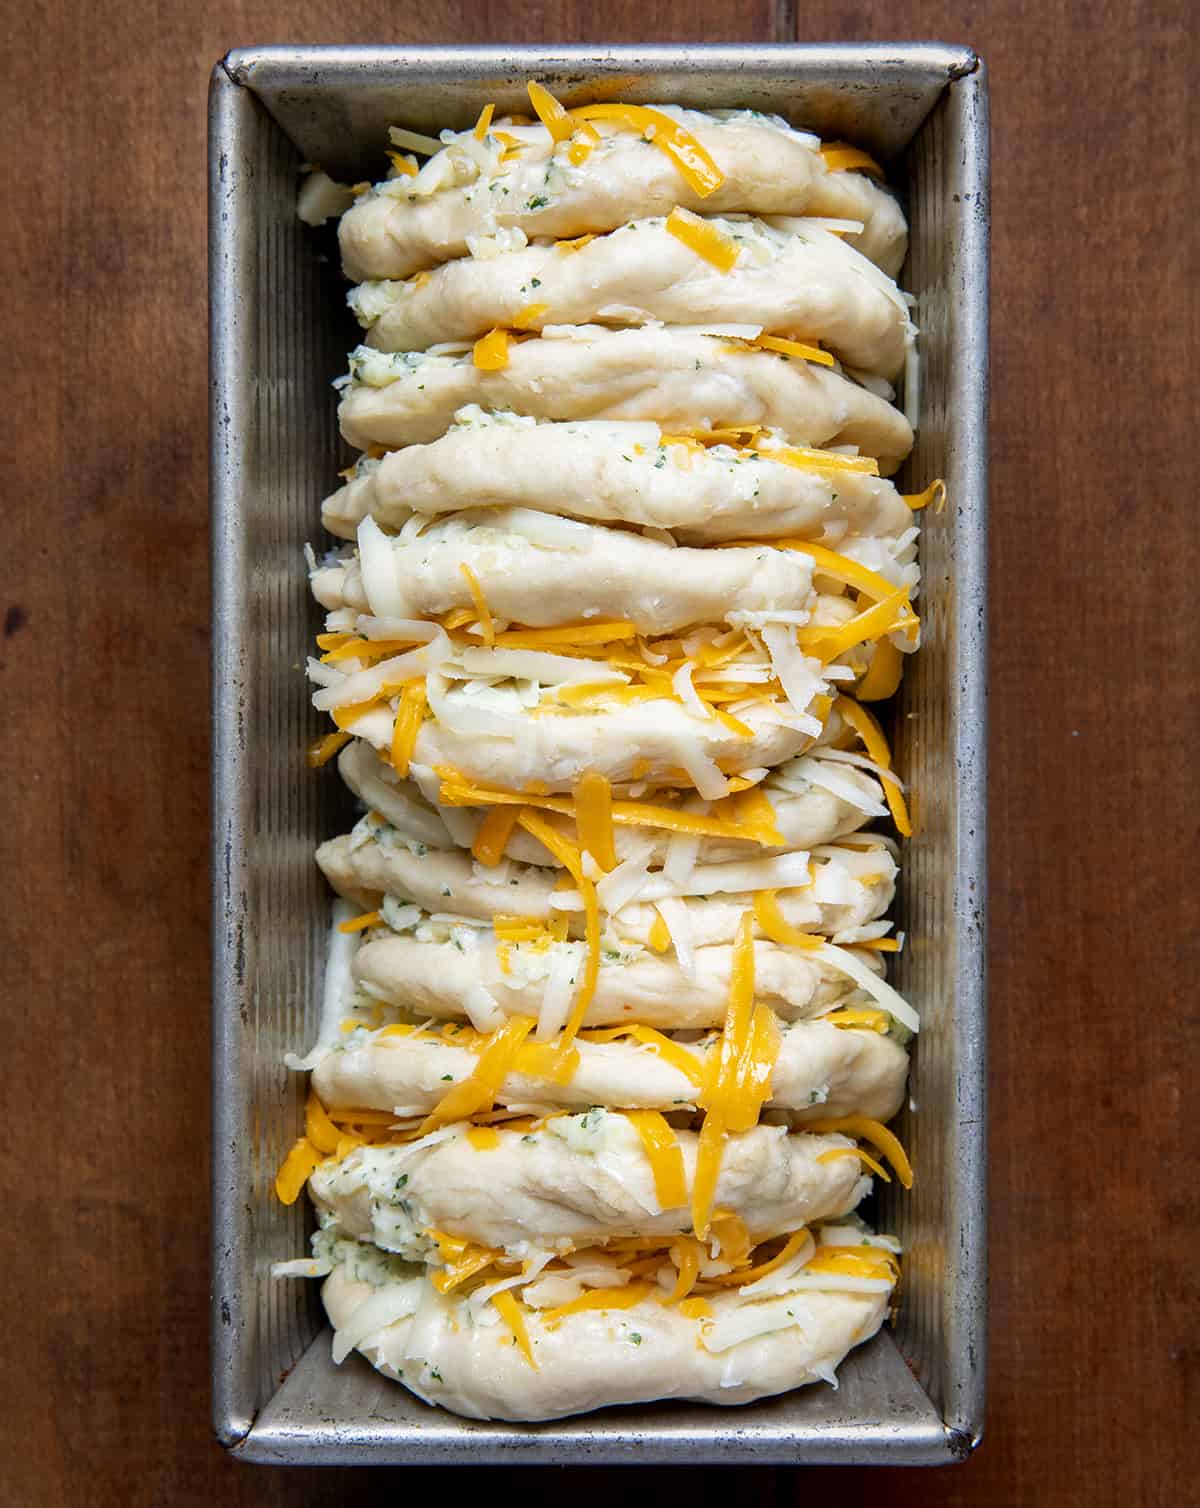
- Create 2 stacks of 6 discs of dough. Carefully place the dough stacks horizontally into the prepared loaf pan. Gently separate the pieces slightly. Cover the pan and let rise again until almost doubled in size, about 45 minutes.
- While the dough rises for the second time, preheat the oven to 325°F.
- Bake the loaf for 45-50 minutes, or until golden brown. Cover the pan loosely with aluminum foil if the top starts to brown too quickly.
- Transfer the loaf pan to a wire rack and let cool slightly. Brush with melted butter, sprinkle with salt, and garnish with parsley before serving.
Video
Did you make this recipe?
You can tag me at @iamhomesteader.
What the Test Kitchen had to say about this recipe:

Autumn
This bread is amazing! So cheesy and garlicky! It would be a great addition to any meal. Totally worth the wait!

Elizabeth
This bread is super garlicky and delicious! I would add a little more cheese, but I still would not turn it down!

Bella
Bread from scratch is always a winner. The bread is deliciously cheesy and buttery. This is addicting!
Oh, this is so garlicky and so soft! Anything that is made with dough from scratch is a favorite of mine! So much flavor in this little loaf!

Rachael
Garlic cheese bread but elevated! Each piece of the bread is cheesy goodness. The garlic flavor is the perfect amount and you can pull apart each layer to make it last longer, well for a little but, this won't last long anyway.
I like cheese
Second time making this – both times absolutely INCREDIBLE. My whole family loves this recipe. My only complaint is this takes SO MANY HOURSS, but hey, that’s the price to pay for amazing bread!
I have not tried this yes. But how would you suggest reheating this?
Here you go:
“How To Store Pull-Apart Bread
This bread is best served warm, out of the oven. But, you can store leftovers if need be. To store the pull-apart bread, first, let it cool to room temperature. Next, wrap it in plastic wrap or aluminum foil. It will last up to a couple of days at room temperature. Or, store it in the refrigerator for up to 3-4 days. Reheat the bread in the oven at a low temperature or in the microwave.”
I just found this recipe and I’ve already made it two times! Is delicious and easy to make, takes a bit of waiting though (It’s worth it)
I’ve made this twice now and it has been a hit both times!! It can be hard as a beginner and college student that doesn’t have a stand mixer but making it by hand really wasn’t that bad. This is definitely a favorite with me and my friends!
Amazing to hear, thank you!
This bread was stellar! So easy to make and incredibly delicious. I received so many compliments on the bread with the only complaint being that I only made one loaf! Thank you for sharing! 🙏
Super good didn’t fully fit into 2 whole pans so we made little balls instead I recommend outing 8 little discs instead of 6 just to fit it a little better great flavor and will make again
Thank you for a recipe that isn’t made from a bought loaf of bread but is actually made with yeast. I can’t wait to make this.
This was the perfect New Years Eve treat. Absolutely delicious and decadent!
I’m going to make this bread for Christmas day. Is there anyway I can pre-make the Breadahead of time and bake it on Christmas Day?
I am sorry, but this recipe was horrible!!! I bake a lot of bread, including a loaf I made prior to this loaf. I was rather suspect of the large amount of salt in the recipe, considering how little flour was being used, so I decided to not use salt in the butter mixture. The dough rose fine, the first time, but when I rolled it out, and made the rounds, I began wondering how this was going to come together. It rose OK the second time but did not bake as expected. 325 is too low of a temperature and I had to leave it in the oven longer than the recommended baking time. When I finally removed it from the oven so it wouldn’t burn, the outside was almost too done while the inside was doughy, almost to the point of being underbaked. The bread was way too salty tasting. Neither my husband nor I liked it. My dogs and parrot enjoyed it just fine. I make nearly all of our meals from scratch. I won’t be making this again.
I’m so sorry to hear the bread didn’t turn out as expected!
For the saltiness, were you able to use Kosher salt as I specified? Measuring with table salt instead can make the bread taste much saltier than intended. If you did use table salt, that might explain what you perceived to be the strong saltiness. (If using table salt in my recipes you will want to use half the suggested amount. If you click the word “kosher” in the recipe card above, there is a post explaining why I use Kosher salt in all my baking and why it is best.)
As for baking, sounds like your oven is running a bit off, so a thermometer can be helpful to ensure it’s accurate. And if the outside is browning too fast, you can try covering the top with foil halfway through. I hope these tips help for next time because when it comes out just right, this bread is such a treat. Thank you for giving it a try!
Loved it! The dough was so soft but perfectly crisp on the outside. It was incredibly easy to make and so delicious!
I’m going to try this. It looks interesting!