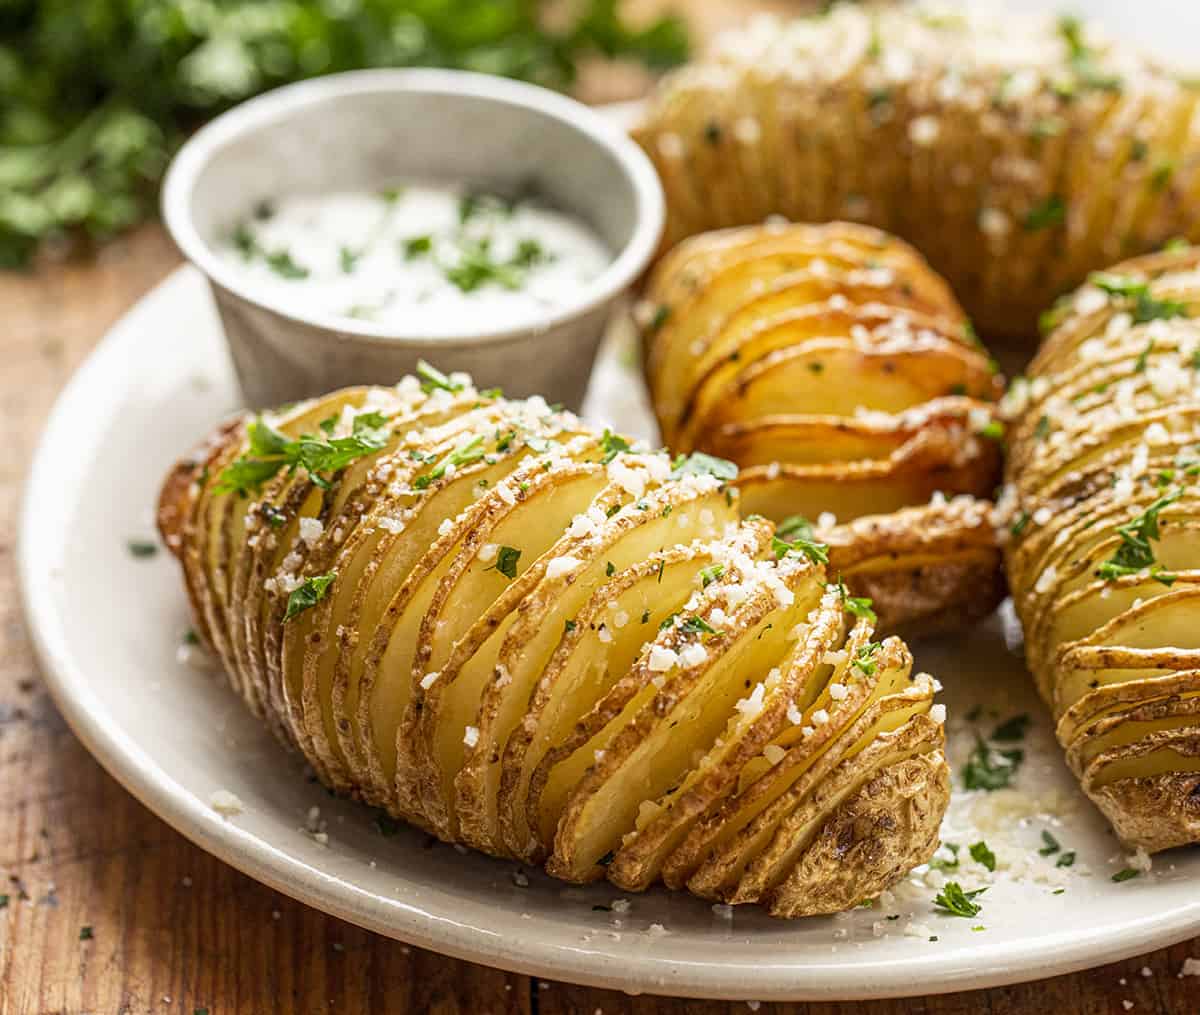
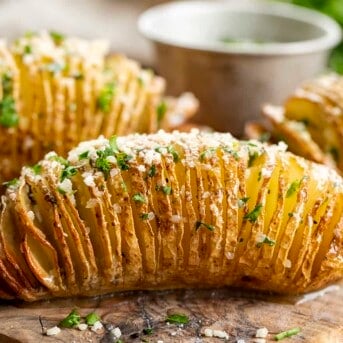
Hasselback Potatoes are russet potatoes cut into thin, fanned-out slices that are baked coated in melted butter and seasoned with salt and pepper. Try my Garlic Cajun Smashed Potatoes for more crispy, oven-baked potatoes.
Hasselback Potatoes
Hasselback Potatoes got their name from the cutting technique. Just like my Hasselback Cheesy Bread, the potatoes are sliced almost all the way to the bottom, but not quite. The slits in the potatoes are the perfect vessel to hold and absorb the melted butter, salt, and pepper. They are then baked until they have a crispy outside and tender inside. Think about adding this side dish to your Thanksgiving or Holiday menus for an alternative to mashed potatoes.
Potatoes Ingredients
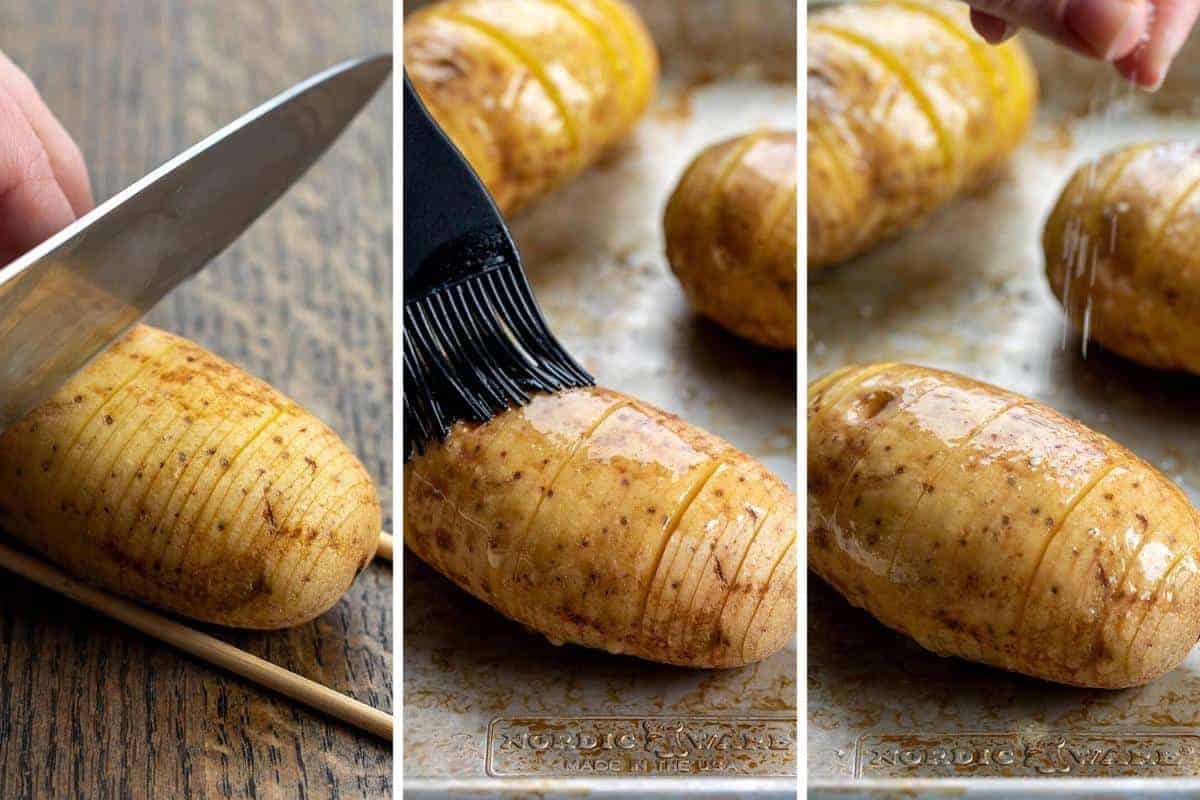
Potatoes: I used russet potatoes for this recipe. I like the rough skin and soft interior after being baked. You could also use Yukon Gold potatoes. A helpful hint (if needed) is to place a potato in between a couple of skewers or chopsticks before slicing. This will prevent you from cutting all the way through the potatoes.
Butter: I used unsalted melted butter to brush onto the potatoes. Salted butter would work as well, but you may want to adjust the amount of salt you add.
How to Make Hasselback Potatoes
To make these potatoes, first, wash the potatoes well and then pat them dry. Next, cut slits into each potato, but don’t cut all the way through the bottom. Again, placing a potato in between two skewers or chopsticks will help prevent you from cutting all the way through the potato.
Once the potatoes have been sliced, place the potatoes on an unlined baking sheet. Use about half of the amount of melted butter to brush over the potatoes. Season with salt and pepper and bake for 30 minutes. After 30 minutes, carefully fan out the potatoes with a knife. Then, brush on the remaining butter and bake for an additional 30-35 minutes, or until the edges are crispy and the inside is tender. Serve warm with salt and pepper, to taste.
With the slits in the potatoes, these would also be perfect for adding your favorite toppings from cheese to chili to sour cream, or any of your favorite potato garnishes.
Can I Make these Potatoes in an Air Fryer?
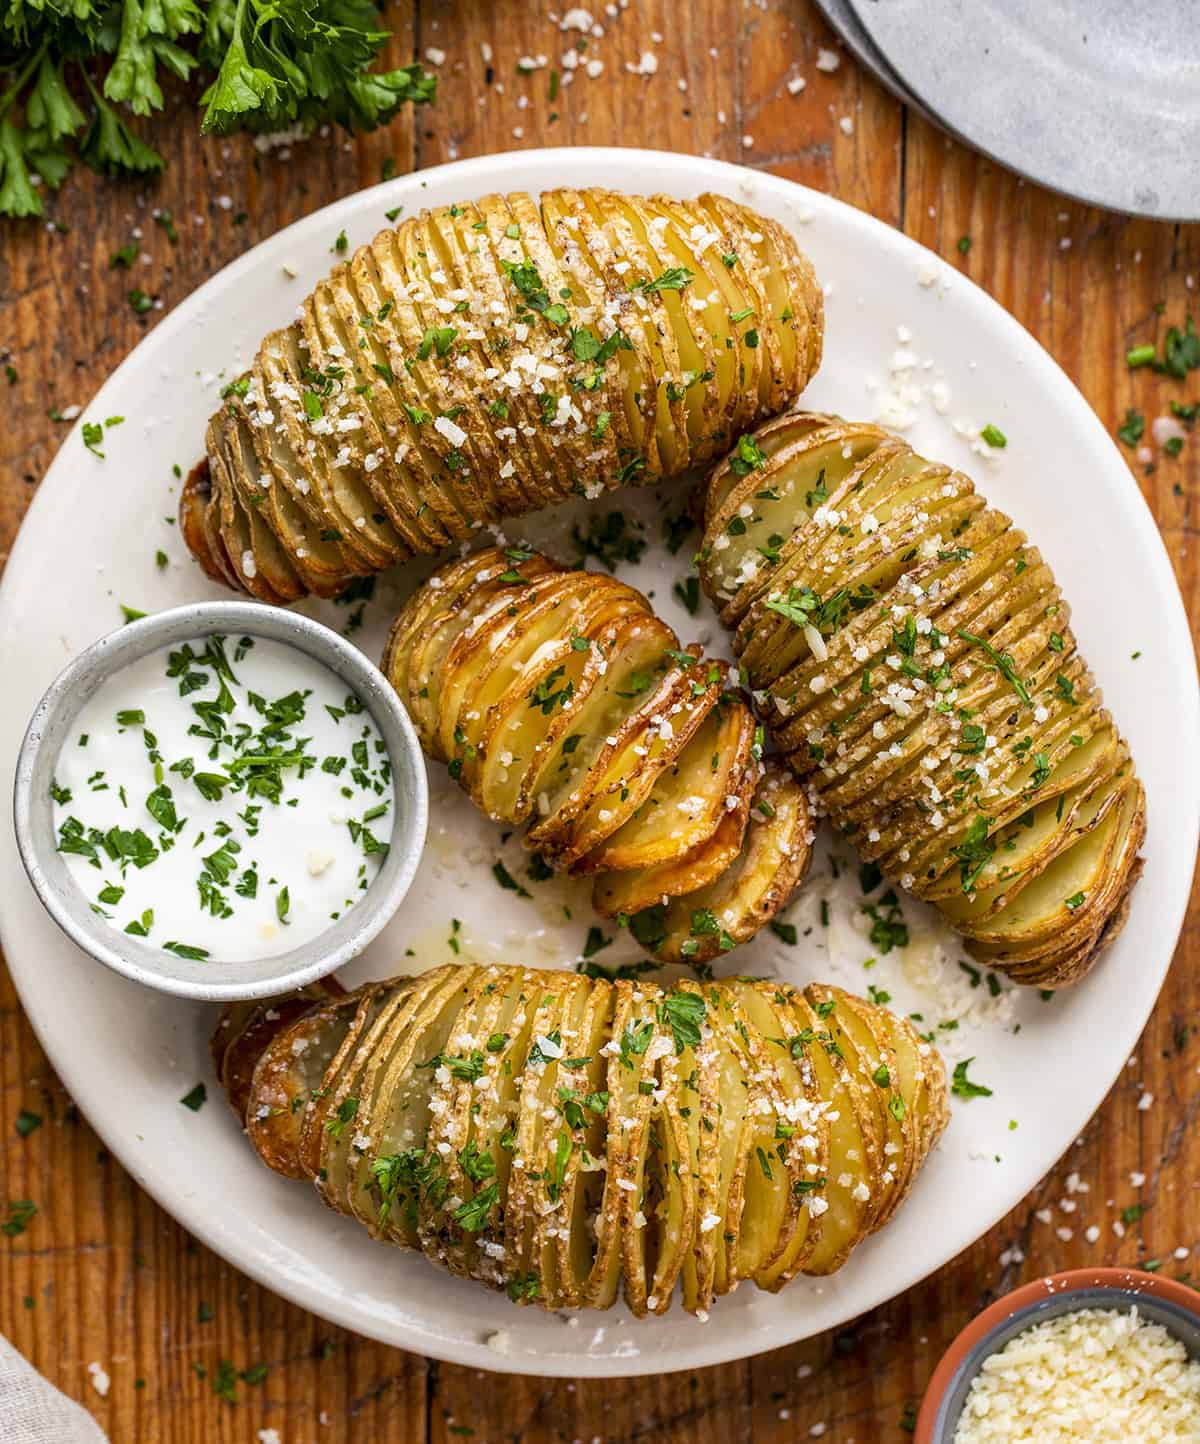
Yes! Just like my baked potatoes, these Hasselback potatoes can also be made in an air fryer. And, it is actually quicker in terms of cooking time. So, using an air fryer not only saves on time, but it leaves the oven open for other recipes like this Spatchcock Turkey!
To make the potatoes in an air fryer, follow the instructions up to cooking time. After brushing on half the butter and seasoning with salt and pepper, cook the potatoes for 15 minutes at 360°F. Then, brush on the remaining butter and cook an additional 10 minutes, or until the edges are crispy and the insides of the potatoes are tender.
I recommend the Ninja Air Fryer. (affiliate link) You can go up a size if needed, but it is superior in achieving consistent results and also ease of use. I’ve been very happy with this Air Fryer!
More Side Dishes
Hasselback Potatoes
Ingredients
- 4 large russet potatoes, washed and patted dry
- 4 tablespoons unsalted butter, melted, divided
- 1 teaspoon kosher salt
- ½ teaspoon pepper
- salt and pepper, to taste
Instructions
- Arrange a rack in the middle position of the oven and preheat to 425°F. Set aside an unlined baking sheet.
- Position one potato in between two chopsticks or skewers.
- Cut vertical slits (⅛ inch apart) in the potatoes, cutting straight down until your knife hits the chopstick, leaving the bottom intact. (The chopsticks' placement should prevent cutting too low.) Repeat this cutting process for the remaining potatoes.
- Place the potatoes on the unlined baking dish. Use a basting brush to coat about half the melted butter all over the potatoes, including the insides of the slits.
- Season the potatoes with salt and pepper.
- Bake for 30 minutes. After the potatoes have baked for 30 minutes, use a knife to gently pull the layers apart. Brush on the remaining melted butter.
- Bake 30-35 more minutes, or until the potatoes are crispy on the outside and tender on the inside. (Cooking times may vary depending on the size of the potatoes you are using.)
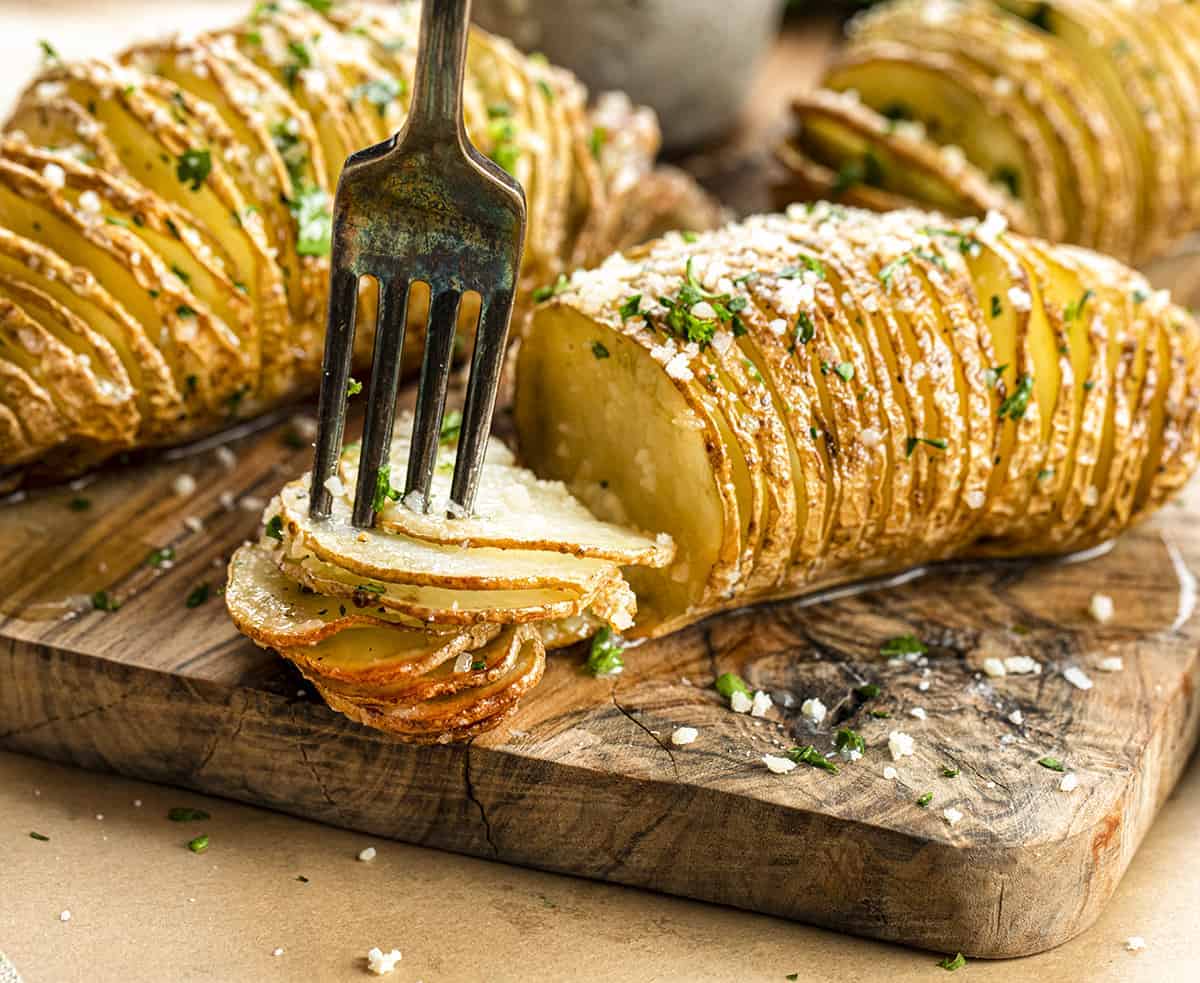
- Serve warm. Add salt and pepper to taste.
Did you make this recipe?
You can tag me at @iamhomesteader.
Came delicious in ninja air fryer.
Can you do
It in advance and soak in water to
Prevent browning
My entire family loved these! Rather than making a baked potato as a side, this will be my go to recipe for future dinners. Turned out GREAT! Followed the instructions as listed.
My favorite part of this recipe was the partially cooked potato paired with the smell of scorching butter filling the entire house 😍😍 sarcasm aside, I cut them plenty thin, followed the instructions, and after the hour they weren’t done so I did another 10 minutes then another 10 then wrapped them in tin foil to hopefully finish cooking as the outside was close to burnt. The end result was still partially cooked. If I try this again I’d do a lower temp and more time
Looks really nice and would like to try it. I don’t have skewers or chopsticks so I will use wooden spoons as suggested in the comments. I am not sure I understand how to use them though..do i pierce the potato with them? thanks
They are placed next to the potato so that when you are slicing the potato your knife doesn’t go all the way through to the bottom. There is a picture in the post showing that.
Absolutely delish! Served for breakfast with scrambled eggs, bacon and cinnamon rolls.
Is this recipe gluten free? Thanks!
I disliked these intensely. Wondering if I made them wrong but it’s not a hard recipe and I’ a decent cook. But I found them to have cooked unevenly (did I not spread the slices apart enough?) and the edges that browned were tough rather than crispy. Maybe I should have cooked them longer? For now I’ll stick with my fondant potatoes that I’m good at and maybe give these another go one potato at a time. Or maybe I’ll try the air fryer.
Mine turned out the same way. Whatever you did wrong, I did too. Fortunately, you can cook potatoes twice, so the next morning I fried the slices until golden brown and had them w/ breakfast.
Oops. Sorry, I see the temp now. 425
These look great, but I didn’t see what temp the oven should be.
I tried this recipe out for family dinner, and oh my gosh! It was amazing!!!😍🤤
Easy directions and tasty results!
Thanks!💕
I imagine I could make a bunch of them and freeze them for a quick reheat option? Have you tried this?
Very clear instructions and they tasted great.
Smells delicious!!!! Made 5 of them and already want to open the oven and eat them. Thanks!…. All of the cats and dogs are hungry too! 🙂
These Hasselback potatoes were so delicious. Crispy, yet soft and fluffy. Easy to make, too. They came out exactly as pictured. I will be making these again, and again. Thank you for the recipe.
i add maple bacon bits on them
I wanted something different to do with potatoes and found this recipe. It was a little challenging getting the cuts, but even though they weren’t cut perfectly, they turned out very well. Everyone was so impressed with the “fancy” potatoes. And, they were delicious!!
The picture shows some sort of Italian herb, but none are listed in the recipe.
It’s chopped parsley and parmesan cheese. No Italian herb.
Is the white sauce in the picture plain sour cream?
Not having chopsticks, I put my potato between two wooden spoon handles. Works perfect! Thanks!