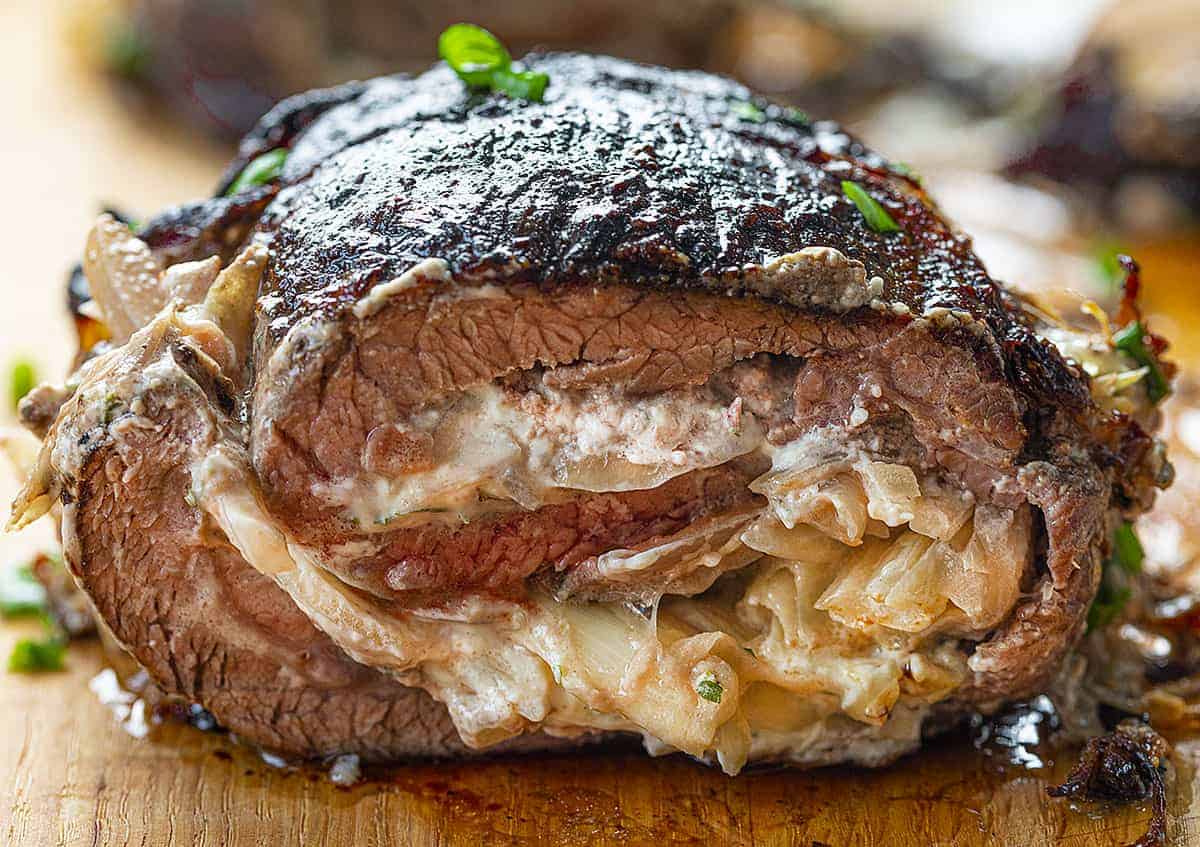
Cheesy Stuffed Flank Steak is a flank steak wrapped around a cream cheese and onion mixture, grilled and cooked to perfection for a delicious meal. Try my Jalapeno Popper Pork Loin and French Onion Stuffed Pork Loin for a couple of my other favorite stuffed meat recipes!
Cheesy Stuffed Flank Steak
If you’re looking to try something new, or maybe to make a weeknight dinner a bit more exciting, this recipe is perfect for you. Flank steak is a very lean cut of beef, so there is no reason to trim it at all, but it can be a bit tough. Knowing how to cook the steak makes a difference in how it turns out, so grilling, marinating, and tenderizing this cut of beef makes all the difference.
Today, I’m using one of three interchangeable attachments in my Smart Oven+–the grill attachment, which allows you to grill right in the kitchen!
Cheesy Stuffed Flank Steak Recipe
Filled with caramelized onions and a cream cheese mixture, this Cheesy Flank Steak recipe is easier to prepare than you might think, and it is definitely worth the effort!
How to Make Cheesy Stuffed Flank Steak
Begin by preparing the onions. To caramelize the onions, melt the butter in a large, oven-safe skillet over medium-high heat. Add the onions and beef broth, cooking the onions until they are browned and tender. This usually takes 15-20 minutes. Place the cooked onions in a bowl, tenting them to keep them warm until you add them to the steak.
Before you begin mixing the cream cheese mixture, preheat your oven to 450°F. If you are using the KitchenAid Smart Oven+, turn on both the oven and the grill attachment. Make sure you have the grill attachment set for thin steak. While the oven is preheating, combine the cream cheese, gorgonzola cheese, parsley, and salt in a medium bowl, and set that aside while you prepare the steak.
How to Butterfly Flank Steak
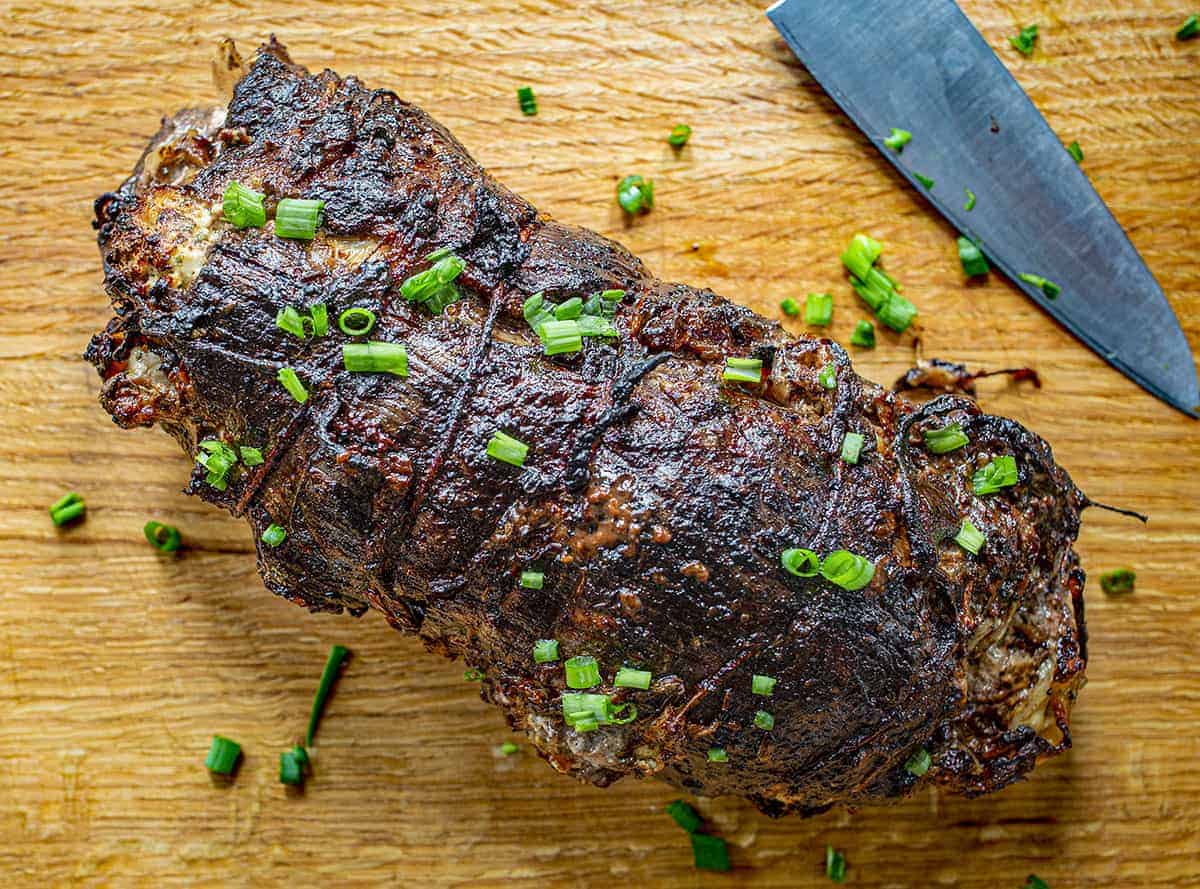
To get the cream cheese mixture and onions inside the steak, you have to butterfly the steak first. I mentioned earlier that there is no need to trim the fat off a flank steak, being that it is so lean anyway, however, some people prefer to get as much fat off the beef as possible before butterflying. It’s a personal preference, but remember, leaving a little fat on meat gives it more flavor. For the end result, you’ll want the steak to ‘open up like a book’.
- Determine the way the muscle grain is going. You will be cutting in the same direction.
- Following the grain, choose the side that is the thickest. You will be starting on the thicker side (if there is one).
- Take a SHARP (as sharp as you can get) chef knife to use.
- Place one hand on top of the flank steak, holding it down.
- With the knife in your other hand, make one long cut all the way down the steak. Be sure to keep your knife flat as you cut. You probably will get about a half-inch to an inch into the steak.
- Pull back the flap you just cut, hold it down, and make another cut, remembering to keep your knife flat.
- Repeat the cutting until you get as close to the edge without cutting through the ‘binder’ (sticking with the book reference there). You will have two ‘flaps’ that will open up to be filled and rolled. That’s it!
Filling and Rolling the Cheesy Stuffed Flank Steak
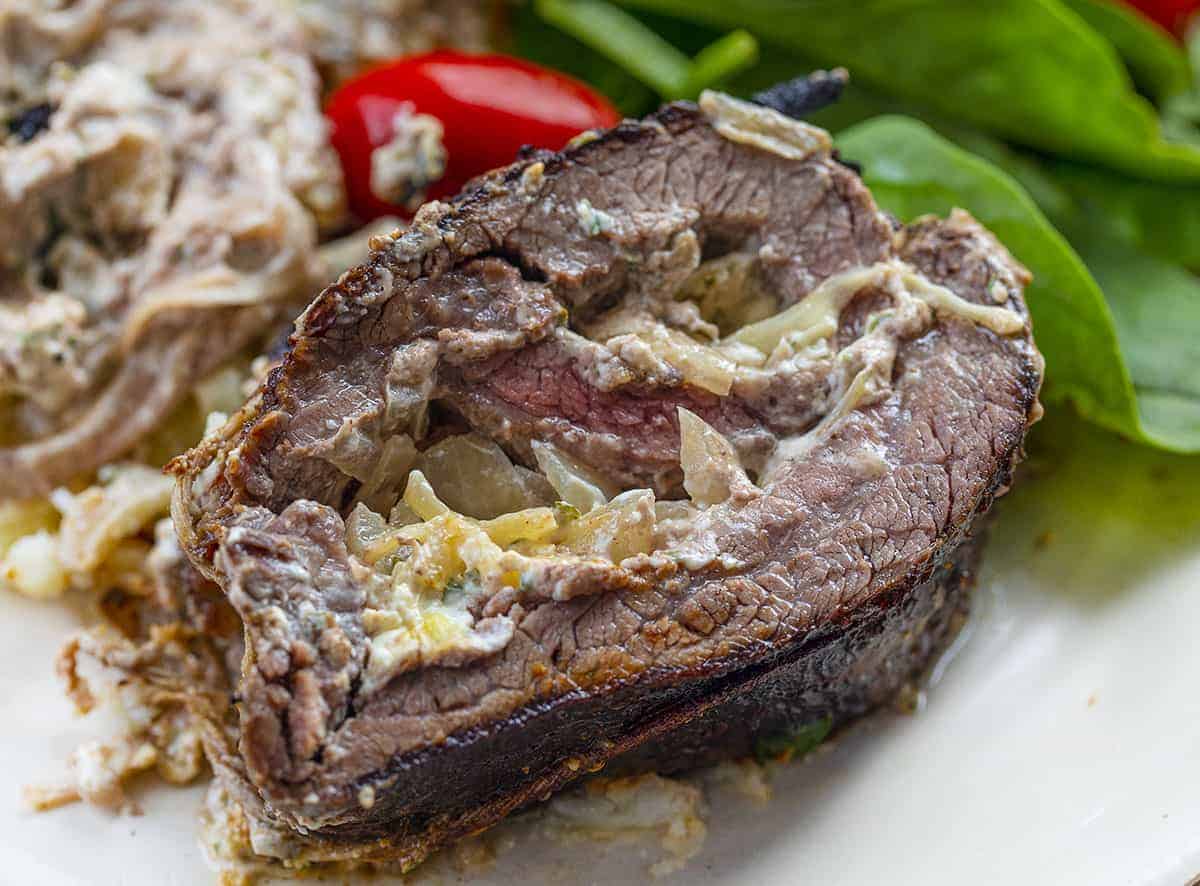
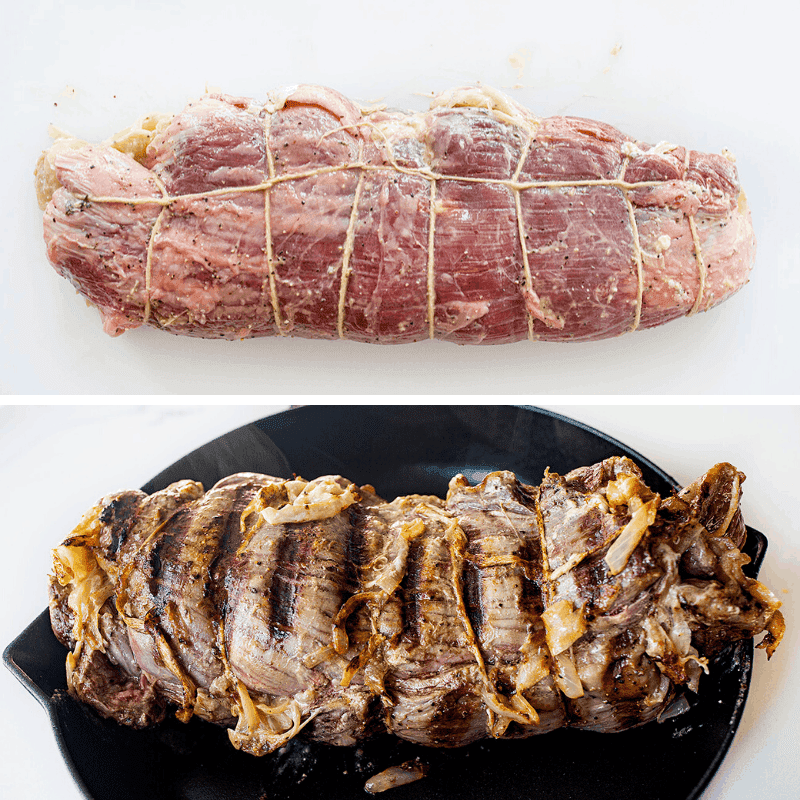
Now that you have the flank steak butterflied, it’s easy to finish up the process before cooking it. First, use a paper towel to pat dry the inside of the opened flank steak. Spread the cream cheese mixture over the flaps of the steak and top it with the cooked onions. Then, roll it up, tying it with cooking twine. Bring that oven-safe skillet back over medium heat, add oil, and sear the flank steak on all sides. I know it’s rolled up, so what do I mean by sides? Simply rotate it about four times to get as much of the meat seared as possible.
Here is where the fun begins if you have a KitchenAid Smart Oven+. After you have seared the flank steak in the oven-safe skillet, transfer it to the preheated grill attachment and set the timer for 8 minutes. Flip the Cheesy Stuffed Flank Steak every two minutes, returning it back to the skillet when those 8 minutes are up. Then, put the skillet holding the stuffed flank steak in the preheated oven to be cooked for 25-30 minutes, or until the flank steak reaches an internal temperature of 135°F (for medium-rare). Slice and serve warm, adding parsley for garnish. If you don’t have a Smart Oven+ with grill attachment, simply sear the flank steak a few minutes longer on each ‘side’ before transferring it to the oven.
Disclaimer: Grill ships with the KitchenAid Smart Oven+. Baking Stone and Steamer ship separately. Visit kitchenaid.com/redeem for details.
Dinner Ideas
Cheesy Stuffed Flank Steak
Ingredients
ONIONS
- 3 tablespoons butter
- 2 yellow onions, thinly sliced
- 1 cup beef broth
CREAM CHEESE MIXTURE
- 8 ounces cream cheese, room temperature
- 3 ounces gorgonzola
- 3 teaspoons dried parsley
- 1 teaspoon kosher salt
FLANK STEAK
- 1 whole flank steak (2 1/2 pounds)
- 1 tablespoon extra virgin olive oil
- 1 teaspoon salt
- 1/4 teaspoon pepper
Instructions
- Preheat oven to 450°F.
ONIONS
- In a large oven-safe skillet over medium-high heat, melt butter.
- Add onions and beef broth and cook until the onions are browned and tender (approximately 15-20 minutes). Transfer cooked onions to a bowl and tent to keep warm.
CREAM CHEESE MIXTURE
- In a medium bowl, combine cream cheese, gorgonzola, parsley, and salt. Set aside.
FLANK STEAK
- Butterfly the steak. With the steak on a cutting board, hold a knife blade parallel to the board and carefully make a lengthwise cut in the middle, stopping about 1/2 inch from the opposite end, being careful not to cut through the steak.
- Flip the steak and coat the outside with oil, salt, and pepper.
- Flip the steak and use a paper towel to pat dry the inside of the steak.
- Coat the inside of the steak with the cream cheese mixture.
- Top with the cooked onions.
- Tightly roll the steak to completely enclose all of the fillings.
- Using cooking twine, tightly secure the roll.
- In the same skillet over medium heat, add the steak to the pan and sear on all sides (about 2-3 minutes on each side). Turn the loin a total of 4 times.
- **NOTE: If using your KITCHENAID GRILL ATTACHMENT in the KITCHENAID SMART OVEN, transfer the rolled steak the preheated grill set for thin steak (manual timer for 8 minutes). Flip every two minutes and then transfer back to the original skillet.
- Transfer the skillet to the oven and cook for 25-30 minutes or until the flank steak reaches an internal temperature of 135 °F (for medium rare).
- Slice and serve warm.
- Add parsley for garnish.
Video
Did you make this recipe?
You can tag me at @iamhomesteader.
Made this tonight and my husband and I both loved this. I had to modify the recipe because I didn’t have gorgonzola, I subbed fresh mozzarella. I also sautéed some jalapeño with the onions. It was amazing!!! Thanks for the recipe. Will definity make this again.
I have made several of your recipes and they Rock ! Thank you for giving people the inspiration to cook at home again .
Made the flank steak rolls tonight. Modified the recipe to what I had no Gorgonzola lol but used cream cheese and a Mexican blend and a lil Worcestershire. Great idea that we will try again!! Thanks!
I have to make that it looks great