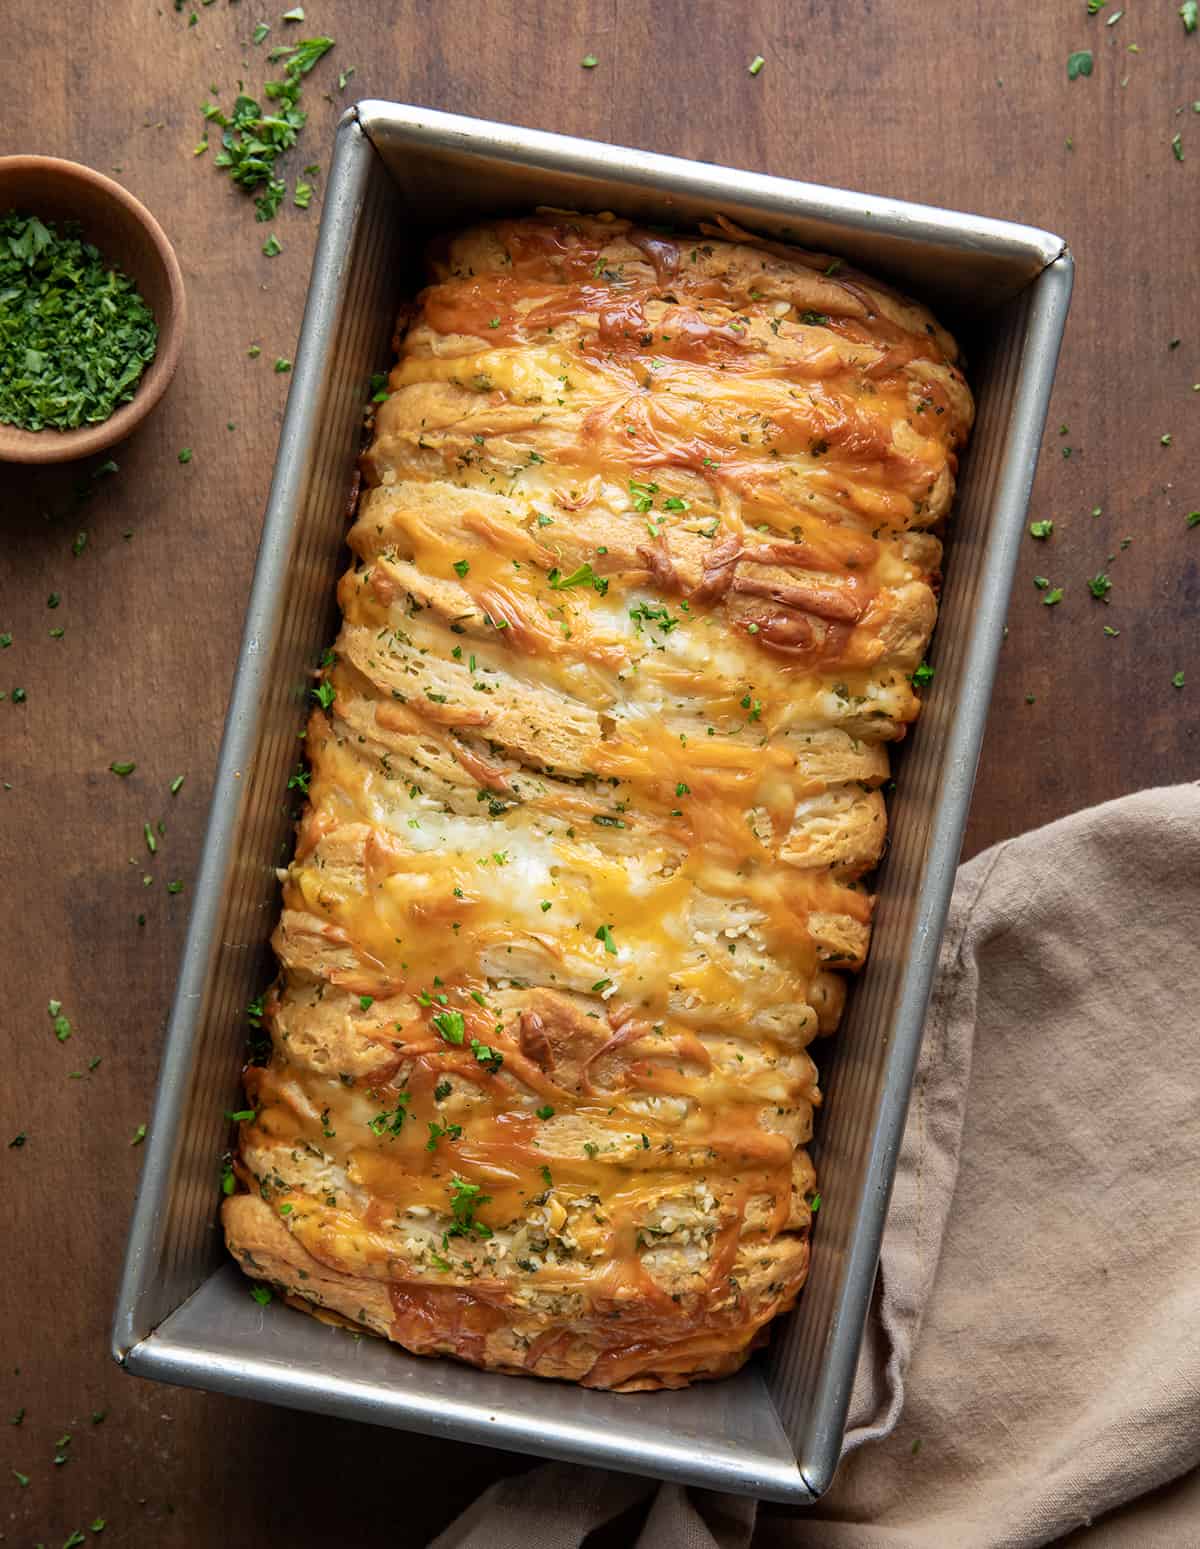
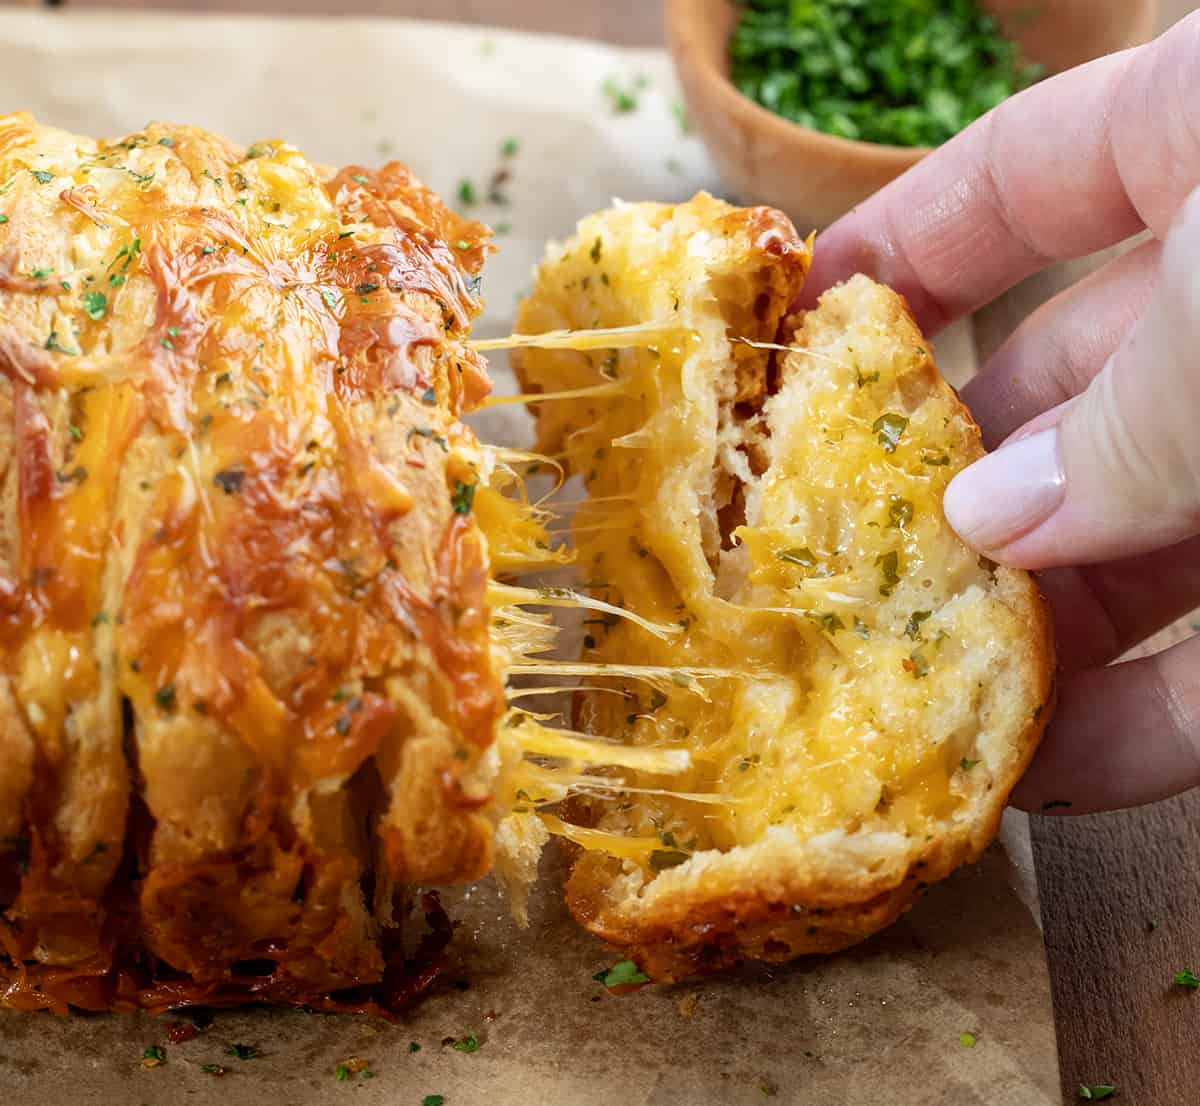
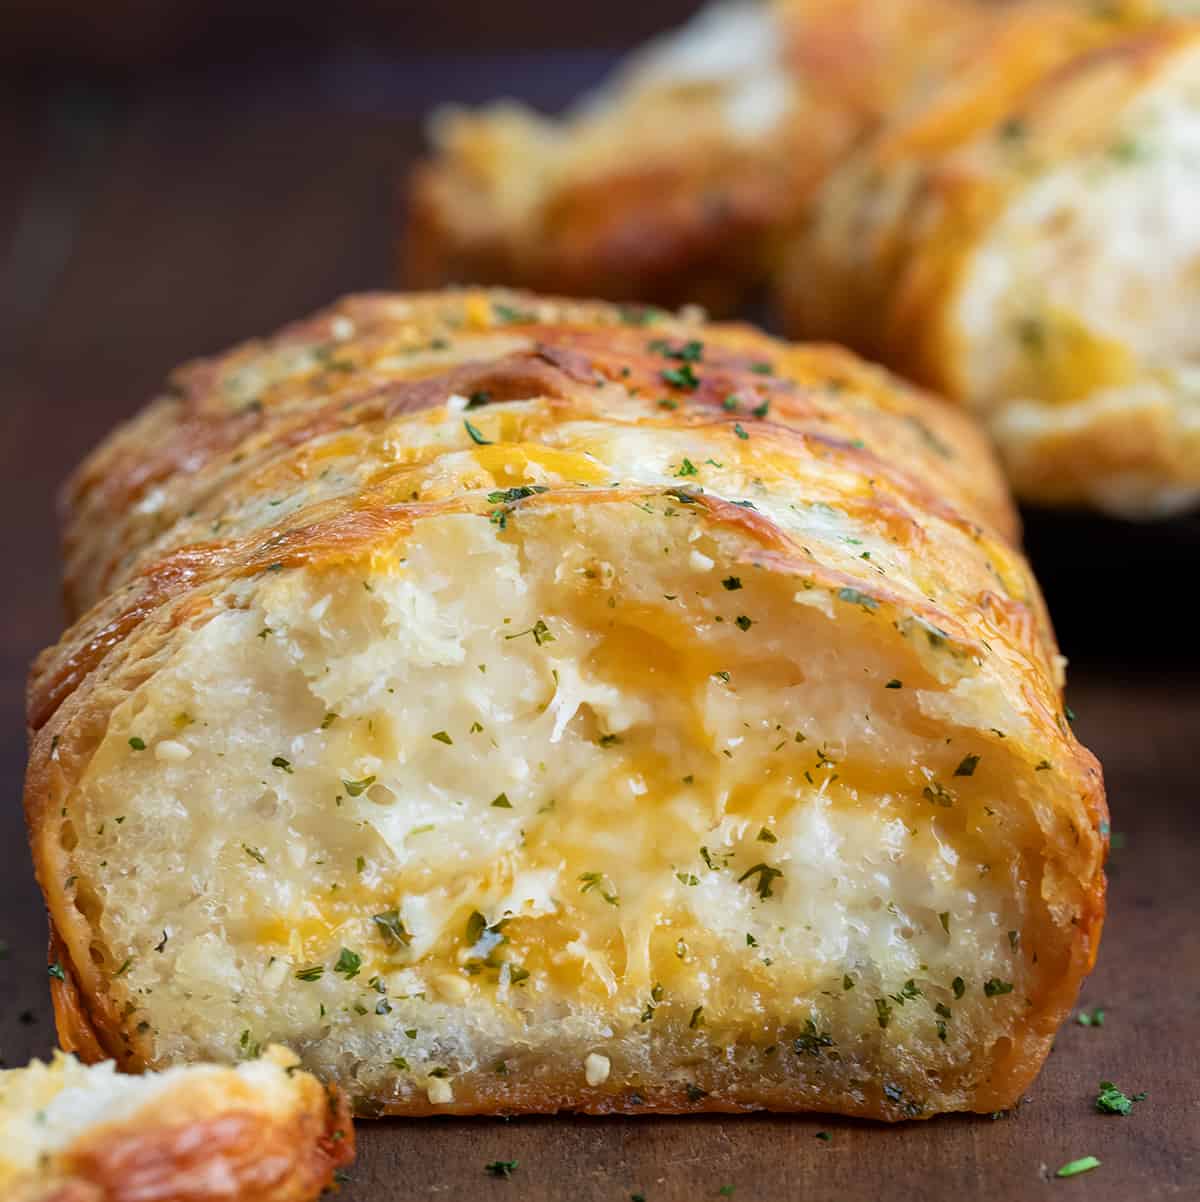
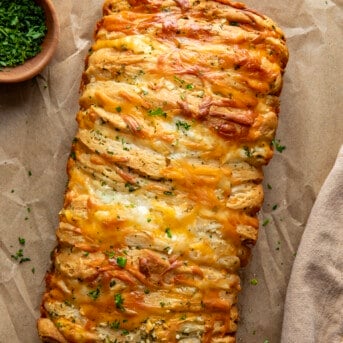
Cheesy Garlic Pull-Apart Bread is layers of biscuits generously coated in garlic butter with layers of cheese in between each, baked to golden brown. It is a delicious appetizer or side dish that is perfect for sharing and enjoying warm out of the oven. Be sure to check out my from-scratch version of this delicious Cheesy Garlic Pull-Apart Bread!
Ingredients & Substitutions
Biscuits: Look for a can (tube) of Southern homestyle buttermilk biscuits, but not the flaky variety. You will separate each biscuit into two layers for a total of 16 layers of biscuit dough.
Butter: I prefer using unsalted butter to have more control over the salt added. If using salted butter, you may want to lessen the amount of salt added to the garlic butter.
Garlic: You will need a tablespoon of minced garlic for the garlic butter that each layer of dough will be dunked into.
Cheese: For the ooey-gooey cheese in between each layer of biscuit dough, I used both mozzarella and sharp cheddar cheese. You could also experiment with other kinds of cheese, using your favorite blend or variety! Or, skip the cheese altogether and just add more garlic butter to each piece!
How To Serve Cheesy Garlic Pull-Apart Bread
Cheesy Garlic Pull-Apart Bread is best served warm, right out of the oven. Here are some serving suggestions for the bread:
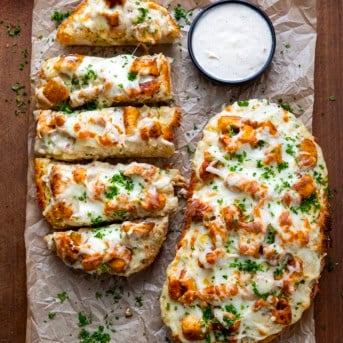
- Serve it as an appetizer. Slice the bread into portions and serve at parties, gatherings, or at the dinner table. I like to offer some optional dipping options like marinara, ranch dressing, or aioli.
- Pair slices of the cheesy garlic pull-apart bread with your favorite soups (like Roasted Tomato Soup or Lasagna soup) or salads (like a Wedge salad).
- Set out a basket of bread to serve as a side dish with main dishes like pasta dishes like my Easy Pizza Casserole, roasted chicken, or steak.
- Enjoy the bread with a variety of dips and spreads like hummus and spinach artichoke dip.
How Can I Tell The Bread Is Fully Baked?
There are a few ways to check this pull-apart bread for doneness. After all, you don’t want to pull it apart and see dough in the middle! To check that the bread is fully cooked, first, look at the top and the edges. It should be a nice golden brown. Another way to check for doneness is by gently pressing on the center of the loaf. It should feel firm and spring back slightly. Or, check the internal temperature of the bread (trying not to hit the cheesy parts). The internal temperature should read 190°F.
How To Store Cheesy Garlic Pull-Apart Bread
Although best served warm out of the oven, you can store leftovers for a few days. To store the pull-apart bread, first, let the bread cool completely. Next, wrap the bread in plastic wrap or aluminum foil and store it in the refrigerator. It will last up to 3-4 days. Reheat the bread in the oven at low temperature or in the microwave.
Can I Freeze This Pull-Apart Bread?
Sure! For longer storage of leftovers, you can freeze the bread. First, let it cool completely. Next, wrap it a couple of times in plastic wrap or aluminum foil. Then, store it in a freezer-safe container or bag for up to 1-2 months. Let the bread thaw before reheating.
Cheesy Garlic Pull-Apart Bread
Ingredients
- 1 can (8-count) buttermilk biscuits
- ½ cup (1 stick / 113 g) unsalted butter, melted
- 1 tablespoon garlic, minced
- 1 tablespoon parsley, chopped, plus extra for garnish
- ½ teaspoon kosher salt
- 1 cup (113 g) mozzarella cheese, shredded
- ½ cup (56.5 g) sharp cheddar cheese, shredded
Instructions
- Preheat oven to 350°F. Spray a 9×5-inch loaf pan with non-stick cooking spray. Set aside.
- In a small bowl, combine melted butter, minced garlic, chopped parsley, and kosher salt. Stir well and set aside.
- In a separate bowl, combine the mozzarella and sharp cheddar cheese. Set aside.
- Remove the biscuits from the can, separating each biscuit. Then, peel each biscuit into two layers, creating a total of 16 layers.
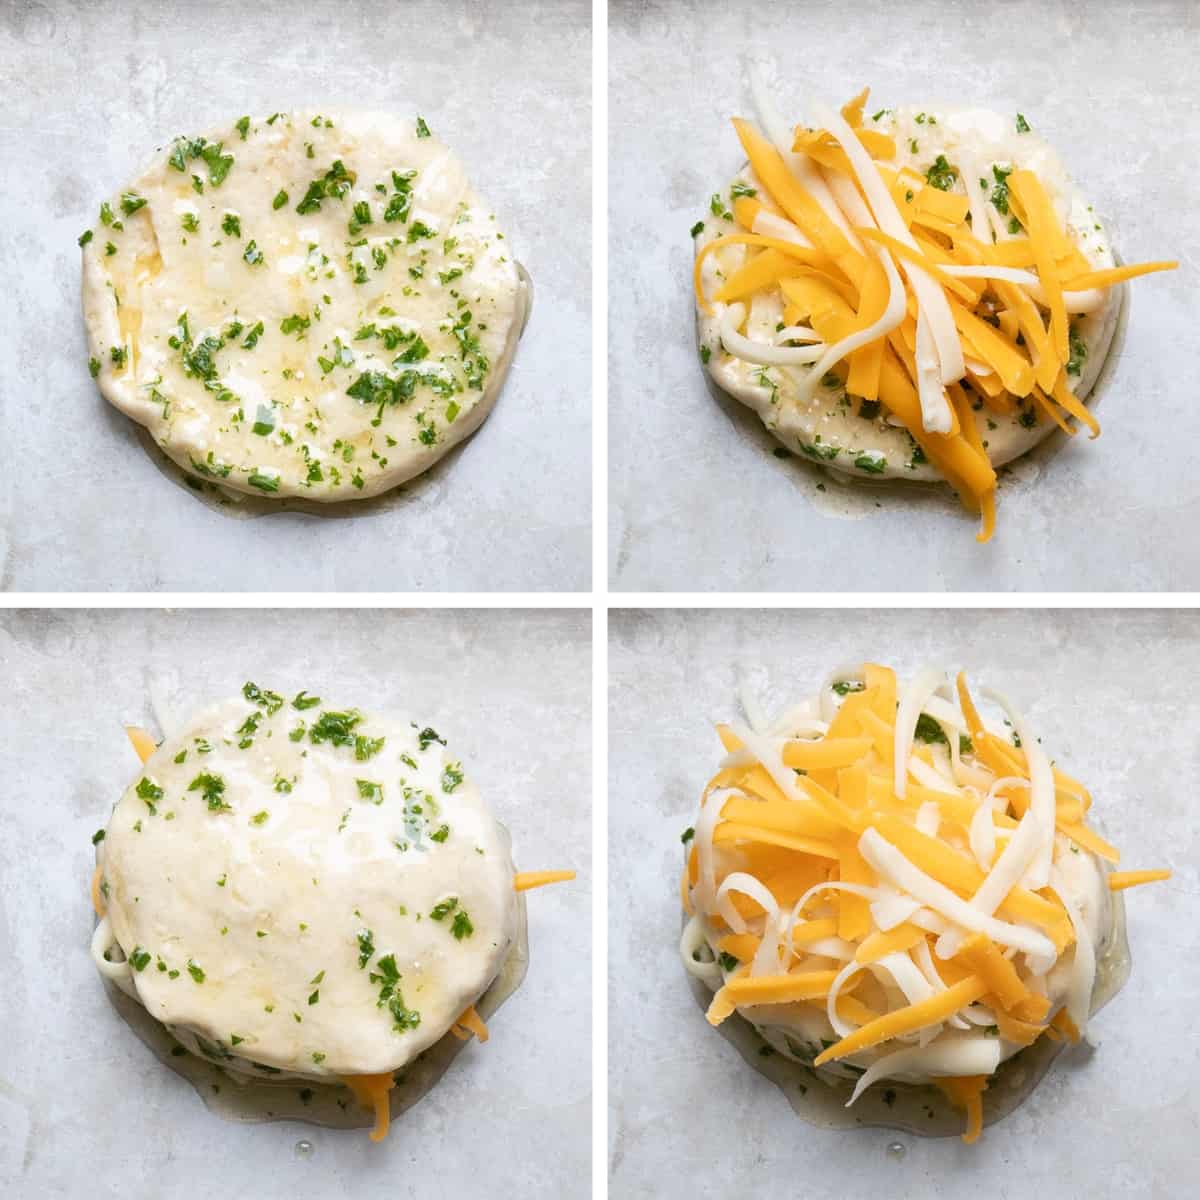
- Dip one layer of biscuit dough into the garlic butter, ensuring it's completely coated. Sprinkle about 1 tablespoon of the shredded cheese mixture on top. Repeat with the remaining layers, stacking them on top of one another as you go. (You should have two stacks of 8 layers each.)
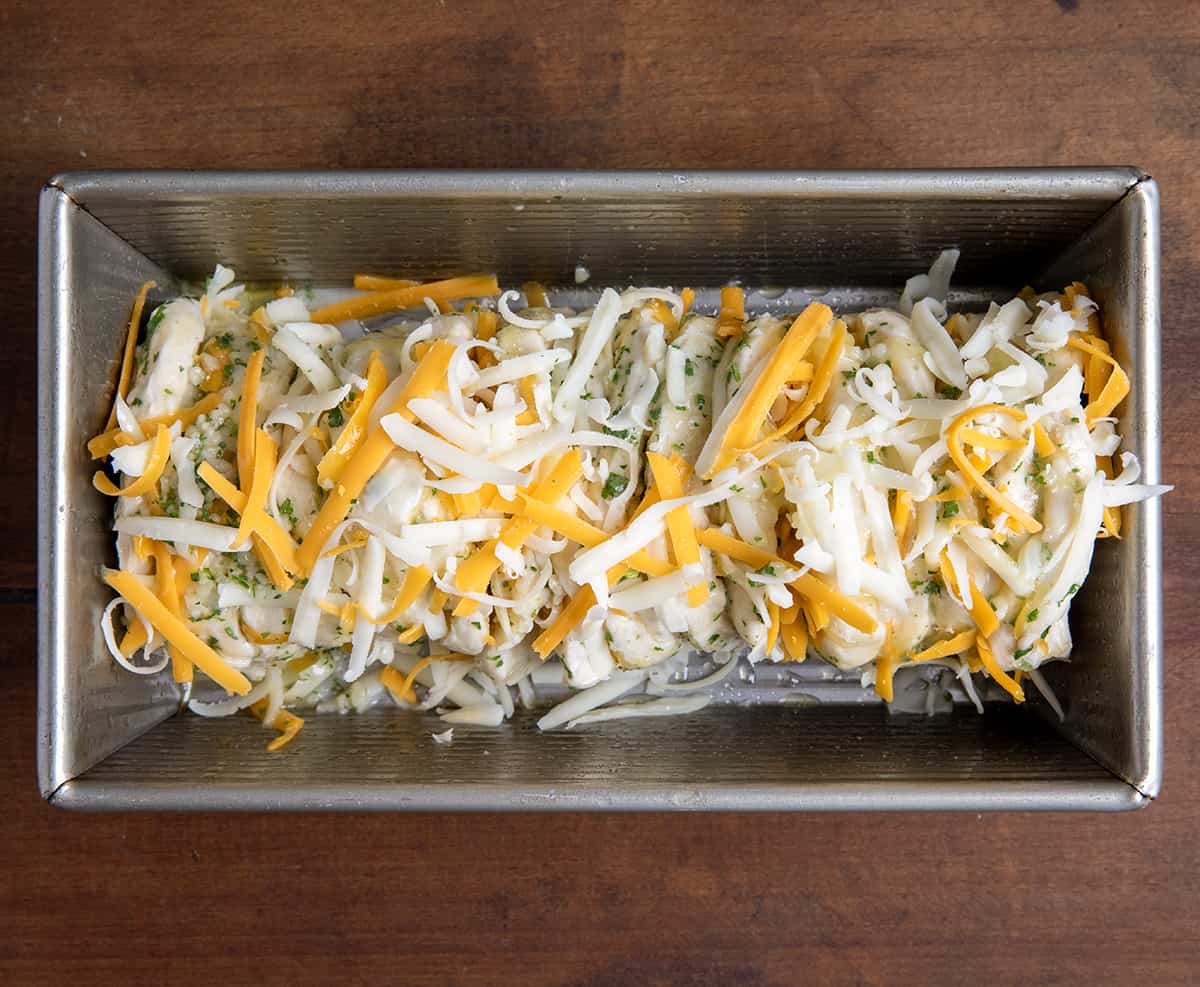
- Carefully place the stacks horizontally in the prepared loaf pan, from one end to the other, ensuring a tight fit.
- Brush the top of the stacks with the remaining garlic butter and sprinkle with the remaining shredded cheese.
- Cover with aluminum foil and bake for 35 minutes. Then, remove the foil and bake for an additional 25 minutes, or until the bread is golden brown and cooked through.
- Once done, remove the bread from the oven and let it cool for a few minutes. Garnish with extra chopped parsley if desired. Serve warm.
Video
Notes
Did you make this recipe?
You can tag me at @iamhomesteader.
What the Test Kitchen had to say about this recipe:

Autumn
What a fun and quick solution to a dinner side dish! The cheesy biscuit flavor is simply delicious and the presentation is beautiful. I loved the pockets of melty cheese that were hidden throughout the bread.

Elizabeth
You really can't go wrong with an easy-to-make, garlic cheese bread. This is as fun to eat (by pulling it apart) as it is delicious!

Rachael
Such an easy way to throw together cheesy garlic bread with biscuit dough! This is a great recipe to have on hand and people will think you spent a long time making it!

Annabelle
I absolutely love garlic bread, and I think this is such a fun and easy way to make it!

Bella
Bread and cheese is my weakness! This bread is so addicting and easy to munch on since it's a pull-apart bread! This will definitely be a big hit.
Garlic and cheese are a match made in heaven. Using canned biscuits makes this recipe super easy to put together!
Can this recipe be assembled ahead of time to bake later?
Yes, the Cheesy Garlic Pull-Apart Bread can absolutely be assembled ahead of time and baked later. Here are a few tips to ensure the best results:
Make-Ahead Instructions:
Assemble the Bread:
Slice the bread, stuff it with the cheese mixture, and drizzle the garlic butter over the top as instructed.
Wrap and Refrigerate:
Wrap the assembled bread tightly in aluminum foil to prevent it from drying out. Store it in the refrigerator for up to 24 hours before baking.
Baking Tips:
Remove the bread from the refrigerator about 20-30 minutes before baking to let it come closer to room temperature. This ensures even baking.
Bake as directed, checking to make sure the cheese is melted and the bread is warm throughout.
Freezing Option:
If you want to prepare it even further in advance, you can freeze the assembled bread (wrapped tightly in foil and then plastic wrap) for up to 1 month. Thaw in the refrigerator overnight before baking.
This method allows you to serve fresh, melty pull-apart bread without any last-minute stress. Enjoy!
Isn’t one hour a long time to bake buscuit
No, not in this recipe. 🙂
Made it as directed, and it was perfect. Guests loved it.
these these look fab but living in the UK I have no idea where to find a can of buttermilk biscuits which rather defeats the object. I’m guessing a scone dough might work but it would be good if you could advise me as id like to try these
Can you use flaky biscuits? Also what else can you use besides biscuits. I’m not a big fan of them but I’m going to try them. Just wondering what else you can use if I don’t like the biscuit taste
Would love to make these but we don’t have buttermilk biscuits in the UK, please can you suggest an alternative?
Looks like a delicious recipe. I am going to give it a try.
Love all your recipes, Inge