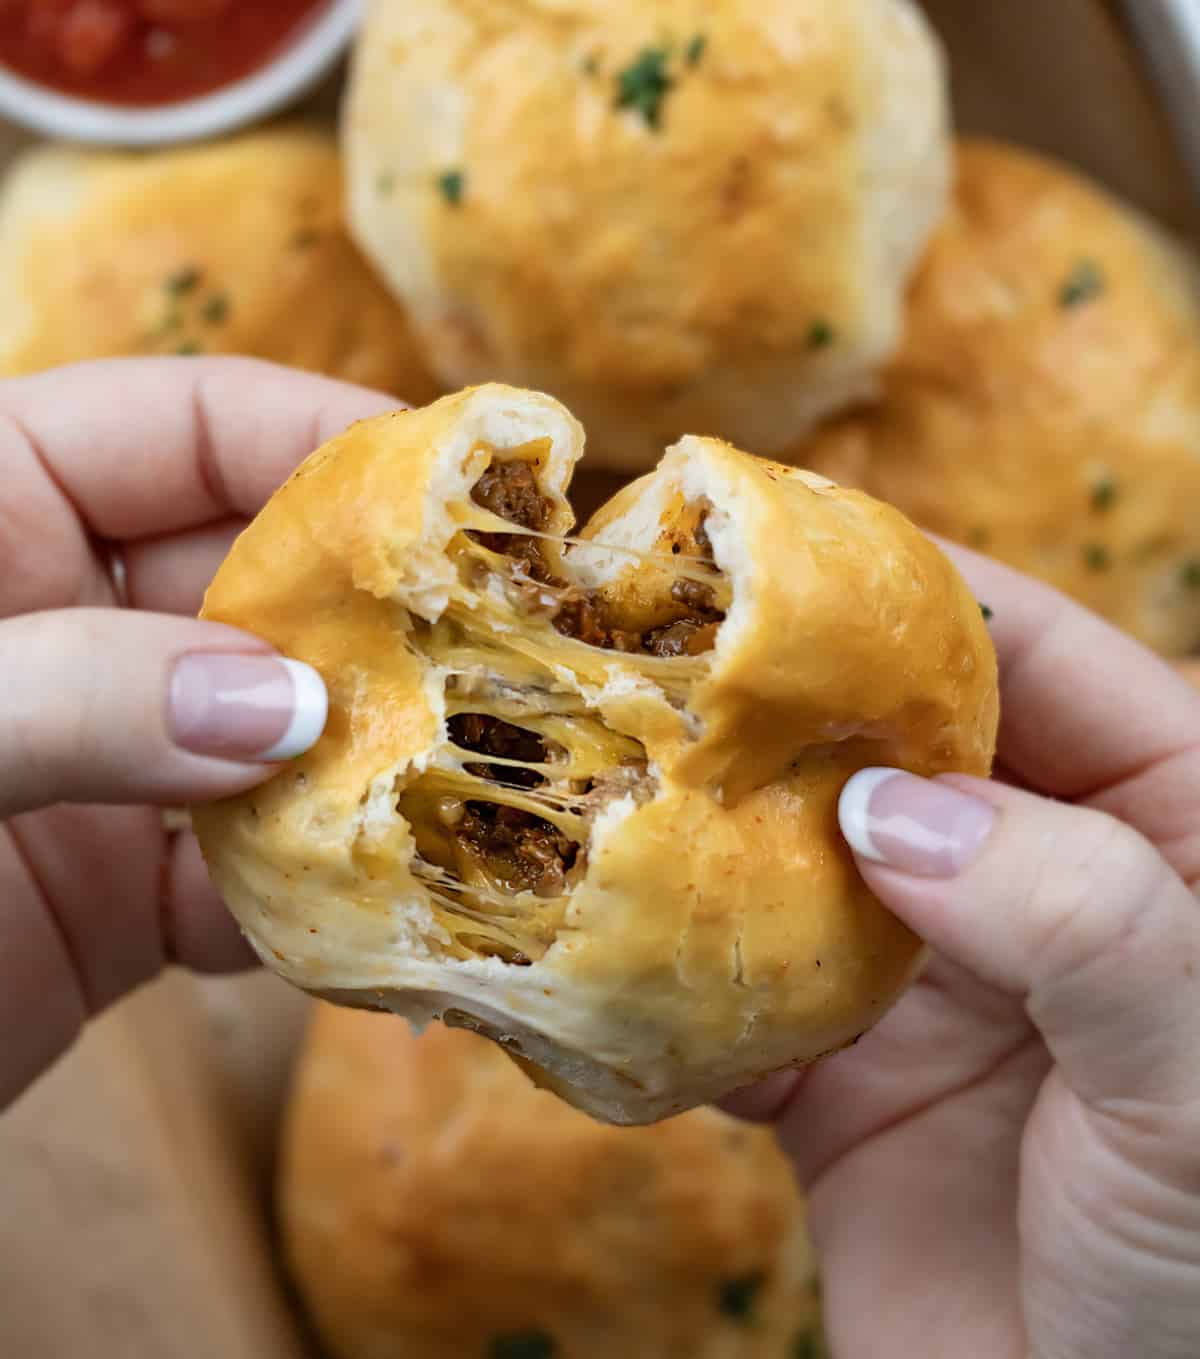
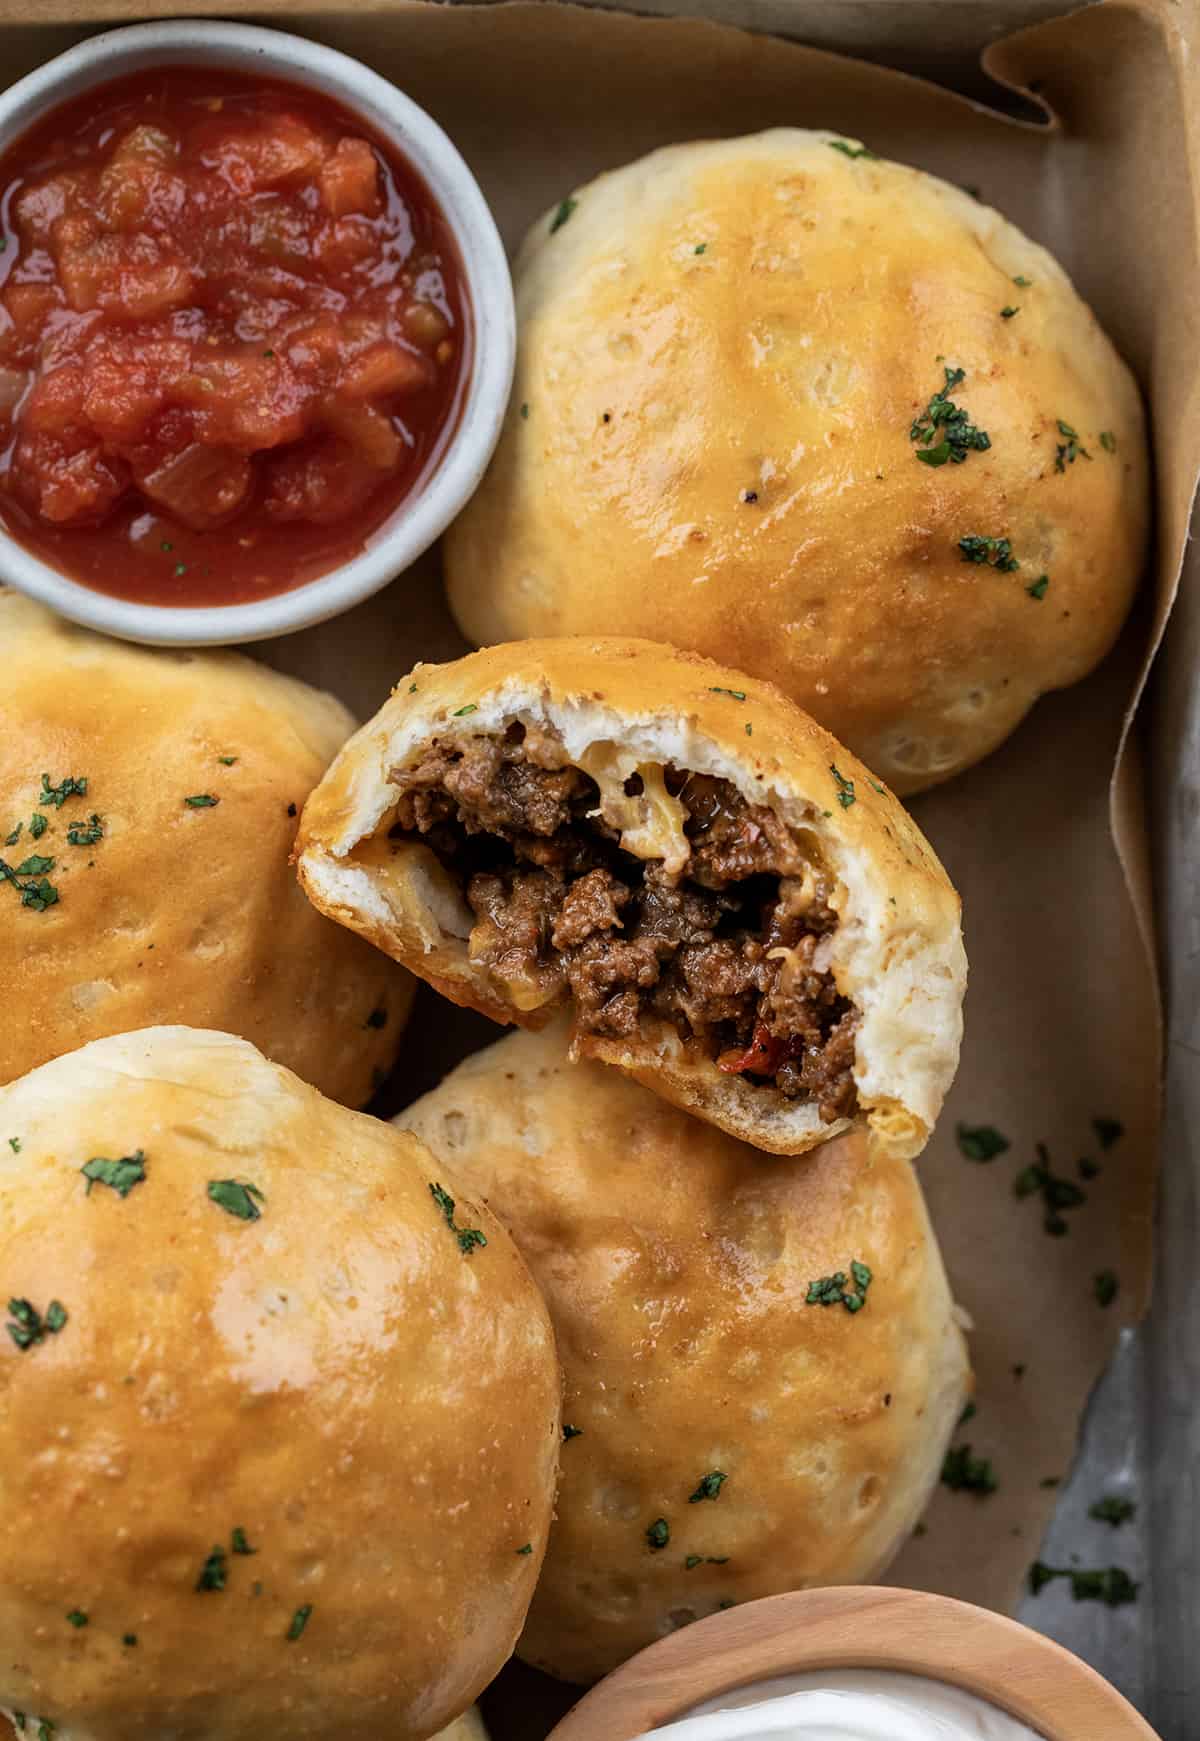
Cheesy Taco Bombs are buttermilk biscuits filled with seasoned ground beef and cheese, brushed with garlic butter with taco seasoning, and baked to golden brown. They are a delicious twist bursting with a classic taco flavor that is sure to be a hit! Enjoy a couple to make them a meal, or serve as an appetizer for the big game or party! Air fryer instructions are also included. I also have Cheeseburger Bombs and Pizza Bombs that people love!
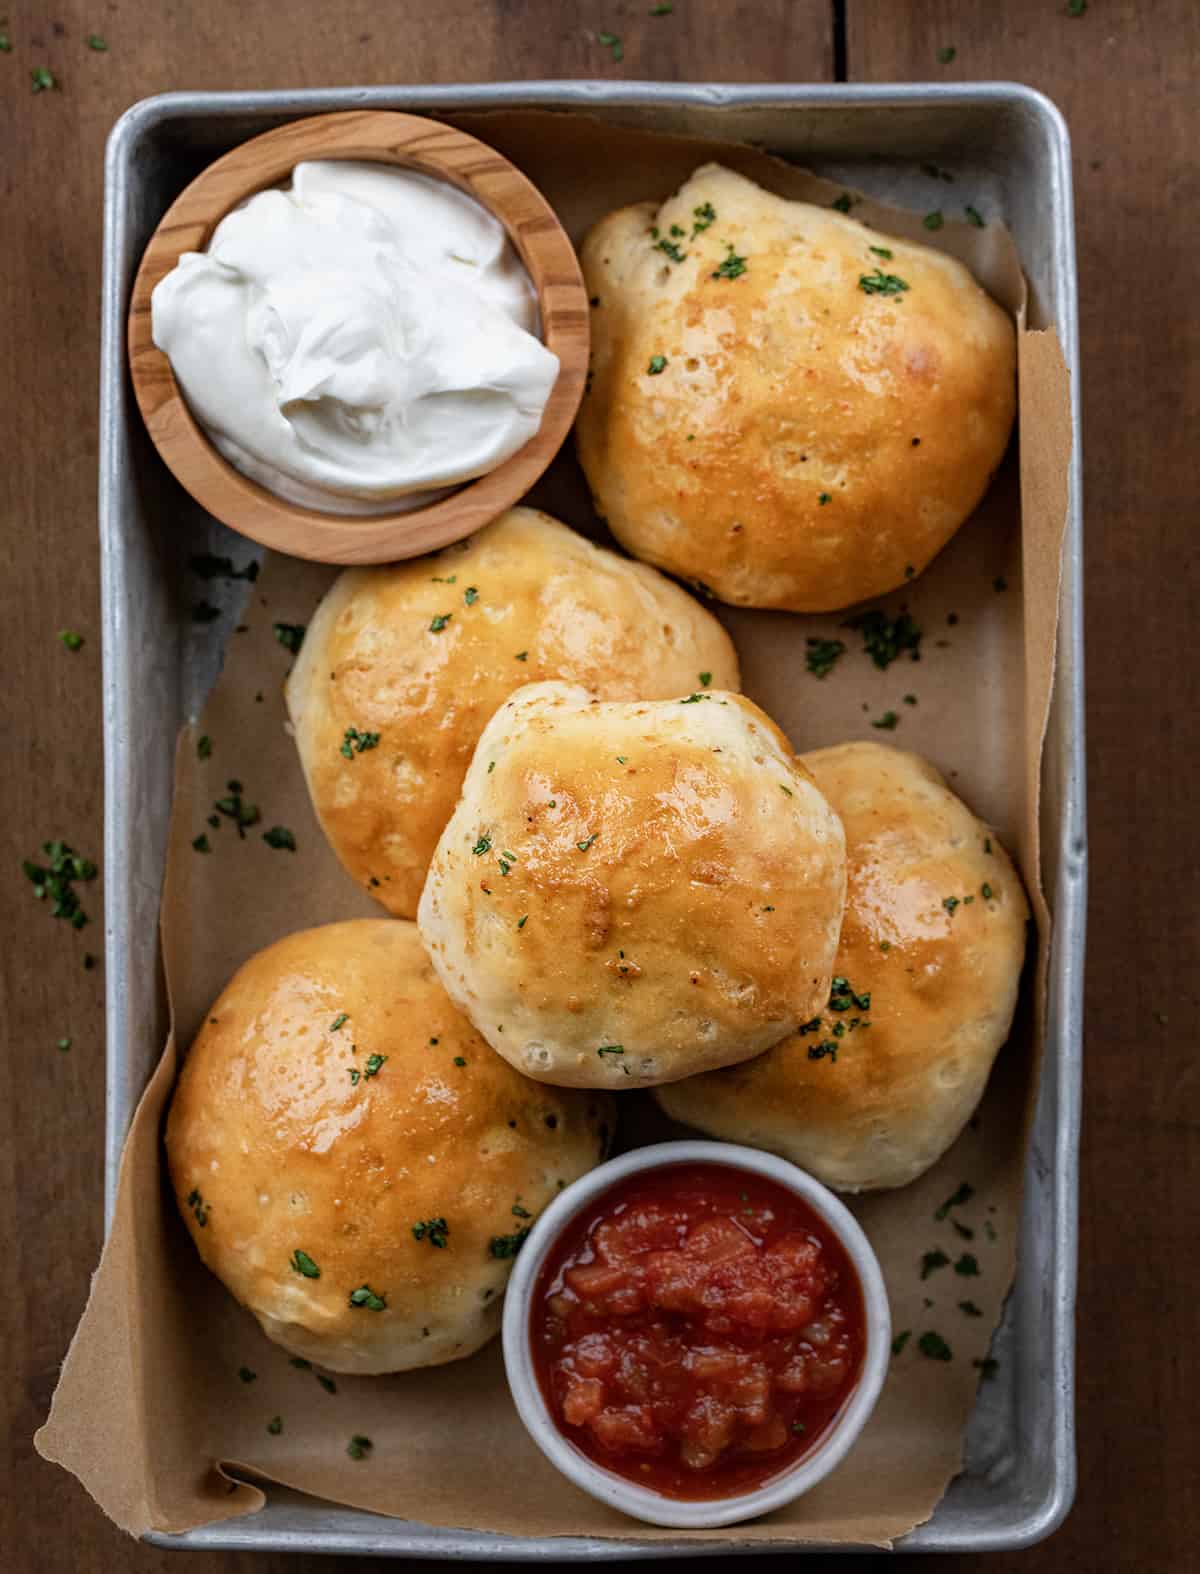
Ingredients & Substitutions
Meat: Look for a pound of ground beef to use in the taco bombs. It is your preference to choose lean or higher-fat ground beef. Ground turkey would also be a delicious option.
Taco Seasoning: Taco seasoning is used to season the beef and season the garlic butter brushed over the bombs. This ensures plenty of flavor in each meaty, cheesy bite! For the most flavor, make homemade taco seasoning!
Biscuits: Use a tube of buttermilk biscuit dough (not flaky) in this recipe. If you are feeling motivated, use my homemade buttermilk biscuits recipe. Store-bought or homemade pizza dough would also work, but you may have to adjust the baking time.
Cheese: I added mild cheddar cheese to the taco bombs, but feel free to use your favorite variety of cheese. Monterey Jack or Pepper Jack would be tasty options!
Garlic Butter: Before baking the bombs, brush the seasoned garlic butter over the tops of the taco bombs.
Salsa: Besides using it for serving, I added salsa to the seasoned ground beef. You can choose your favorite salsa and heat level (hot, medium, or mild).
Can I Make Taco Bombs Ahead Of Time?
You can get a head start on taco bombs by making the ground beef mixture in advance. Once you have the beef cooked, let it cool to room temperature. Then, store it in an airtight container in the refrigerator for up to 2-3 days. When ready to use, let the ground beef come to room temperature for 15-20 minutes before assembling the bombs. Or, reheat it slightly on the stovetop.
Can I Use A Different Pan?
Yes, you can get cheesy taco bombs made even if you don’t have an oven-safe skillet. You could use a baking sheet lined with parchment paper, leaving some space between each one for baking. Or, arrange the taco bombs in a greased baking dish or pie tin.
How To Store Cooked Cheesy Taco Bombs
If you have any taco bombs left over, store them in the refrigerator or the freezer. Follow these steps for storage:
- Allow the taco bombs to cool completely to prevent condensation from forming, affecting the texture.
- Put the cheesy taco bombs into an airtight container with a tight lid to seal out the air and prevent any drying out.
- To refrigerate: Store the taco bombs in the refrigerator for up to 3 days. Reheat them in the oven, air fryer, or microwave before serving.
- To Freeze: For longer storage, freeze the taco bombs for up to 3 months. Place them in a freezer-safe container, tightly sealing the container. To reheat, bake the frozen cheesy taco bombs in the oven at 350°F until they are heated through and the cheese is melted.
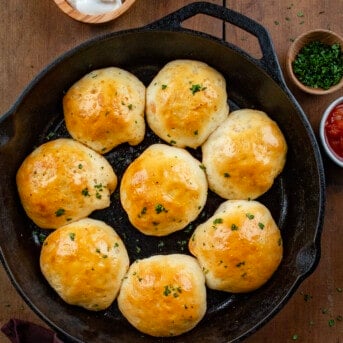
Cheesy Taco Bombs
Ingredients
- 1 pound ground beef
- 1 package (1 ounce / 2 tablespoons) taco seasoning
- ½ cup (129.5 g) salsa
- 1 can (8-count) refrigerated biscuits, not flaky
- ½ cup (56.5 g) mild cheddar cheese, shredded, divided
Garlic Butter
- ¼ cup (½ stick / 57 g) unsalted butter, melted
- ¼ teaspoon garlic powder
- ¼ teaspoon taco seasoning
For Serving
- cilantro, chopped for garnish
- salsa
- sour cream
Instructions
- In a large non-stick skillet over medium heat, cook ground beef for 8-10 minutes, or until no longer pink. Drain excess grease if necessary. Add taco seasoning and salsa. Stir to combine and set aside.
Assembly
- Preheat the oven to 375°F* and spray a 10-inch oven-safe skillet with nonstick cooking spray.
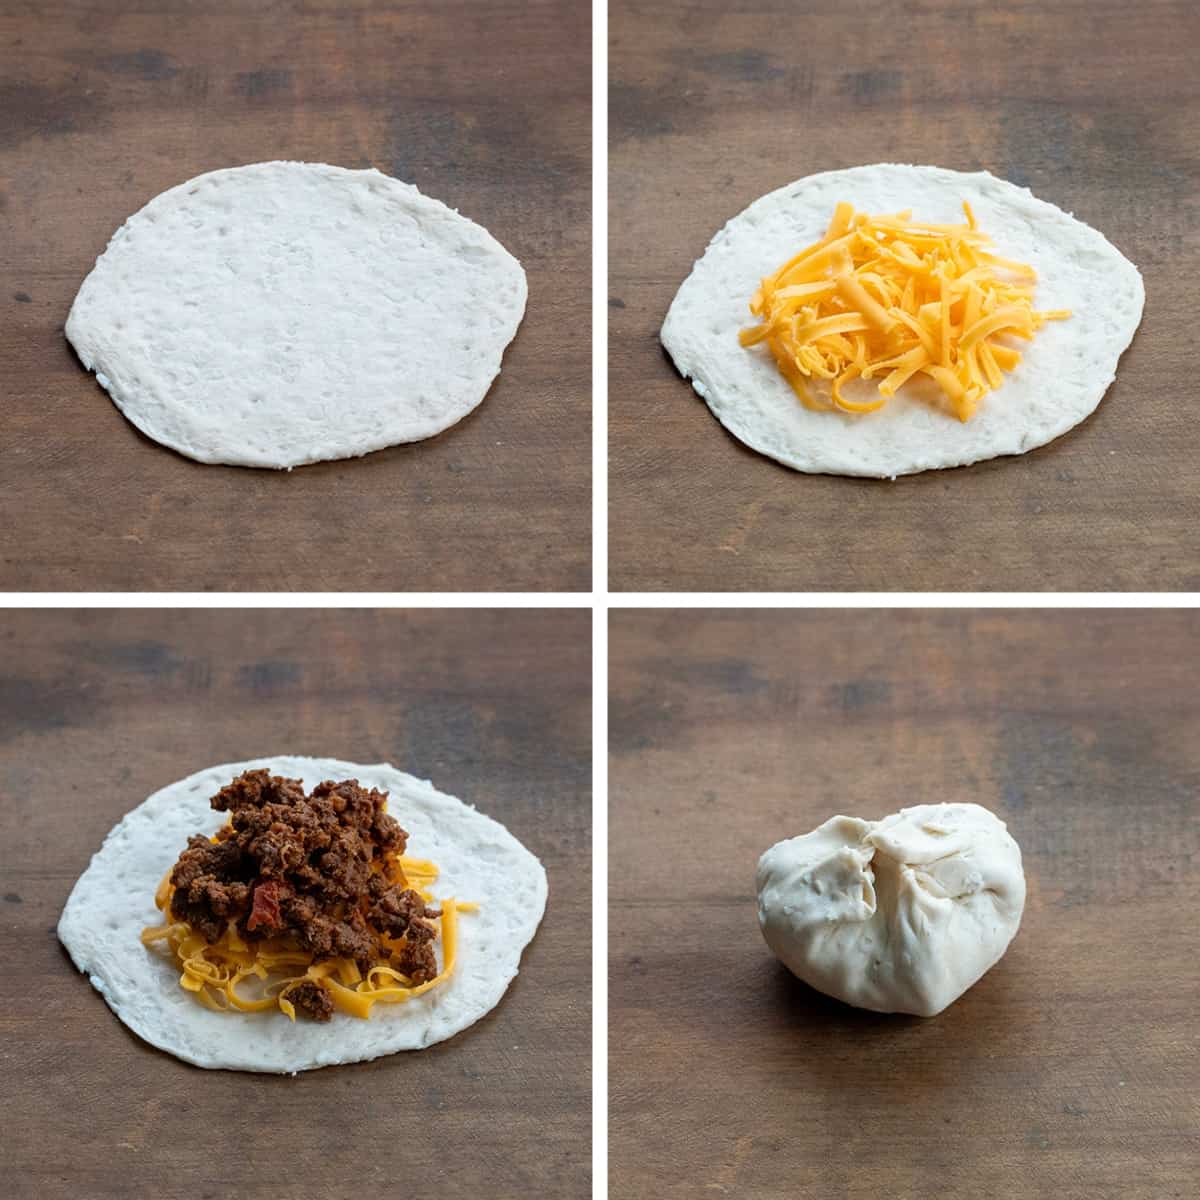
- Remove the biscuits from the can and place them on a clean work surface. Using a rolling pin, flatten each biscuit to about a 5-inch circle with ⅛-inch thickness.
- Add 1 tablespoon of cheese on top of each biscuit.
- Top the cheese with an equal amount of taco meat, about ⅓ cup each.
- Pinch the edges of the biscuit together to seal the mixture inside.
- Place the sealed biscuits, seam-side down, into the prepared skillet.
- In a small bowl, combine the butter, garlic powder, and taco seasoning.
- Brush the top of each biscuit with the garlic butter.
- Bake for 24-26 minutes, or until golden brown.
- Garnish with cilantro and serve with salsa and sour cream.
Video
Notes
- Assemble the cheesy taco bombs as instructed.
- Place the sealed biscuits, seam-side down, into the basket of your air fryer. Depending on the size of the air fryer, you may have to work in batches.
- Air fry at 350°F for 5-7 minutes, or until the cheese is melted and the biscuits are golden.
- Garnish with cilantro and serve with salsa and sour cream.
Did you make this recipe?
You can tag me at @iamhomesteader.
What the Test Kitchen had to say about this recipe:

Elizabeth
These are a delicious and fun way to enjoy the flavors of a taco! Plus, they are easy to grab and eat.

Rachael
These are so addicting! They are perfect with sour cream and a must try for taco lovers!

Bella
YUM. These are amazing and fulfilling. Every bite is bursting with flavor. These were delicious with sour cream!
I couldn't stop eating these! The flaky biscuit with the flavorful, cheesy filling was just delightful!

Annabelle
These are delicious and super easy to make! I'd definitely try these with sour cream!
I made these for my guys last night. HUGE HIT! Easy to make! Will make again. That is a 10 STAR review as my husband is VERY PICKY!!
If I wanted to make a head in store in the freezer, do I cook them first or can I freeze them raw and then just saw before putting in the oven?
Here is what it says in the post:
How To Store Cooked Cheesy Taco Bombs
If you have any taco bombs left over, store them in the refrigerator or the freezer. Follow these steps for storage:
Allow the taco bombs to cool completely to prevent condensation from forming, affecting the texture.
Put the cheesy taco bombs into an airtight container with a tight lid to seal out the air and prevent any drying out.
To refrigerate: Store the taco bombs in the refrigerator for up to 3 days. Reheat them in the oven, air fryer, or microwave before serving.
To Freeze: For longer storage, freeze the taco bombs for up to 3 months. Place them in a freezer-safe container, tightly sealing the container. To reheat, bake the frozen cheesy taco bombs in the oven at 350°F until they are heated through and the cheese is melted.
Making for Super Bowl Party
I forgot to attach the stars rating to my previous comment. >5 stars!!!!!!!!
I made these 2 days in a row now. And WOW! They did not disappoint!!!!! They were too good to be this easy to make!!! I know I will have this recipe on speed-dial!!!!! @iamhomesteader …… you’re batting 1000 for winning recipes!! All winners!!!!!! THANK YOU!!
Sorry Amanda, I think I called you another name but I love your recipes especially the taco bombs and I can’t wait to make all of them. Thank you for providing these recipes. You are an amazing cook.
Can’t wait to make these for our Super Bowl Sunday pot luck!