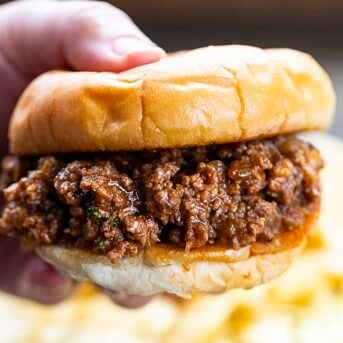
Sloppy Joe Sliders are Hawaiian rolls filled with a sloppy joe mixture, topped with shredded cheese, and brushed with salted butter and sesame seeds. If you are looking for a full sandwich to serve, I also have a delicious Sloppy Joe recipe you will love.

Sloppy Joe Sliders
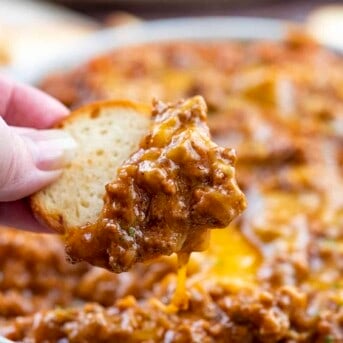
You really can’t go wrong with any of my slider recipes. They could be both an appetizer and a meal, and these Sloppy Joe Sliders are no exception. Just like my other slider recipes, they start with Hawaiian rolls. Then, I used my sloppy joe dip recipe for the filling, which includes the cheese. The salted butter topping with sesame seeds adds some flavor to the sliders, so don’t forget about that!

Ingredients
Meat: I used ground beef in the sloppy joe mixture. You could also use ground turkey if preferred.
Cornstarch Slurry: The cornstarch and water help to thicken the beef mixture. But, don’t worry, they are still plenty sloppy!
Cheese: Just like the dip, I added shredded cheese to the tops of the sloppy joe mix. You could leave that off, but it does add some flavor. I think pepper jack cheese would also be a delicious option.
Rolls: It’s all about the Hawaiian rolls in this recipe. The soft, sweet buns are the perfect size for an appetizer, or grab two or three sliders to make it a meal.
Butter Topping: The salted butter with sesame seeds not only adds flavor, but the seeds give the sliders a nice appearance. If you don’t have sesame seeds, definitely still add the salted butter.

Can I Make the Sloppy Joe Mix Ahead of Time?
Sure! You could get the sloppy joe mix made ahead of time. Once it has cooled, store it in an airtight container in the refrigerator. It will last up to three days. When ready to make the sliders, you may have to add a few minutes to the baking time to make sure the mixture is heated through.
How to Store
After the sliders have been assembled and baked, they can be stored in an airtight container in the refrigerator. They will last 3-4 days.
More Sloppy Joe Recipes


Sloppy Joe Sliders
Ingredients
- 1 pound ground beef
- ½ small yellow onion, diced (about ¼ cup)
- 2 teaspoons light brown sugar packed
- ½ teaspoon garlic powder
- 1 teaspoon kosher salt
- ½ cup (120 g) beef broth
- ¾ cup (169 g) ketchup
- 1 teaspoon yellow mustard
- 2 tablespoons cornstarch
- 2 tablespoons water
- 1½ cups (169.5 g) sharp cheddar cheese, shredded
- 1 package (12-count) King's Hawaiian Rolls
Topping
- ¼ cup (½ stick / 57 g) butter, melted
- ½ teaspoon kosher salt
- 2 teaspoons sesame seeds
Instructions
- Preheat oven to 350°F. Lightly spray a 7×11-inch baking dish with cooking spray. Set aside.
- In a large skillet over medium heat, add the ground beef, onions, brown sugar, garlic powder, salt, and pepper. Mix and continue cooking until the beef is no longer pink (8-10 minutes). Drain excess grease if necessary.
- Add in the beef broth, ketchup, and mustard. Stir to combine.
- In a small dish, whisk together the cornstarch and water. Pour into the beef mixture and stir, cooking until thickened.
Assembly
- Split your rolls in half horizontally and place the bottom halves in the prepared baking dish.
- Spread the Sloppy Joe mixture evenly over the bottom halves of the rolls.
- Evenly sprinkle the cheese over the top.
- Place the top halves of the rolls over the cheese.
- In a small dish, whisk together the melted butter, salt, and sesame seeds. Brush the butter mixture over the tops of the rolls.
- Cover the baking dish with aluminum foil. Bake for 15 minutes, or until the cheese is hot and bubbly.
- Remove foil, and bake for an additional 5 minutes (or until the tops of the sliders turn a golden brown).
- Remove from oven, slice, and serve. These are best served hot.
Did you make this recipe?
You can tag me at @iamhomesteader.


The sloppy Joe recipe is fantastic!! We serve it over baked potatoes or massed potatoes..
Cant wait to try this recipe. I loved the hawiian rolls aspect for the sliders. And LOVE sloppy joes and so do all the clients that i cook for. So this recipe is a no – brainer to try out. Who DOESNT love hawiian rolls or sloppy joes with cheese??? Ill post with results asap
First and foremost, this was such a good sloppy joe recipe! I’ve made them countless times before but this specific mix nailed everything they should be: savory, tangy, and just the right amount of sweetness. I was so pleased that I didn’t need to repeatedly adjust and edit the sauce like I’ve done with other recipes.
I doubled the ground beef and sauce ingredients and it scaled perfectly. The only thing I added was a bit of celery seed—not because it needed it, just because I wanted to. And the cornstarch is brilliant to prevent the bottom buns from getting completely soaked through.
And then there’s the slider aspect with the melted cheese (which was basically the clickbait of this recipe for me). Such a fun take on regular sloppy joes. I ended up baking a little longer with and without the foil on (5 mins each) just to make sure the cheese was melted and everything heated through. I also added a little garlic powder and smoked paprika to the melted butter (again, just because I wanted to), along with additional sesame seeds sprinkled on top.
Thanks for a really great dinner, Amanda!
Amazing feedback and super creative additions. Thanks, Graham!
This recipe is a keeper for sure!! It came out really delicious!! I did sub regular rolls (all I had) used fiesta blend cheese and beer (coors light) for beef broth. 🙈. It all came together, even better later on. I served with baked beans. 5 stars. Thank you!!