Soft, chewy, and melt in your mouth Amish caramel is the perfect candy to set out for guests or gift giving. With only a few staple ingredients and a little bit of time, homemade candy has never been easier.
Amish Caramel
This candy has been a family staple for as long as I can remember. The sweet, melt in your mouth candy is a time warp. It brings you back every single time. When I tell people that making this Amish Caramel recipe is really not that difficult, I usually get an eye roll or two. It is the truth though, just give it a little time and you will be so happy with the results. It is the perfect simple gift. Throw a few of these in a cute bag and share them with your friends and family!
How to make Caramel Candy
One of the biggest questions I get from people is how to get the perfect soft caramel. It all boils down to (no pun intended) achieving the soft ball stage during the cooking. As sugar syrup is cooked and the temperature rises, the water begins to boil down and the sugar concentration increases. At 240˚ Fahrenheit, the caramels are at the “soft ball” stage. That means if you drop a small bit of the candy into cold water it will form a soft ball. If you don’t have a candy thermometer, this cold water test can be used to see if your candies are ready.
Candy Temperatures
It’s helpful when making candy for the first time to understand how quickly the structure of the candy changes based on the temperature achieved during boiling. The following chart should help you if this is your first time making candy.
Thread Stage
230˚-235˚ -at this stage you will get a syrup consistency possibly something you could pour over ice cream.
Soft-Ball Stage
235˚-240˚ – Dropped into cold water, this will have the consistency of a soft flexible ball. This stage is perfect for caramels or fudge.
Firm- Ball Stage
245˚-250˚ – Dropped into cold water this will have the consistency of a firm but, still slightly flexible ball. This is also a good stage for caramels if you like them a little firmer.
Hard-Ball Stage
250˚-265˚ – Dropped into cold water this will have the consistency of a hard ball. This is a good stage for rock candy or gummies.
Soft-Crack Stage
270˚-290˚ – Bubbles on top will become smaller, thicker and closer together. Most of the moisture has cooked out at this stage. Dropped into cold water, it will solidify into threads that will slightly bend and then break. This is a good stage for saltwater taffy.
Hard-Crack Stage
300˚-310˚ – Dropped into cold water, this will form hard brittle threads that break when bent. This is best for toffee.
Tips, Tricks, and Variations
- Tip: You will need a candy thermometer for this recipe. If you don’t have one, you can order this one on Amazon.
- Trick: Individually wrapping these in wax paper helps to keep the fingers from getting too sticky:)
- Trick: These tend to get a little gooey if you leave them in a hot place. Make sure to store them at a cooler temperature so they don’t melt!
- Variations: Dip these in dark chocolate and cover them in sea salt for an extra special treat!
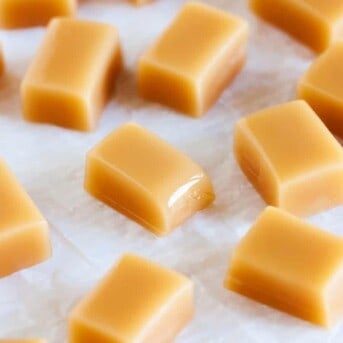
Amish Caramels
Ingredients
- 1 cup granulated sugar
- ¾ cup corn syrup
- ½ cup unsalted butter
- 1 cup heavy cream
- ½ teaspoon vanilla extract
Instructions
- Grease an 8x8-inch baking pan.
- In a medium saucepan over medium-high heat, add the sugar, corn syrup, butter, and ¼ cup of cream. Bring to a boil, stirring continuously.
- While continuing to stir, add the remaining cream. Insert a candy thermometer and while constantly stirring, bring to the soft ball stage. Around 240°F, the sugar syrup will turn transparent and boil rapidly.
- When it hits 240°F remove caramel from the heat and stir in the vanilla. Pour into the prepared baking pan.
- While still warm, use a toothpick to pop any air bubbles that rise to the top. Allow to cool overnight.
- Use a thin knife or small offset spatula to loosen the caramel block from the pan. Transfer the block to a cutting board and cut into desired size and shape. Wrap individually in wax paper if desired.
Did you make this recipe?
You can tag me at @iamhomesteader.
DID YOU MAKE these Amish Caramels?
I want to hear about it! Take a picture and tag me on Instagram or on Facebook. I would love to see your finished product! Make sure to tag me @iamhomesteader or hashtag #iamhomesteader, or both!
Photography by The PKP Way.
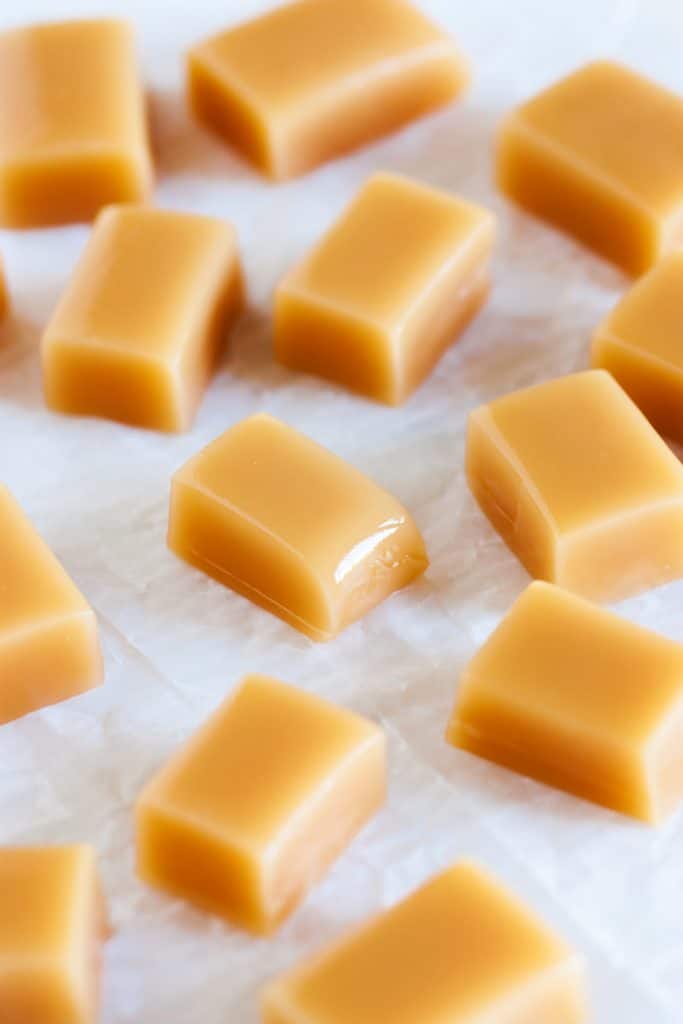
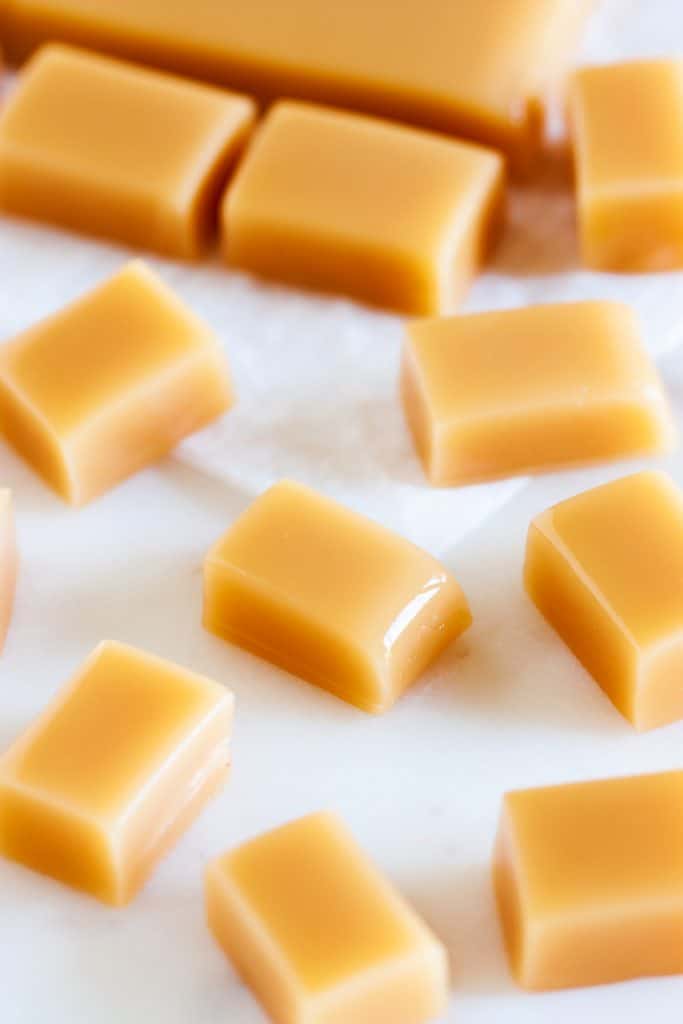


Perfect every time
Roughly how long would these be shelf stable? I’m planning to make them ahead for Christmas gifts.
I found your recipe about 4 months ago and I cannot tell you how many times I’ve made these already! My entire family is addicted to these especially me. It’s hard to stop eating them honestly I tell my husband all the time, because I’m always cooking something yummy, that I can’t believe I only weigh 120# the way I eat! 🤣😇 I share these caramels with everyone including the residents at the nursing home where my sister works. I’m always making goodies for her to take to them and they just love it. We kinda spoiled them 🥰 Anyway thanks so much for the recipe. I’m actually going to make another batch today and I’m looking forward to trying out some more of your recipes ❤️
Husband says best carmels he has had. Thank you for sharing your recipe.
I’ve made the recipe a few times. All turned out really good. The last one i used
Monkfruit instead of sugar. Turn out great, just a little bit sweeter.
Mine didn’t turn a caramel color is lighter. What did I do wrong?
I use dark karo syrup and get the darker color
Wonderful recipe, made simply batch and then a three different chocolate wafers and pecans!!!
Exceptional melt in your mouth caramels. These have become a holiday tradition.
Yes
These are lovely! Thank you! Been playing with the sweet and find a lot less sugar, barley malt and brown rice syrup instead of corn syrup are quite pleasing. Also I add red pepper flakes for that heat-sweet combo I love.
Turned out great
Fantastic, simple recipe. Worked out great!
Waiting for them to cool
Would you have to double this recipe to use a 9×13 pan?
I made it but did not have a candy thermometer so think might have let it get higher than 240 degrees. Letting it cool tonight.
If this isn’t setting up for you, it is not getting hot enough. If using a gas range you’ll need a larger diameter pan so the flames aren’t just heating the sides of the pan. Even when using my largest saucepan I couldn’t get temp over 225. Used a larger Teflon pot and it worked great. Probably not an issue on electric ranges.
la tasa de crema que es disculpe