This easy Beef Bulgogi (a distant relative to Korean BBQ Beef) recipe is made with ground beef that is simmered in a bulgogi sauce and served topped with scallion, sesame seeds, and a soft-boiled egg. Try my Korean BBQ Pork for a marinated pork recipe.
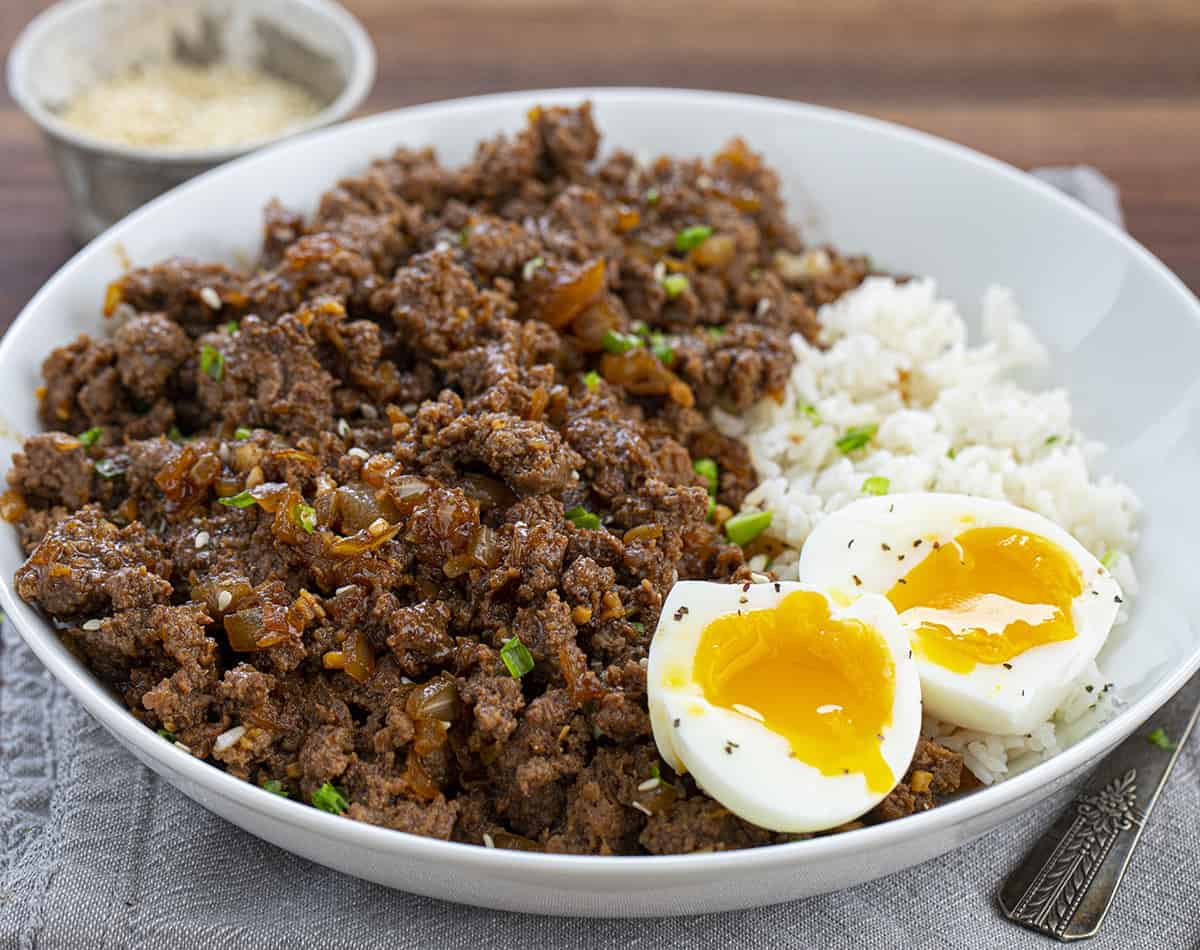
Easy Ground Beef Bulgogi
Bulgogi (‘Fire Meat’) is a popular Korean dish that is usually made with the most tender meat you can find (ribeye or top sirloin). Thinly shaved meat is marinated overnight in the sweet and savory bulgogi sauce and grilled on a hot grill.
My recipe takes the thousand-year-old recipe (and one worth trying when you have the time and resources!) and makes it into an easy and quick version of it that you can cook right on the stovetop with ground beef in about 20 minutes. It is NOT authentic, just a simple and fast way to satisfy a craving. 🙂
How to Soft-Boil an Egg
The flavors of the meat pair well with a soft-boiled egg. To soft-boil an egg, choose eggs that are not your freshest. The older the eggs, the easier they are to peel. And, the peeling can be the trickiest part with the custard-like egg whites and a silky yolk. If you can make hard-boiled eggs, you can make soft-boiled eggs.
- Bring a pot of water to a boil over medium-high heat. You will need just enough water to cover the eggs (about an inch).
- Place the eggs in the boiling water.
- Let the eggs boil, covered, for six minutes. (I would recommend setting the timer for this since it is time-sensitive.)
- While the eggs are boiling, create an ice water bath for the boiled eggs (ice water in a bowl).
- After six minutes, use a slotted spoon to remove the eggs from the boiling water and place them in the ice water until they are cool enough to peel.
- CAREFULLY peel the soft-boiled eggs to use in this, and other, recipes.
How to Store Ground Beef Bulgogi
If you are going to be eating the ground beef bulgogi within 2-3 days, store the beef in an airtight container in the refrigerator. Reheat it on the stovetop or in the microwave. For longer storage, freeze the completely cooled beef bulgogi for up to 3 months. Let it thaw overnight in the refrigerator before reheating.
More Ground Beef Recipes
Easy Ground Beef Bulgogi
Ingredients
BULGOGI SAUCE
- ¼ cup soy sauce
- 2 tablespoons rice wine vinegar
- 1 tablespoon brown sugar, plus 2 teaspoons
- 2 teaspoons sesame oil
- 1 teaspoon fresh ginger, minced
- 1 teaspoon fresh garlic, minced
GROUND BEEF
- 1 pound ground beef
- ½ small yellow onion, diced
TOPPING
- 1 tablespoon scallion, diced
- 1 teaspoon sesame seeds
- 4 large soft boiled eggs*
For Serving
- white rice, cooked, for serving
Instructions
BULGOGI SAUCE
- In a medium bowl combine soy sauce, rice wine vinegar, brown sugar, sesame oil, ginger, and garlic. Mix well to combine and set aside.
GROUND BEEF
- In a skillet over medium heat, add ground beef and onion and cook until browned (about 5 minutes). The meat will still be a little pink.
- Add the Bulgogi sauce and mix well. Simmer for 6-10 more minutes, and remove from heat.
- Add cooked rice to four bowls.
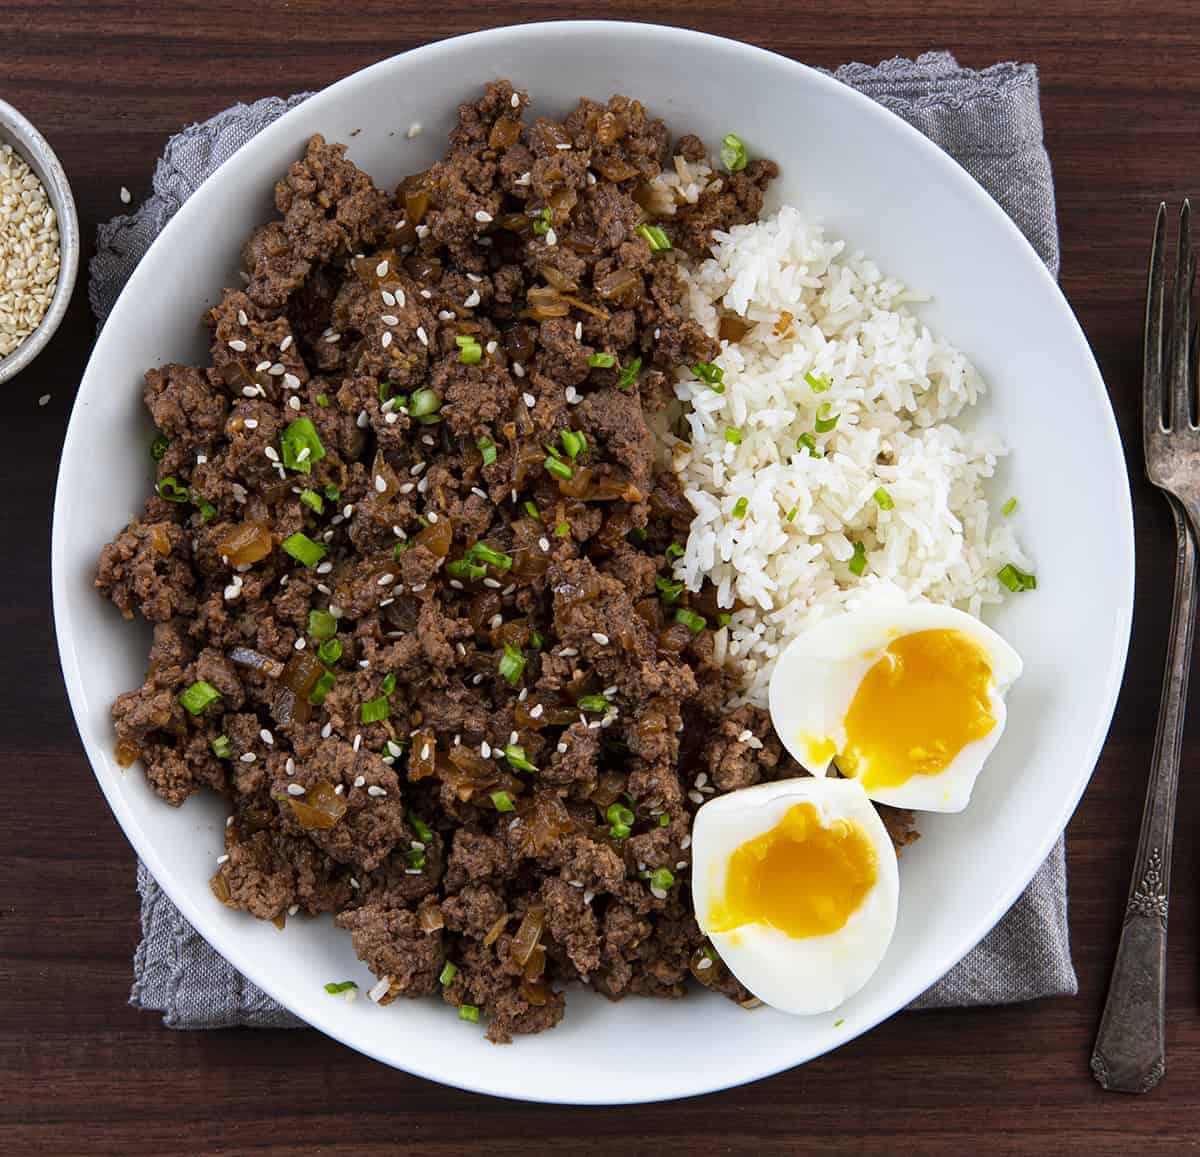
- Evenly distribute the beef mixture between the bowls of rice. Top with scallion, sesame seeds, and a soft-boiled egg.
- Serve warm.
Video
Notes
- Bring a pot of water to a boil over medium-high heat. You will need just enough water to cover the eggs (about an inch).
- Place the eggs in the boiling water.
- Let the eggs boil, covered, for six minutes. (I would recommend setting the timer for this since it is time-sensitive.)
- While the eggs are boiling, create an ice water bath for the boiled eggs (ice water in a bowl).
- After six minutes, use a slotted spoon to remove the eggs from the boiling water and place them in the ice water until they are cool enough to peel.
- CAREFULLY peel the soft-boiled eggs.
Did you make this recipe?
You can tag me at @iamhomesteader.
This Easy Beef Bulgogi recipe was inspired by @franziee09 and her Ground Beef Bulgogi on TikTok.
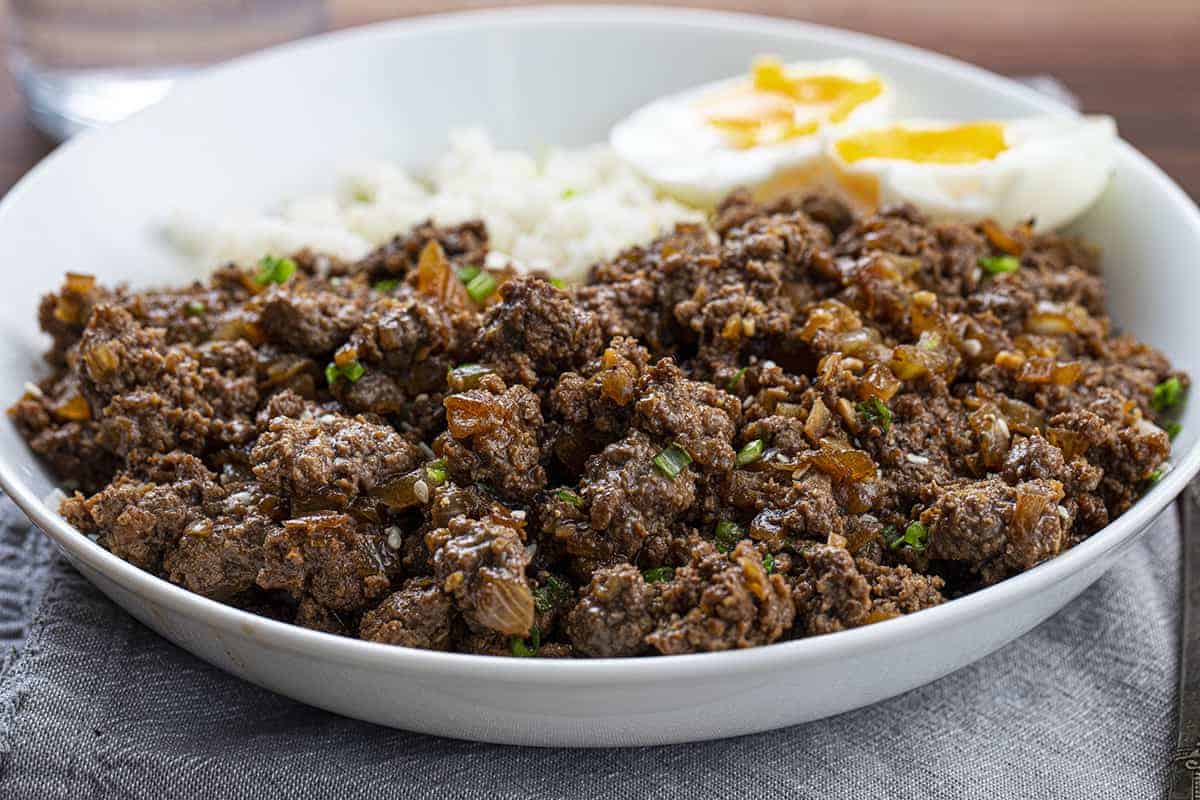



new go to meal. quick and easy and very yummy. make at least once a week.
I’d recommend putting the rice in the bowl first!
Fantastic!!!!!! Great flavor-I used ground turkey. Leftover meat was as good the second time! Highly recommend this!!!
So easy and so flavorful. My daughter and her boyfriend beg me to make this!