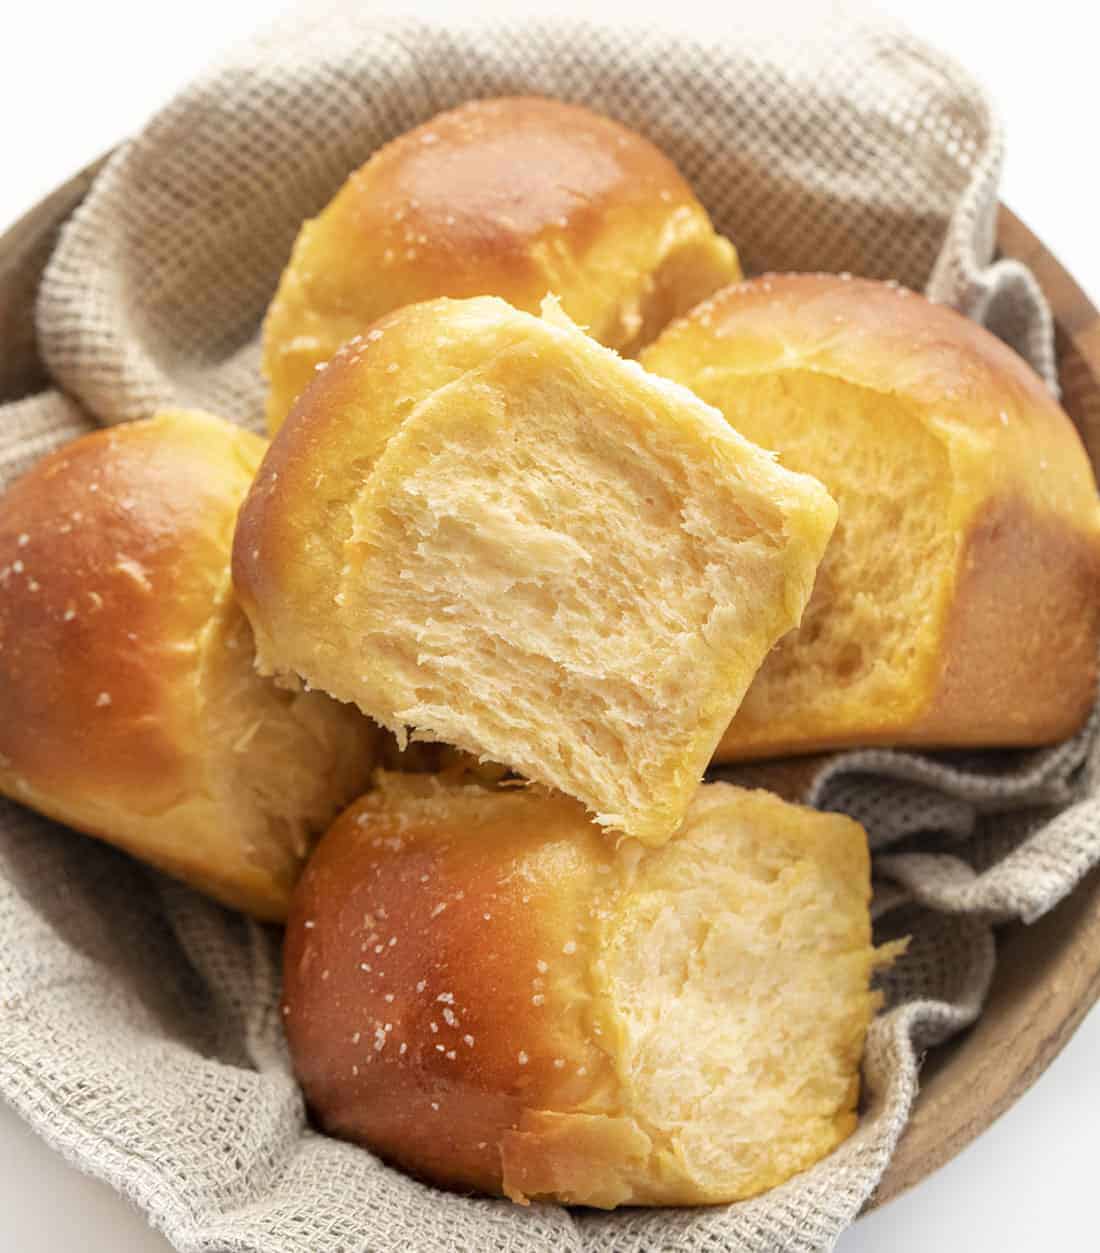
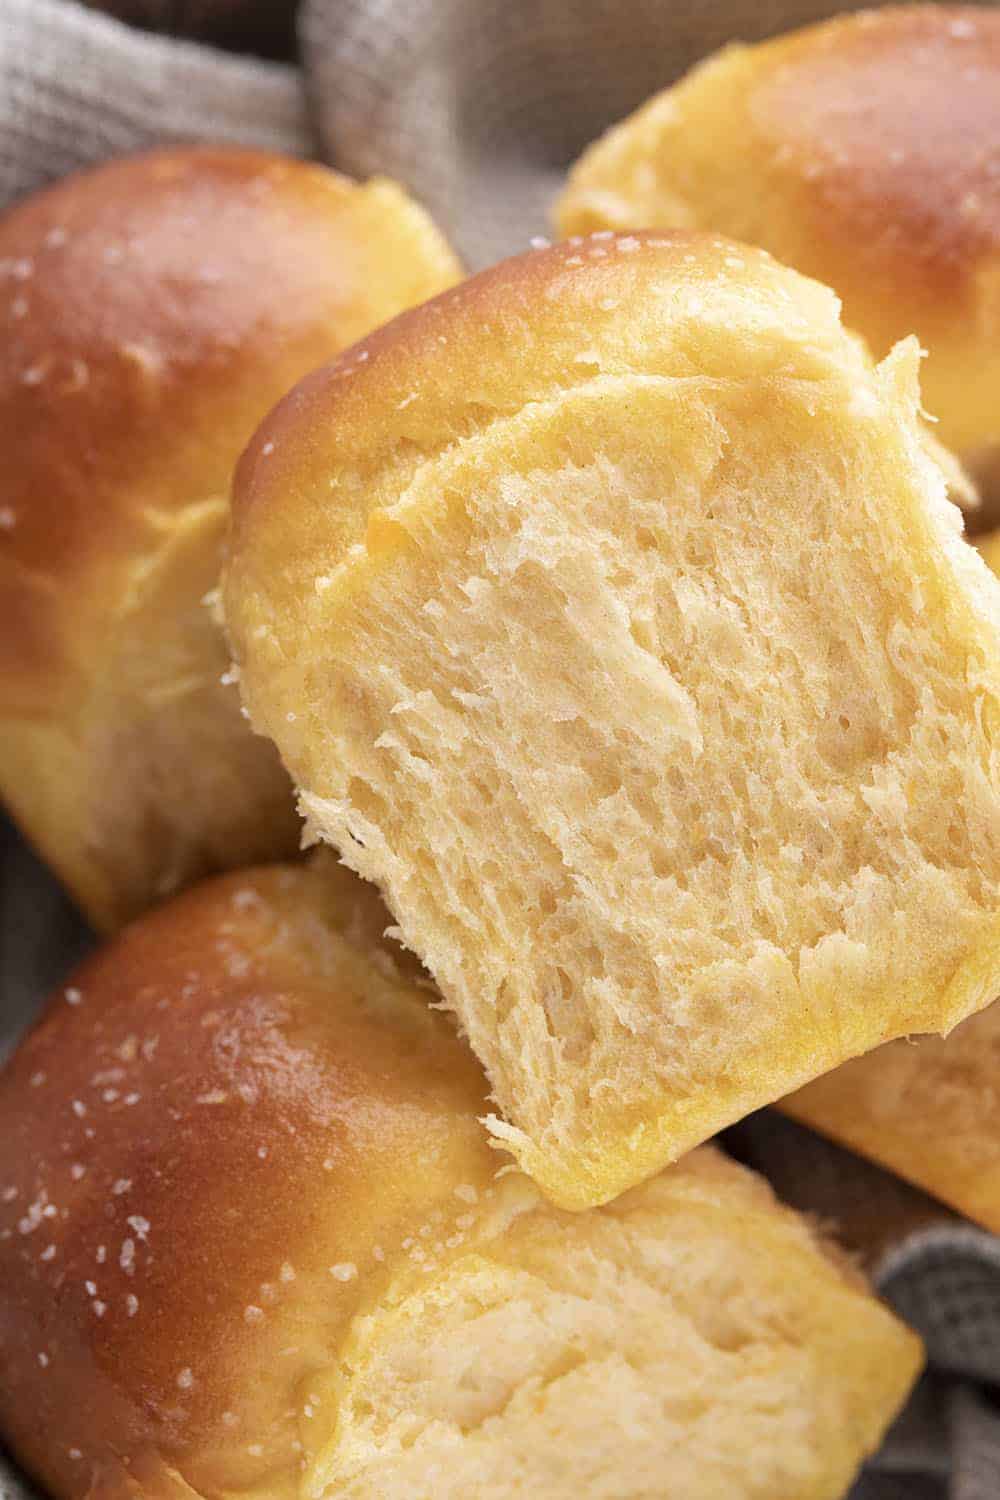
Sweet Potato Rolls are soft, dense, buttery rolls that melt in your mouth and have a hint of salt in every tasty bite. Try my Breakfast Sweet Potato for another delicious way to enjoy sweet potatoes.
Sweet Potato Rolls
This recipe starts with a mashed sweet potato and ends with one of the best dinner rolls you will ever taste! This has to be one of my favorite recipes that includes sweet potatoes. Even if you are not a fan of sweet potatoes, you will be a fan of these rolls. You will definitely want to serve them with anything you are making!
Ingredients & Substitutions
Sweet Potato: The sweet potato adds natural sweetness, moisture, and a beautiful orange color to the rolls. They also contribute to the overall texture.
Yeast: Look for active dry yeast. It will bloom when added to the warm water. Be sure the temperature of the water is 110°F-115°F for the yeast to activate.
Bread Flour: Bread flour has a higher protein content than all-purpose flour, providing structure and strength to the dough. It results in a chewier texture.
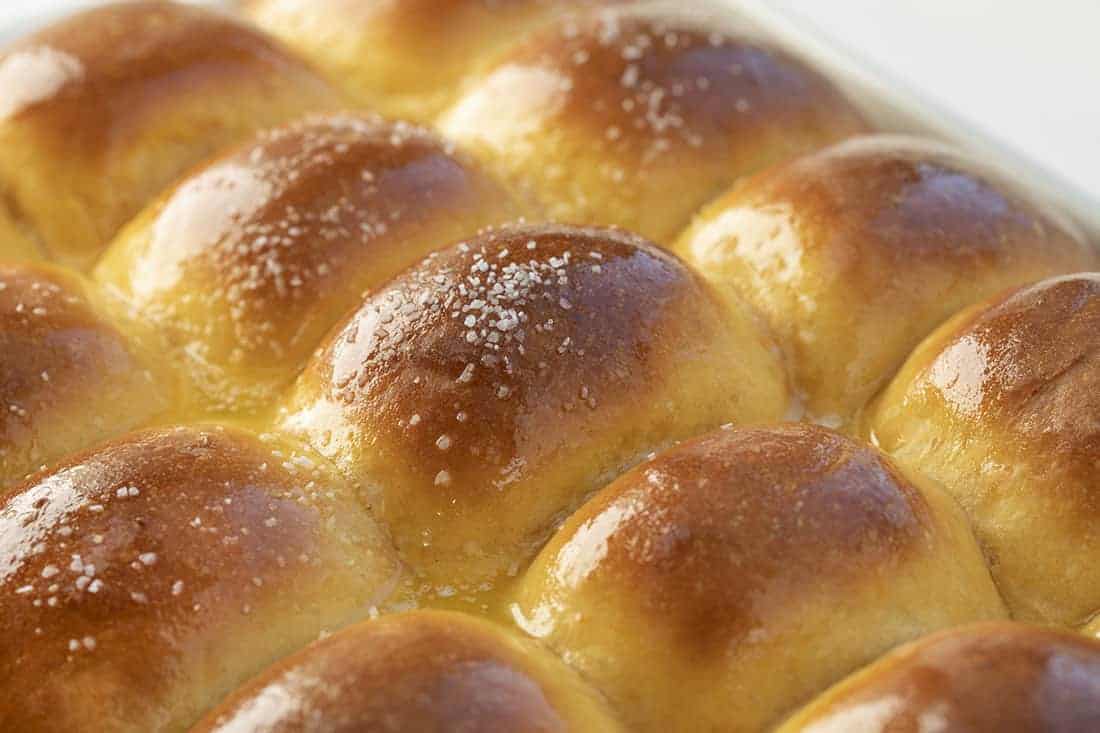
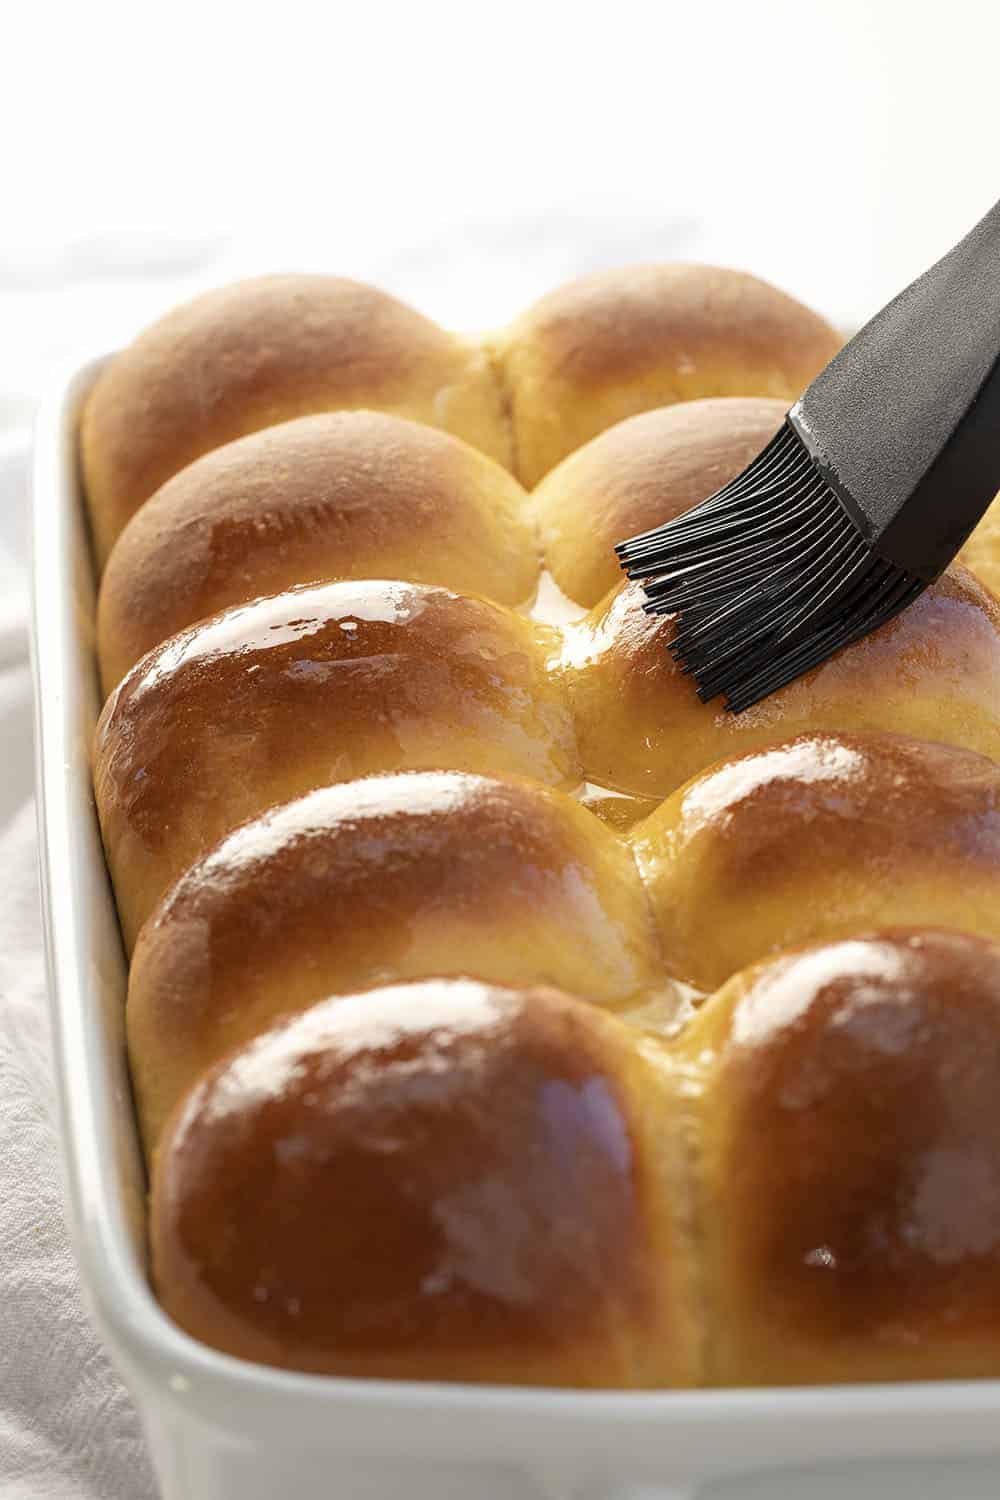
Topping: Melted butter is brushed over the tops of warm rolls. Then, kosher salt is sprinkled over the rolls for a finishing touch of flavor and appearance.
Preparing the Sweet Potato
These dinner rolls are well worth the effort. With one batch, you can have fresh rolls for dinner, buns for sliders, and something delicious to sandwich your lunch meat.
To make the sweet potato dough, begin by washing, peeling, and cutting the potato into 1/2-inch pieces. Add the sweet potato pieces and the milk to a saucepan and bring to a boil over medium-high heat. Reduce the heat to medium-low, cover the saucepan, and cook the potato pieces until they are very soft (10-15 minutes).
Remove the potatoes from the heat and mash the pieces with the milk. Transfer the mashed potato to a bowl to cool before continuing with the dough. This will take about 30 minutes.
How to Store Sweet Potato Rolls
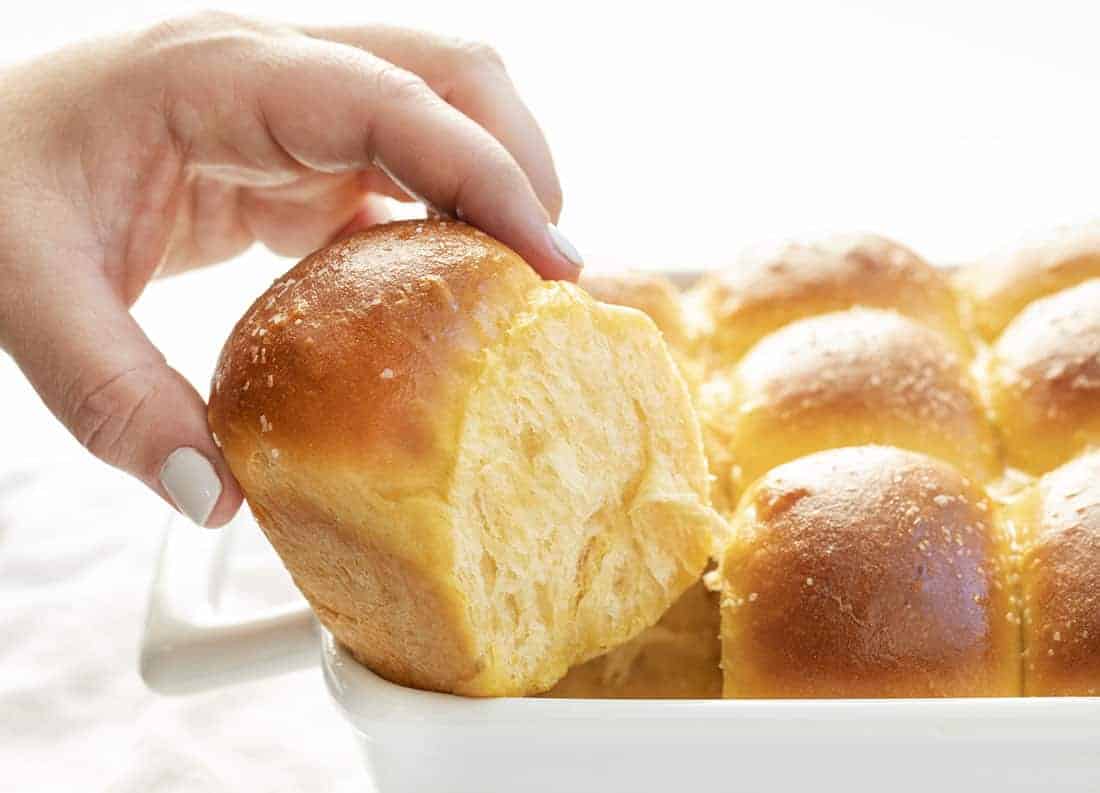
If you plan to consume the rolls within a day or two, store them at room temperature. Place the sweet potato rolls in an airtight container or a resealable plastic bag. Make sure the container is sealed tightly to prevent the rolls from drying out. I do not recommend storing the rolls in the refrigerator; that can dry them out faster. For longer storage, freeze the rolls.
Freezing Sweet Potato Rolls
Bake the rolls according to the recipe below. Let them cool completely in the pan, then wrap them tightly in aluminum foil. (Do not use plastic wrap here, it could trap in condensation and make the rolls soggy.) Place the rolls in a tightly sealed and labeled freezer bag or storage container and freeze for 2-3 months.
More Bread Recipes
Sweet Potato Rolls
Ingredients
Dough
- 1 large sweet potato, peeled and cut into ½-inch pieces (about 2 ½ cups)
- ⅔ cup whole milk
- ¼ cup warm water
- 1 packet (2 ¼ teaspoons) active dry yeast
- 3 tablespoons granulated sugar, plus 1 teaspoon, divided
- 2 large eggs, room temperature
- ¼ cup (½ stick / 57 g) unsalted butter, melted
- 5 cups (600 g) bread flour, divided
- 1 ½ tablespoons kosher salt
Topping
- 2 tablespoons unsalted butter, melted
- 1 teaspoon kosher salt
Instructions
Instructions
- Rinse and peel the sweet potato. Then, cut the potato into ½-inch pieces.
- To a small saucepan over medium-high heat, add potatoes and milk. Bring to a boil.
- Reduce heat to medium-low. Cover the saucepan and cook the potato pieces for 10-15 minutes, or until they are very soft, stirring occasionally so the milk does not scald.
- Remove from heat. Mash the sweet potato with the milk until smooth. Transfer to a medium bowl to cool (about 30 minutes).
- After the mashed sweet potato has cooled, combine the warm water, yeast, and 1 teaspoon of sugar in a small bowl. Let stand about 5 minutes, or until foamy.
- To the bowl of a stand mixer with a dough hook attachment, add the mashed sweet potato, yeast mixture, eggs, melted butter, and the remaining 3 tablespoons of sugar. Beat on low until combined.
- Continue mixing on low while gradually adding the salt and 4 cups of bread flour. Beat on low for about 4 minutes, or until the dough is smooth.
- Turn the dough out onto a lightly floured work surface. Knead the dough by hand for about 5 minutes, adding ½ cup of flour at a time, as needed, if the dough is sticky.
- Spray a large bowl with nonstick spray. Place the kneaded dough into the bowl, and cover with plastic wrap.
- Let the dough rise in a warm, draft-free area until doubled in size, about 1 to 1 ½ hours.
- When you are ready, spray a 9×13-inch baking dish with nonstick spray.
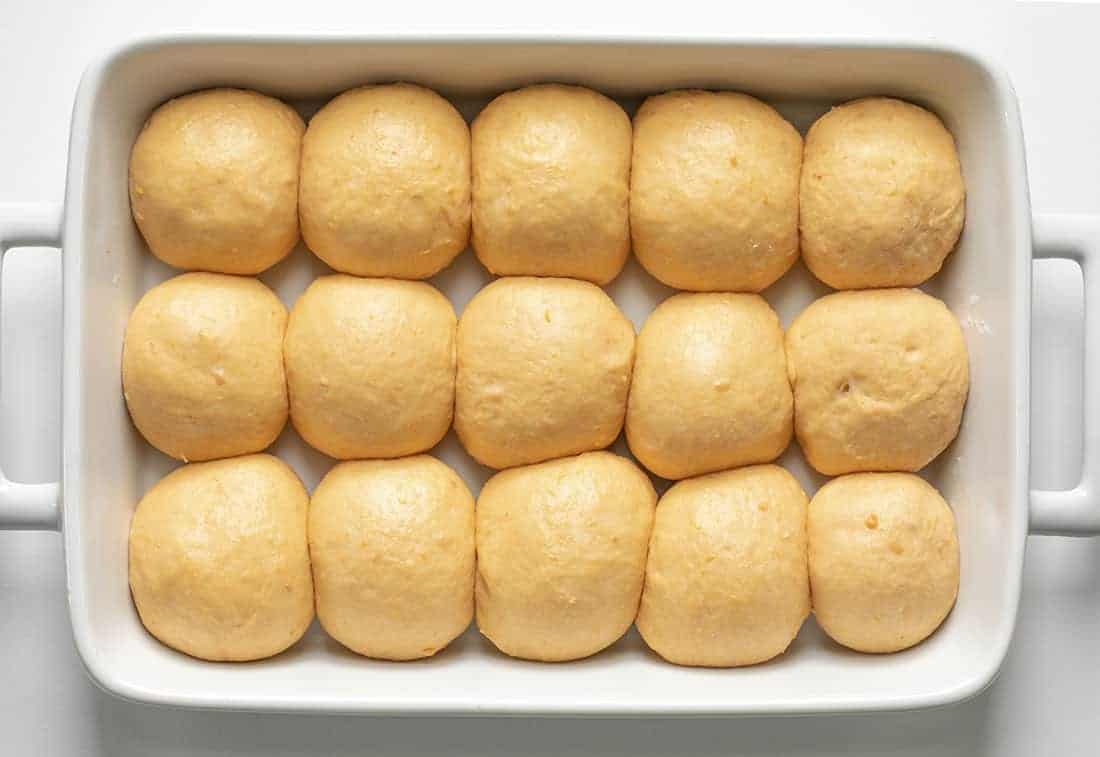
- Punch the dough, turn it out onto a floured surface, and divide the dough into 15 equal-sized pieces.
- Push down slightly (but firmly and evenly) on the dough pieces and roll the ball under your palm in a circular motion. Use the cupped sides of your hands to keep the dough centered in your palm. You may have to work the dough for a while, but eventually, it will come together and most of the lines and folds should have incorporated into the dough, forming a smooth dough ball.
- Place the dough balls into the prepared baking dish. Cover with plastic wrap and let rise until doubled in size, about 45 minutes to an hour.
- Preheat the oven to 375°F.
- When ready to bake, uncover the rolls and bake for 22-24 minutes, or until a dark golden brown. (The internal temperature of baked rolls should read 190°F.) When the rolls are almost done, melt the butter for the topping.
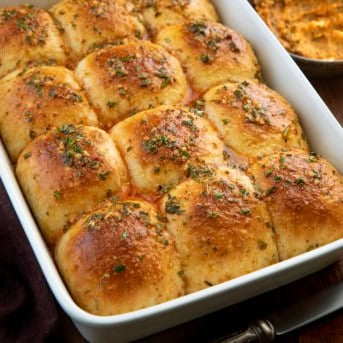
- Brush the baked rolls with the melted butter and evenly sprinkle the kosher salt (or flaky sea salt) over the hot rolls and serve immediately. You could also let the rolls cool on a wire rack before serving. (Note: If you want a sweeter roll, brush the rolls with a mixture of 2 teaspoons maple syrup and 2 teaspoons water to replace the butter.)
Video
Did you make this recipe?
You can tag me at @iamhomesteader.
This recipe was inspired by Southern Living‘s Sweet Potato Rolls recipe.





great
I love these rolls!! Can I freeze the shaped dough before the last rise?
Yes, you can freeze the shaped sweet potato roll dough before the final rise. Here’s how to do it:
Shape the Rolls: After preparing the dough and allowing it to rise initially, shape it into rolls as directed in the recipe.
Freeze Individually: Place the shaped rolls on a baking sheet lined with parchment paper, ensuring they don’t touch each other. Freeze them until solid, typically a few hours.
Store Properly: Once frozen, transfer the rolls to an airtight container or freezer-safe bag. Label with the date and type of rolls. They can be frozen for up to 3 months.
Thaw and Bake: When ready to bake, place the frozen rolls on a greased baking sheet. Cover them with a clean kitchen towel and let them thaw and rise in a warm place until doubled in size, which may take several hours. Then, bake as directed in the original recipe.
I love this recipe! I’ve made these rolls twice, the first time they didn’t come out great (I blame the yeast), but the second time these were heavenly ( I had purchased new yeast)!! We have so many sweet potatoes from our CSA and I am happy I tried it again because these are 100% worth the effort. They also freeze beautifully! Thank you for this recipe!
YAY!! So glad you like them… we LOVE them too!!
These are some of the best rolls ive ever had i use the same recipe to make cinnamon rolls and both are so delicious perfectly dense amd heavy i like to add some fresh rosemary to the mix thanks so much for the recipe
Thanks for the great recipe. My family absolutely loved them. I almost wanted to cry when my husband asked me to make more. You will understand why when you read further into this comment. These rolls were certainly a love of labor to make. You weren’t kidding when you said the dough would be tacky no fault to the recipe I might add. What a mess my kitchen turned into. Especially, trying to incorporate all that bread flour that the recipe called for. I tried to break this process up into several more increments other than what your recipe stated, but it was still flying everywhere. I even had my mixer on the lowest speed possible. I guess they don’t call it an artisan mixer for nothing. Lol. I started to get nervous in the end because it didn’t seem like all the flour would absorbed, so I had to throw a monkey wrench into the plot by adding a little bit of honey and a tbsp of water into the recipe. The dough started sticking to the bowl of the stand mixer because the dough had become too wet, so I tried balancing the mixture out by adding a little bit more bread flour to be able to get it back to the elastic quality it should be. The dough then fully swallowed my dough hook attachment and came up over my stand mixer because there was just too much of it at this point. After growing tired of battling to keep the mixture inside the bowl of my stand mixer, I decided to turn it off. However, I did not give up or throw in the towel. Instead, I rolled up my sleeves and turned the dough out onto a floured surface on top of my stove, and began to knead it by hand. I am thankful for all the experience I have gained with baking bread over the years so that I was still able to salvage this recipe. Next time, I will just leave my handy dandy monkey wrench kit out of the kitchen and trust that the proof is in the pudding as the old saying goes, and know that the recipe has been tried and tested several times. Well hopefully reading this testimony gave you a good laugh. I was very thankful for the long length of resting time for the dough to be able to rise because I certainly had one messy kitchen to tackle after that process was finished. However, it was a memorable experience nonetheless, unfortunately, my husband will have to remain disappointed for a while until I have had a chance to recover.
I don’t have a stand mixer. Is it possible to use a hand held or mix by hand?? Thank you.
Yes, you can knead by hand.
I can’t wait to make these rolls. They look so yummy and my family’s gonna love them I can these be made in a bread machine
One of the worst recipes I have ever attempted in my life. Baked up like a brick. I actually ended up making Pillsbury crescent rolls.
Sorry that happened to you! When made correctly, these rolls are amazing, soft, flavorful, soft, delicious, soft, and soft.
Is this recipe suitable for a bread machine?
To make orinal potato rolls can I use white potatoes in place of sweet potatoes?
Amazing… Simply Perfect! These rolls are everything you hope for and crave! I am making them again because this batch has already disappeared!
Thank You!
Hi, how can I make these ahead of time for Thanksgiving? And what if I don’t have a mixer with a dough hook? Thank you!
These came out fabulously. Planning on making again for Thanksgiving.
Can you freeze the rolls after baking? I’d like to make ahead for Thanksgiving I think they wold be great with smoked turkey.
Is it possible to make these sweet potato rolls in a breadmaker and have them. turn out as good? Don’t own a stand mixer and have very arthritic hands.
I haven’t tested it in a bread maker, so can’t speak to its effectiveness.
I used my breadmaker on the dough setting, and they turned out perfect.
I will try this recipe tomorrow
Please let me know what you think!