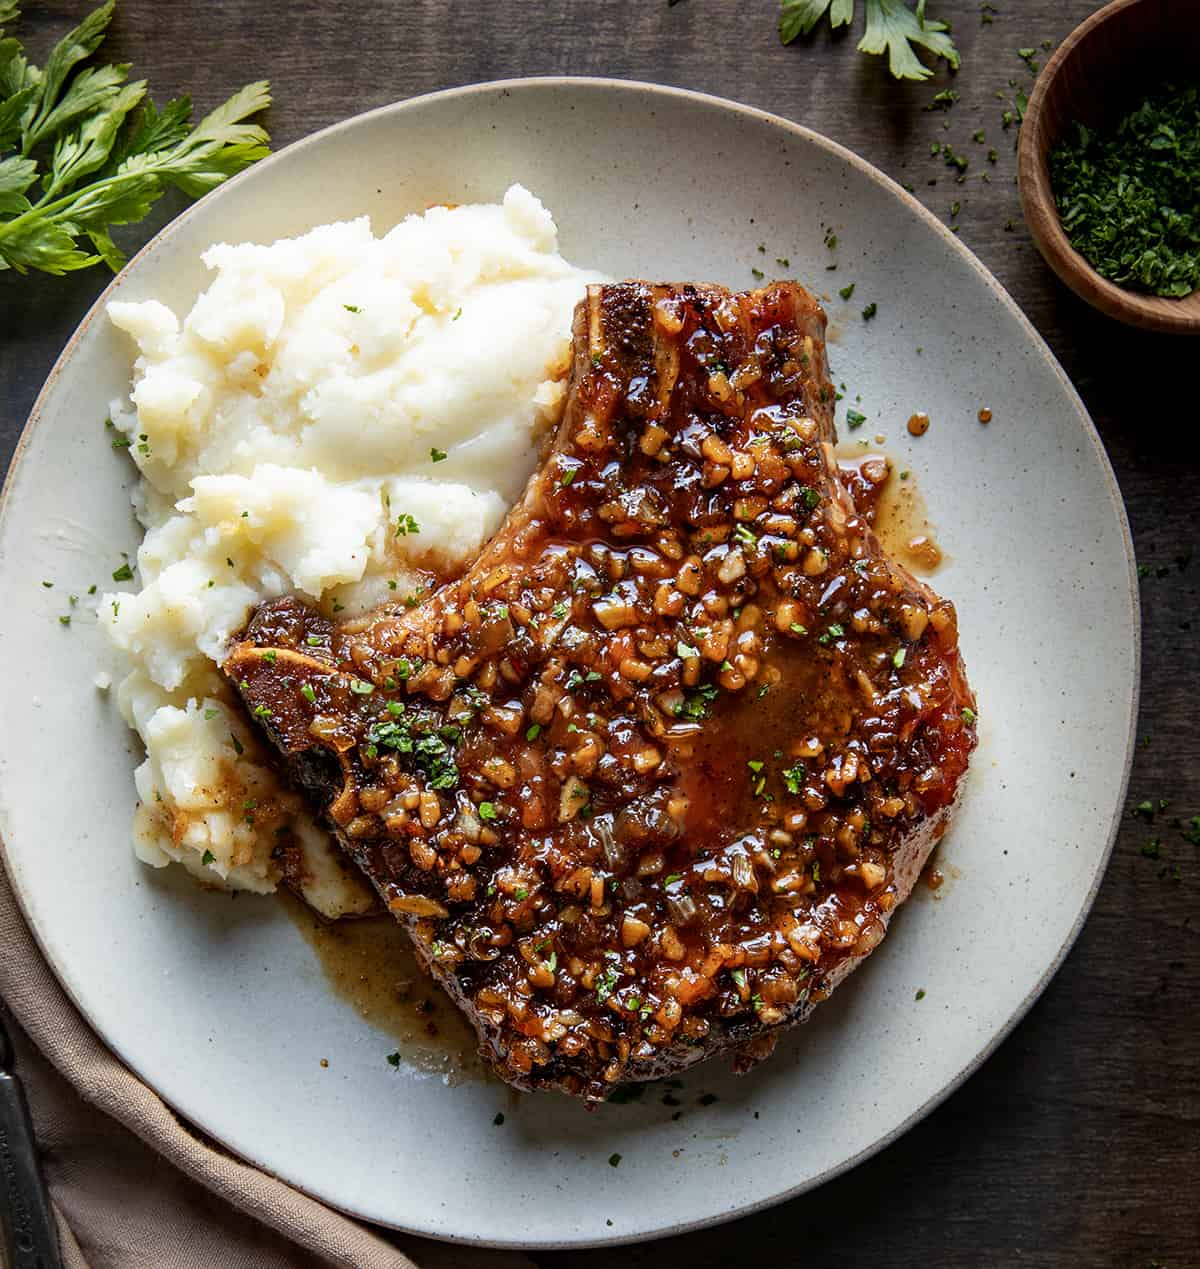
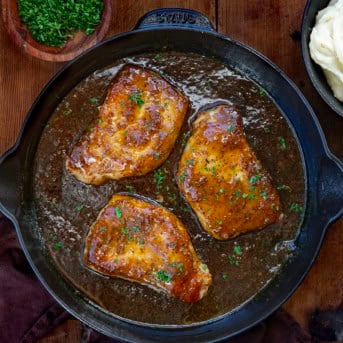
Honey Garlic Pork Chops feature seasoned thick-cut, bone-in pork chops coated in a sweet and savory honey garlic sauce. It’s a mouthwatering and satisfying main course that can be paired with a variety of side dishes for a delicious meal! I also have Honey Garlic Chicken Thighs if you prefer chicken!
Ingredients & Substitutions
Pork Chops: I cooked two thick-cut, bone-in pork chops for this recipe. Let the chops sit out at room temperature for about 30 minutes before cooking them. This is a great way to ensure that they cook properly. You could also use boneless pork chops or a thinner cut, but cooking times will vary. Pork chops are fully cooked when they reach an internal temperature of 145°F. If you love pork chops, check out my Honey Mustard Pork Chops, too!
Seasonings: Before cooking the pork chops, season them with garlic powder, onion powder, paprika, salt, and pepper.
Honey: Honey is the primary sweetener in the sauce. It also helps create a caramelized glaze on the pork chops when they are cooked.
Soy Sauce: Soy sauce provides a savory and salty element to the sauce.
Garlic: With garlic in the name of the sauce, I did not hold back! Yes, 3 tablespoons of minced garlic is added!
White Wine Vinegar: White wine vinegar helps balance the sweetness of the honey and adds a tanginess to it.
Red Pepper Flakes: Red pepper flakes are added to the honey garlic sauce for a little bit of a kick to it. You can certainly leave them out if preferred. Or, add more for even more heat!
How Thick Is The Sauce?
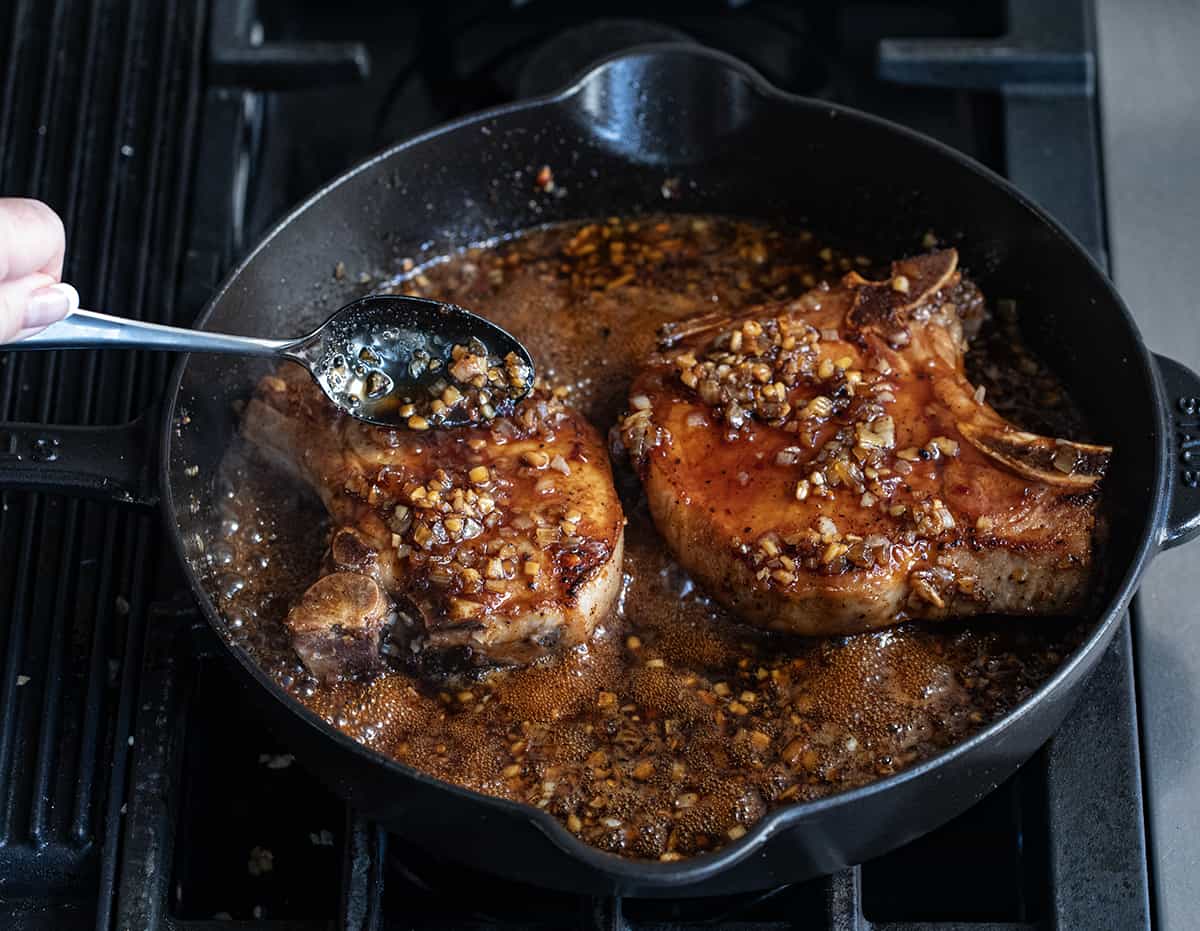
The sauce in this dish is fairly thick and should coat the back of a spoon. But, it is easy to make it thicker or thinner.
- To thicken the glaze, mix a tablespoon of cornstarch with two tablespoons of water to make a slurry. Whisk the slurry into the glaze to thicken it up.
- On the other hand, if you think the glaze is too thick, add small amounts of water at a time until it reaches your desired consistency.
What To Serve With Honey Garlic Pork Chops
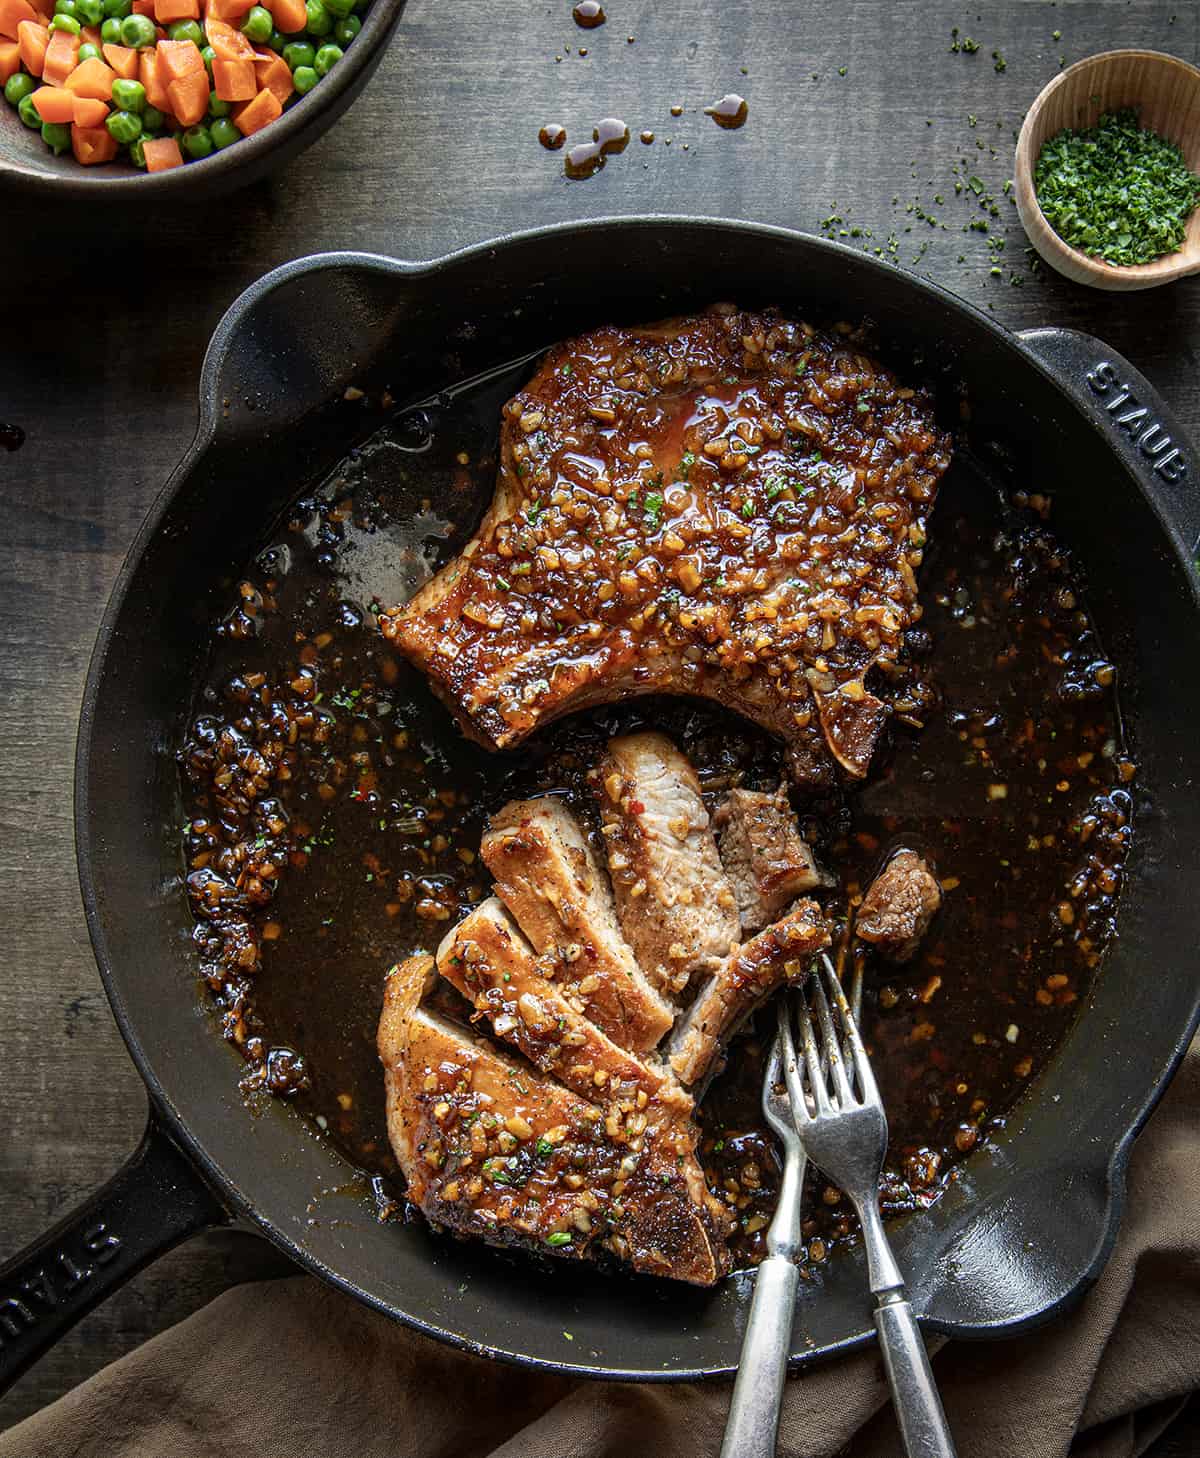
Honey Garlic Pork Chops pair well with a variety of dishes. Here are some delicious options:
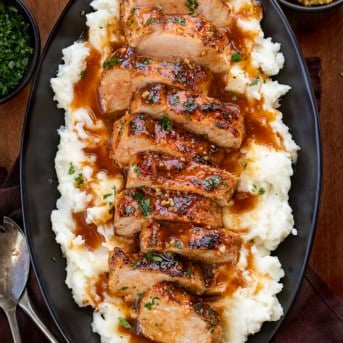
- Mashed Potatoes (or Cauliflower Mashed)
- Roasted Vegetables (Carrots, Brussels sprouts, Green Beans, Asparagus)
- Rice
- Coleslaw
- Dinner Rolls
How To Store Honey Garlic Pork Chops
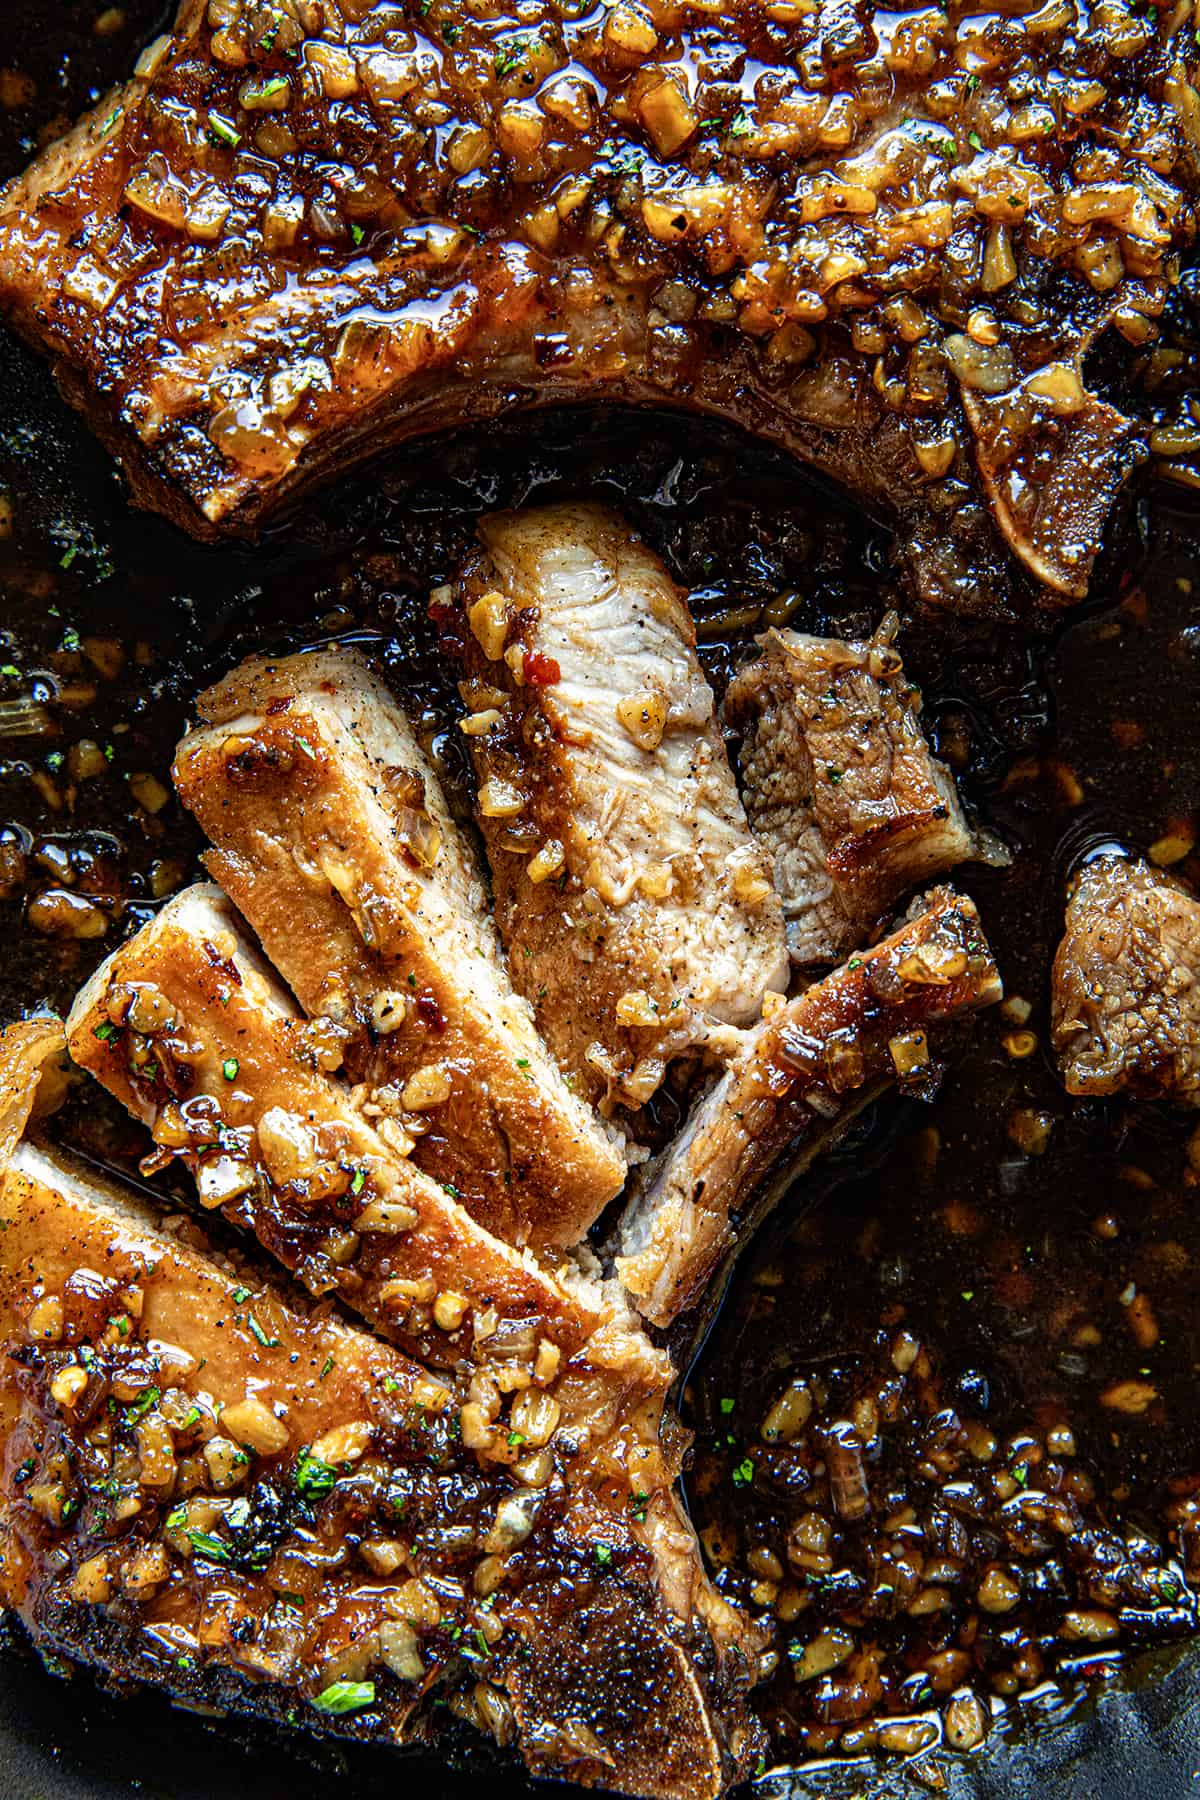
To store honey garlic pork chops, first, let them cool to room temperature. Then, store them in an airtight container in the refrigerator for up to 3 days. Reheat the chops in the oven, on the stovetop, or in the microwave.
More Pork Recipes
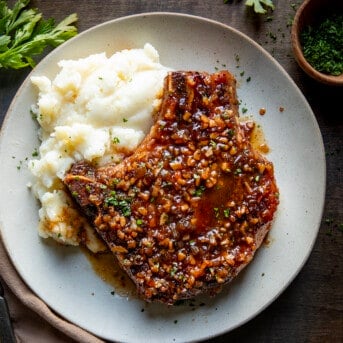
Honey Garlic Pork Chops
Ingredients
Honey Garlic Sauce
- ½ cup (170 g) honey
- 2 tablespoons soy sauce
- 3 tablespoons garlic, minced
- 1 small yellow onion, finely diced (about ½ cup)
- 2 tablespoons white wine vinegar
- ½ teaspoon red pepper flakes
- parsley, chopped for garnish
Pork Chops
- 2 thick-cut pork chops, bone-in, room temperature
- ½ teaspoon garlic powder
- ½ teaspoon onion powder
- ½ teaspoon paprika
- 1 teaspoon kosher salt
- ¼ teaspoon black pepper
- 2 tablespoons extra virgin olive oil
Instructions
- To a small bowl, add honey, soy sauce, garlic, onion, vinegar, and red pepper flakes. Whisk together to combine. Set aside.
- Evenly season both sides of pork chops with garlic powder, onion powder, paprika, salt, and pepper. Set aside.
- To a medium cast iron skillet over medium-high heat, add the oil. Once hot, sear the seasoned pork chops on one side until it forms a golden crust. To prevent sticking, wait for the pork to form a crust naturally before attempting to flip it, around 3-5 minutes. The pork will release from the skillet once a proper sear has formed. Flip pork and cook on the other side for 3-5 minutes.
- Reduce heat to medium. Add the honey garlic sauce. Continue cooking the pork chops, occasionally basting them with the honey garlic sauce, until their internal temperature reaches 145°F (about 5 additional minutes). Depending on the size of the pork chops, cooking times may vary.
- Serve pork chops, spooning sauce over the tops. Garnish with parsley.
Did you make this recipe?
You can tag me at @iamhomesteader.
This recipe has been tested and updated as of December 2023.



I also recommend getting pork chops that are marbled with some fat versus very lean, as they stay much more tender doing the cook time, especially if you don’t marinate.
Yes I agree, but it was still tasty! Thank you, I will remember next time.
These were great! We didn’t mind the seasoning level, yet I do remember thinking the texture of having that much dried spice was a little much. So I think it’s fair to say you could easily go with less, every though they are delicious either way. I also had to cook my chops way longer than 3-5 minutes per side (not to mention medium low seems to low on my electric range), but note that I believe I differs based on the pan and the stove. I was using a non-stick pan with a thick bottom, whereas it appears in the photos that the individual posting this recipe used a stainless steel pan, which could transmit heat differently
After cooking the pork on each side for 5 min, I cooked far longer than 5 additional minutes after returning it to the pan (perhaps 45 min). I find that cooking longer makes the meat more tender (in addition to being “cooked”.
Tried this recipe tonight. To the mushrooms I also added a bit of finely diced onion. Backed off on the seasoning a bit and I felt the thyme dominated so next time I’ll use a little less. I didn’t let the butter get brown before adding the chops, but I did let the bubbling stop and start to color a little. Also I’m fairly sure the recipe was written for gas heat because medium-low on my electric range wasn’t enough to brown the meat, so next time I’ll do first steps on medium and the rest on medium-low and see what happens. Served with wide egg noodles and green beans, and my son scarfed it up AND ate the leftovers I had saved to take to work the next day. I adore this recipe, will definitely keep it.
Thank you for this recipe! It was wonderful & my hubby LOVED it! I used twice the butter because I wanted more gravy for the extra meat I had. I browned the butter just as stated with the garlic & no issues. I used about 2 teaspoons of the herbs & added fresh sprigs of rosemary. I also made some garlic red potatoes to go with. Oh my gooodness this was good! Adding it to my recipe library and will share. Thanks again!
It’s funny how many people corrected the lady for not reading the timing instructions yet they didn’t bother to read the 300 comments that already commented on it.. what a joke.. recipie sounds good i shall try it, thanks!
Loved it, might play around with spices next time
Not to bad! I would definitely cut the spices in half. We just think it is to much spice. I also used 2% milk . Definitely will ty again
My Parmesan. garlic cauliflower works well with this
Dry sherry is also very good with this sauce about 1/4 cup or so. Make sure you give it 5 minutes to cook off the alcohol.
Has anyone modified this recipe yet for the ip? Tips on cooking time if you have.
I like, at times with company, to bake in the oven and have the mess of a frying pan all cleaned up before hand. Any ideas on whether or not this would work…… possibly, just do all and keep on warm in the oven, but wondered if the sauce would thicken too much. Thanks
I just wanted the recipe to print! not all the comments! don’t like to waste paper when I print.
Hi-light the recipe and click print. That’s it
Instead of choosing print from your browser, scroll to the part of the page that looks like a recipe card, and click the print icon there. That’s how I did it and it ended up just 2 pages. Might even fit on one page if you have a newer better printer than mine LOL
I made these tonight. Couple things. Just a touch too much oregano and thyme. Overpowering in my opinion. I added more mushrooms because I love them ! My gravy was grey because I used back Himalayan salt…..eek my fault. The browned butter was interesting. I’ll try that again. I also think the flour should cook before the mushrooms go in. They end up breaking apart while whisking the flour. Good though. Will try again
I made these just now. Made them keto..used arrow root for thickening and heavy cream. Can’t wait to try
Tried to save this to Pinterest but I got an error message “Sorry we blocked this because it may be linked to spam”
Does anyone know the Nutrition label on this?
Lots of people were commenting about the cook time. Like some others, I used the meat thermometer. I used a cast iron skillet for most of them but needed another pan also. The ones in the cast iron took 15-20 min to reach 145. The other pan it only took 5 min (per side).
But the chops are not tender enough for me with so little cook time so I have put them in a tightly covered oven dish and I’m baking them now. After 30 min at 350° my husband checked them and they are still not very tender. Just my observation and opinion. ????
I would season them, brown and sear in butter, then move them with the butter to my pressure cooker. When done, move back to the pan with the gravy and let dinner for about 5-10 minutes. The chops should be falling apart tender.
I’m going to try these but use cornstarch instead of flour but adjust the amount I use.
This recipe is wonderfully delicious. I was cooking for my little army, so I had to adjust the quantities. I browned the chops, but finished them off in the gravy longer than five minutes…we had a small issue with the sides that caused a delay. It didn’t affect the dish at all. We served with roasted potatoes and cucumber/tomato/onion salad.
The recipe is so good even my kids loves it.
For thicker Pork chops they should be cooked to internal temperature up to 160 degrees, if you cook a thick chop that’s on inch or thicker to just 145 degrees it will most likely not be completely cooked through and still pink. A little slight pink is ok, but if it’s obviously too pink then it needs longer time on each side.
With a good thermometer, such as a Thermapen, and the proper technique for using, a reading of 145 degrees means145. Additionally, 160 degrees is usually considered overcooked for pork.
The pork chops could be removed at 140 as the temp will continue to rise during the resting period. And, they will be reheated in the gravy for ten minutes as well.
I agree with others that the garlic should be added later to prevent burning and possible bitterness.