This Sourdough Starter is pretty darn easy to do and a great option for delicious homemade baked goods! A sourdough starter doesn’t have to be a chore, and the end result is worth the patience in the beginning. If you like homemade treats try my Sourdough Pretzels!
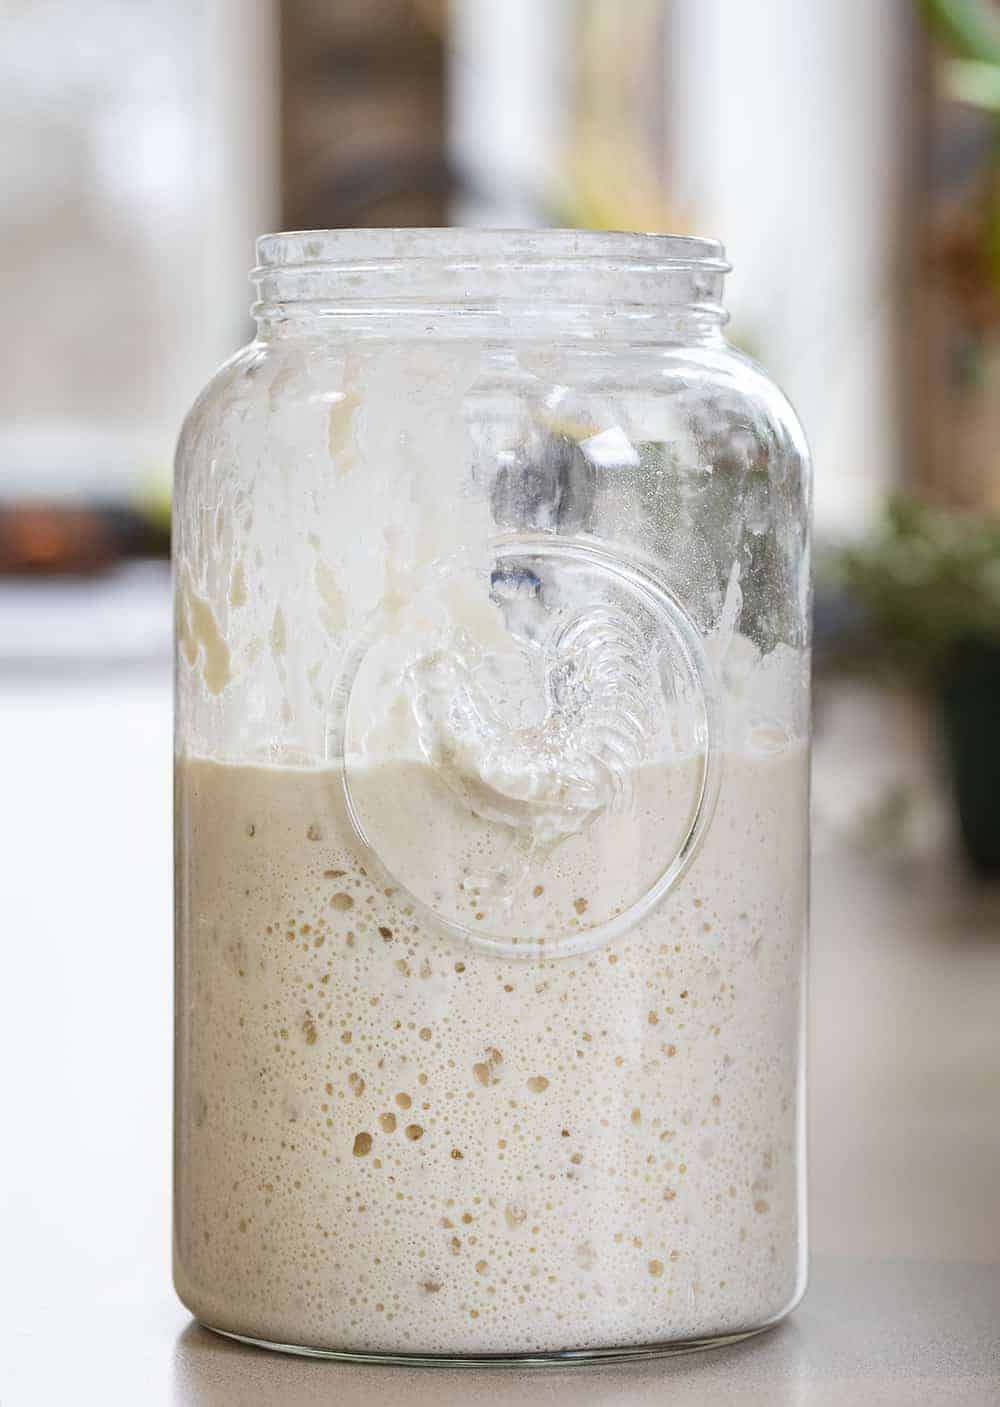
Sourdough Starter
I have to start out by saying that this is how *I* do a starter. I have watched every expert under the sun and read every book and let me tell you something… they are all different. So I have been testing and testing and retesting and using life experience to determine what works best for me. Well, I finally decided on what worked best for me, and it could not be easier and straight forward. The ingredients are simple: flour and water. And, with just two measurements to remember, the feeding is a piece of cake (or should I say bread😉) as well!
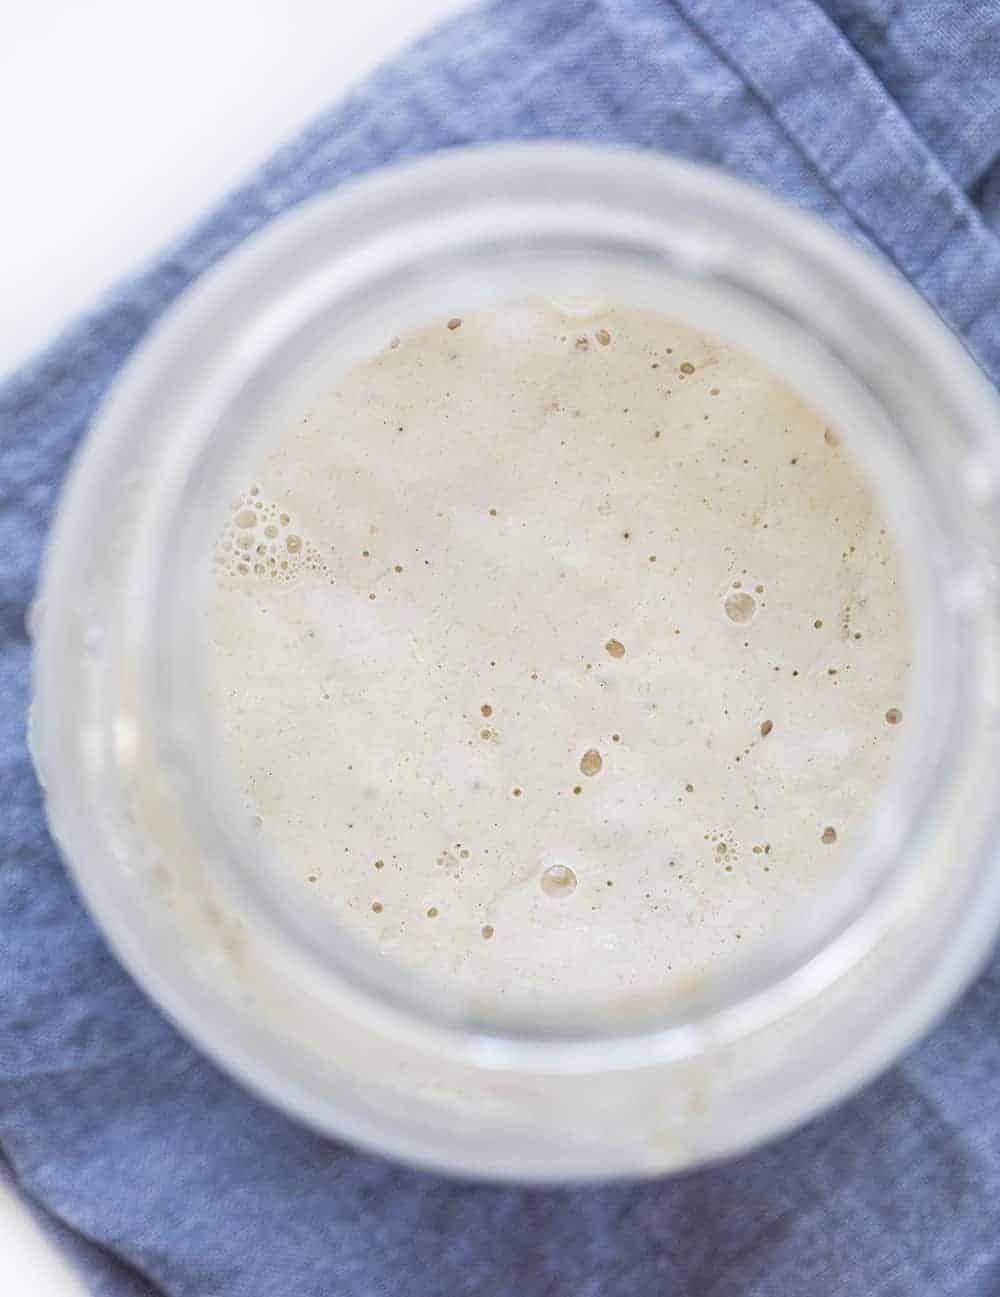
Getting your Sourdough Starter Started
Now if you want to bring science into it, the type of flour and type of water you use are important. They can produce a better product. But I am here to tell you that you can absolutely use all-purpose bleached flour from Dollar General and it will still be ok. Make sure you have the following materials and ingredients on hand:
- Jar & Lid – I prefer glass, you don’t want to use metal or plastic. If you don’t have a lid use a paper towel and rubber band. A good size jar to have on hand for a sourdough starter is a quart (32 ounces) or something close to that capacity.
- Flour – I prefer organic unbleached all-purpose, but also love whole-wheat and bread flour. Or, give rye flour a try.
- Water -Purified is best. Have chlorinated tap water (as most people do)? You can use bottled water or just set the water out uncovered for 24 hours before using it to feed your starter. This allows the chlorine to evaporate so it won’t kill the wild yeast.
That’s it for supplies! Now, let’s get to making the starter.
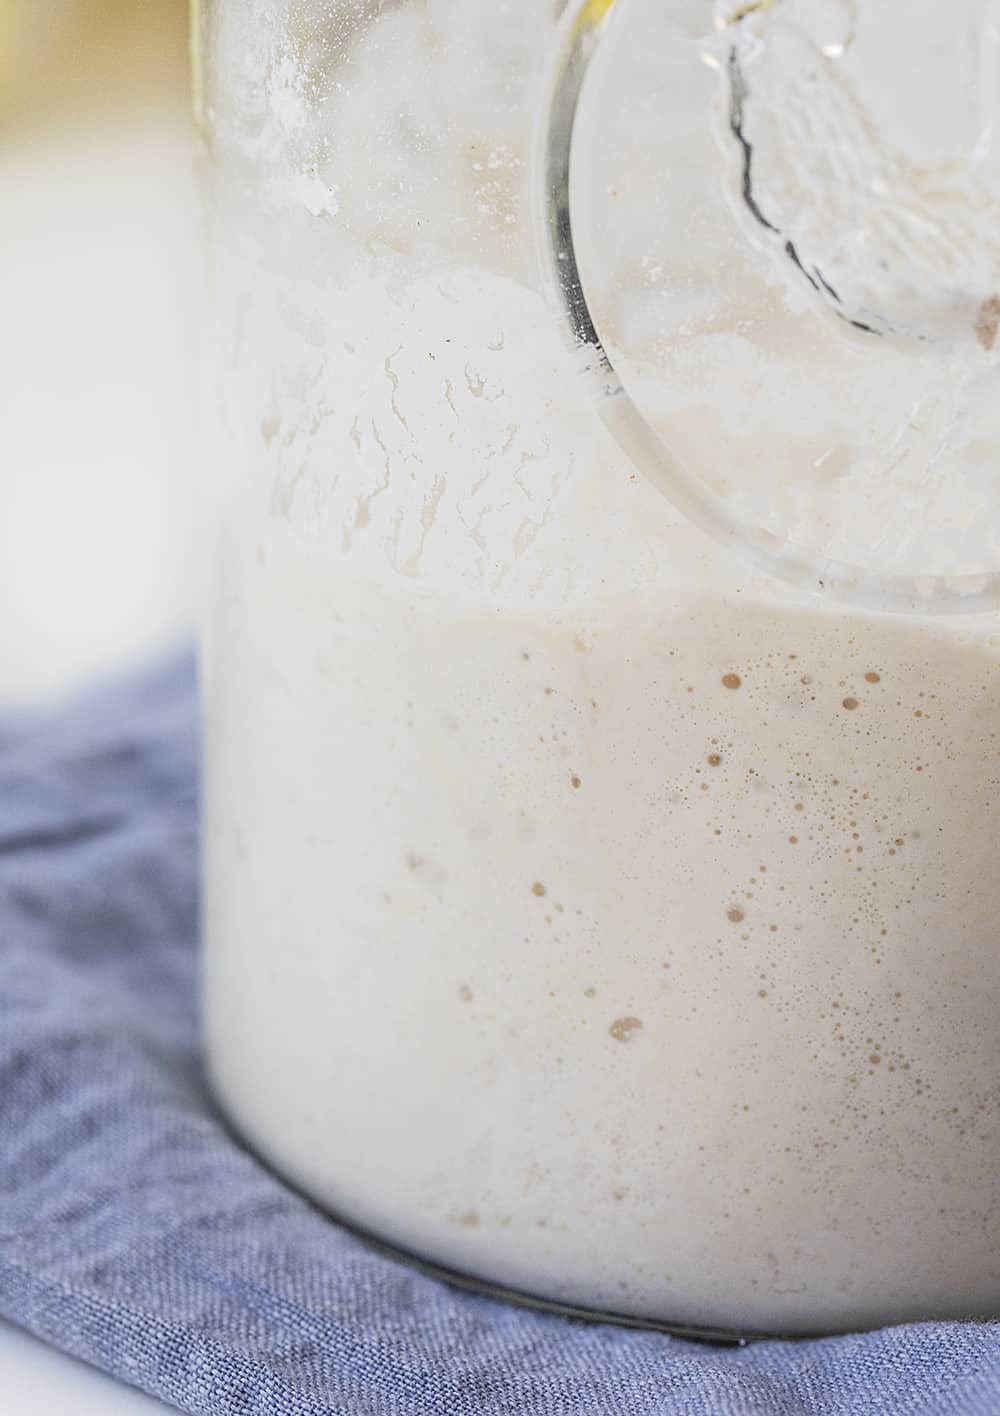
How to Make a Sourdough Starter
Remember these amounts: 1/2 cup flour and 1/4-1/3 cup water. These are the only measurements you will need to remember throughout this entire process of creating your sourdough starter. And trust me, you will use those measurements a lot with all the ‘feeding’, going on! After all, the goal is to get those microorganisms to work for that sour and fermented flavor that sourdough is known for.
To begin, add the flour and water to a jar and stir well. Try not to use a metal spoon. After all, Grandma said she always uses the handle of her wooden spoon to stir. Now gently cover the jar (do not seal it closed) and let it sit in a warm place (70°F is best) for 24 hours. The best option for a cover is a paper towel and rubber band. Or, just remember to keep the jar lid loosely sealed. Try to keep it in an area of your house that is somewhat warm. Very cool rooms tend to slow the action of a starter. Wait 24 hours before checking the mixture.

‘Feeding’ the Sourdough Starter
With sourdough starters, you will hear the term ‘feeding’. This is simply adding the flour and water to the mixture to keep the microorganisms working. Remember the measurements I told you to get ingrained in your brain? The 1/2 cup flour and 1/4-1/3 cup water is all you will need throughout the ‘feeding’ process.
Day 2: After 24 hours, check the mixture for bubbles. If you see bubbles, add the flour and the water, mixing it well, and let it sit for the next 24 hours. If you don’t see bubbles, do not get discouraged! It sometimes takes a couple of days for the science of it all to work. Just wait another day (or even two) until the first feeding.
Day 3: After another 24 hours, check for bubbles. If you do see bubbles, remove half of the starter, add the 1⁄2 cup flour and 1⁄4-1/3 cup water and stir thoroughly. Let sit 24 hours. Oh, and don’t get rid of the starter you removed! I will give you some ideas on how to use this in the end.
For the third feeding, remove half of the starter (but don’t throw it out!), and feed with 1⁄2 cup and 1⁄4 cup water, stirring thoroughly. Let sit 24 hours. (And yes, you can begin a new starter with the discard! Try adding a new kind of four! Or simply use to make crackers or pancakes.)
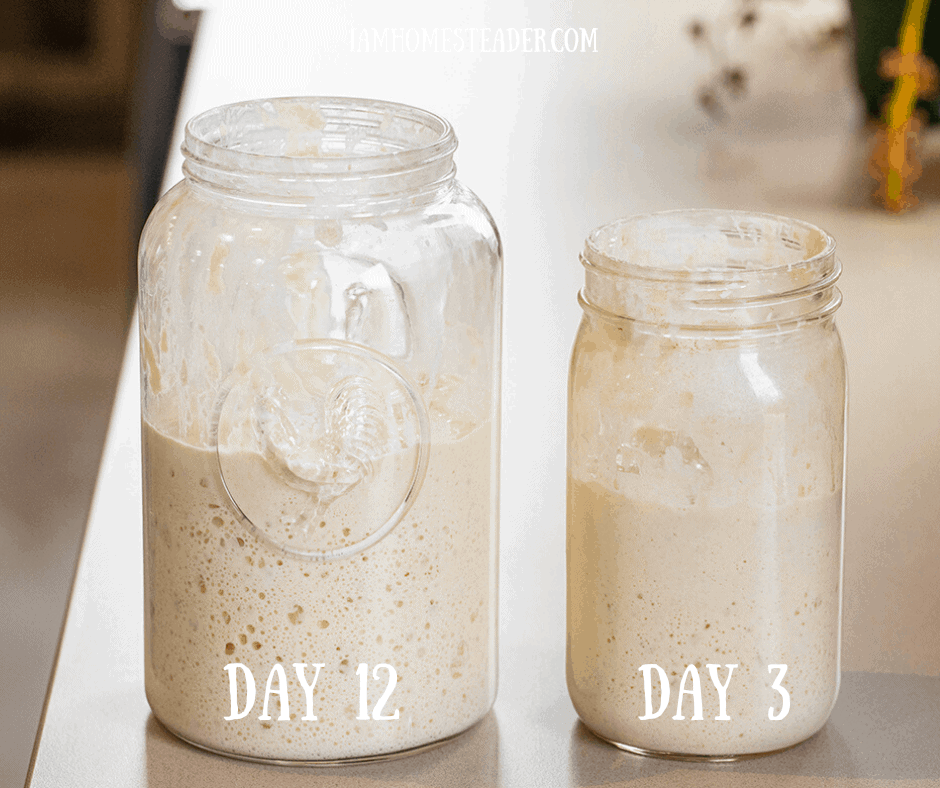
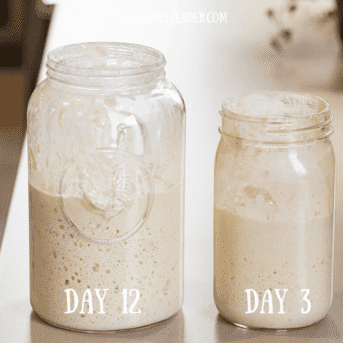
On days 4, 5, 6 you can feed it 2 times a day with those measurements that are sure to be memorized at this point😀. Continue this routine (discarding before feeding) until the starter is consistently bubbling and doubling in size within 8 hours of each feeding.
It is now ready to use for a perfect Sourdough Bread!
How to Store a Sourdough Starter
After all the feeding and you know you have a strong, active starter, you can store the starter in the refrigerator and feed it about once per week. When you plan to use the starter, pull it out of the refrigerator 24 hours in advance to feed it and allow it to warm up and grow.
These starters get better with age, so don’t think you have to use it right away! Sourdough starters are hearty, so they last quite a while. But, like all living things, it can get ‘sick’ or go bad. If it turns pink, red, moldy, or gets a really putrid smell, throw it out. After all, you now know how to start again!
What Flours Can You Use in a Sourdough Starter?
All grain-based flours will work beautifully in a starter. A few examples are:
- Rye
- Bread Flour
- Rice
- Whole Wheat
- Einkorn
Truesourdough.com has a great comprehensive guide to flours.
Vanilla and Bean has a great guide to Gluten-Free sourdough starter.
What to do with the Discard?
As I said, don’t throw out the sourdough starter that you remove each feeding time to make room for the starter to rise. Just make sure your sourdough starter is room temperature (about 70°F) before using it in baking. Here are some ideas on how to use (and enjoy) the excess sourdough starter.
- Sourdough Bread (not until day 6 or 7)
- Sourdough Pancakes (seriously SO GOOD!)
- Sourdough English Muffins
- Sourdough Brownies
- Sourdough Pretzels
- Cinnamon Rolls (the best!)
- Banana Bread
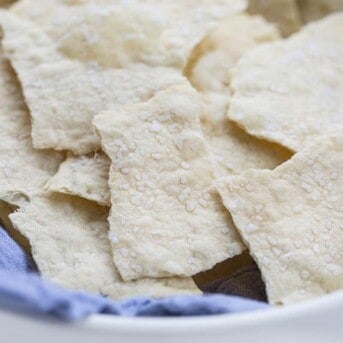
- Sourdough Crackers (like saltines)
- Sourdough Chocolate Chip Cookies
- Sourdough Pasta Noodles
As I mentioned, this is how *I* make a starter. King Arthur recommends 1 cup flour and 1/2 cup water and they suggest you weigh ingredients with a scale. (This is the same equivalent that I use, just doubled.) Pro Home Cooks has a great free downloadable Sourdough guide for those who really want to understand the science behind it.
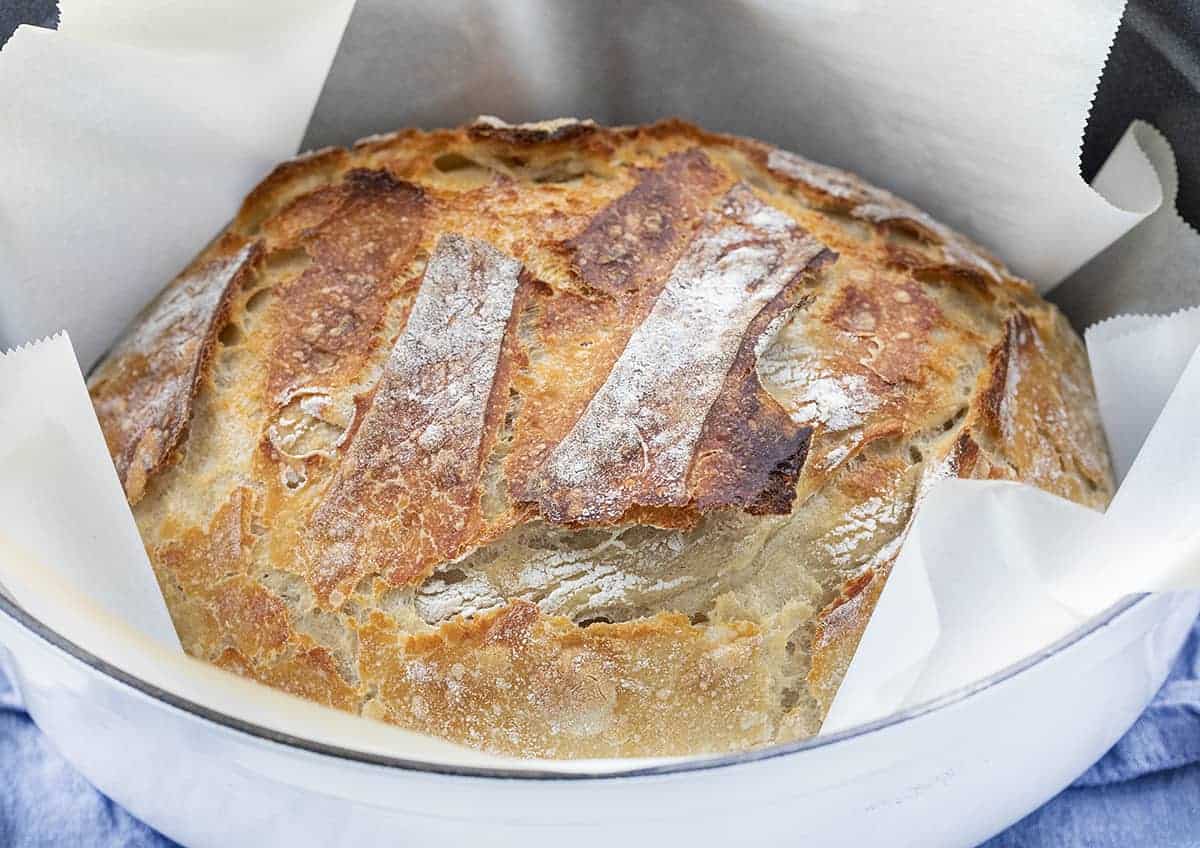
Here is the recipe for Simple Sourdough Bread!
More Sourdough Recipes
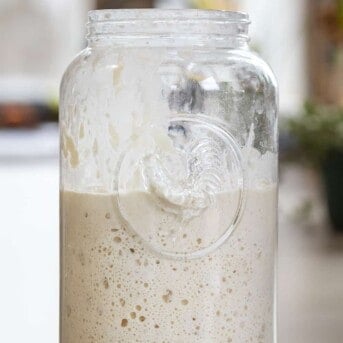
Sourdough Starter
Ingredients
- ½ cup flour, whole wheat or unbleached all-purpose
- ¼-⅓ cup water*, 75°F is ideal
- 1 glass jar, or bowl (about 32 ounces)
- 1 paper towel
- 1 rubber band
Instructions
TO BEGIN
- Start the process by adding ½ cup whole wheat flour and ¼ cup water to the jar. (If you need more flour to reach a pancake batter consistency, you can add up to ¼ cup more.)
THE FIRST FEEDING
- Stir thoroughly and cover with a towel and rubber band. Let sit for 24 hours at room temperature. (Try to keep it in an area of your house that is somewhat warm. Very cool rooms tend to slow the action of a starter.)
- After 24 hours, check the mixture for bubbles. If you see some, add ½ cup all-purpose flour and ¼-⅓cup water. If you don’t see bubbles, give it a stir and let sit 24 more hours.
THE SECOND FEEDING
- Check for bubbles again. If you do see bubbles, remove half of the starter, add ½ cup all-purpose flour and ¼-⅓ cup water and stir thoroughly. Let sit 24 hours.
THE THIRD FEEDING
- Remove half of the starter, and feed with ½ cup all-purpose flour and ¼ cup water, stirring thoroughly. Let sit 24 hours.
ADDITIONAL FEEDINGS
- On days 4, 5, 6 you can feed it 2 times a day, if you want and plan on using it.
- Continue this routine until the starter is consistently bubbling and doubling in size within 8 hours of each feeding.
- From this point (or even on day 5), you can store the starter in the refrigerator and feed it about once per week. When you plan to use the starter, pull it out of the refrigerator 24 hours in advance to feed it and allow it to warm up and grow.
Video
Notes
Did you make this recipe?
You can tag me at @iamhomesteader.
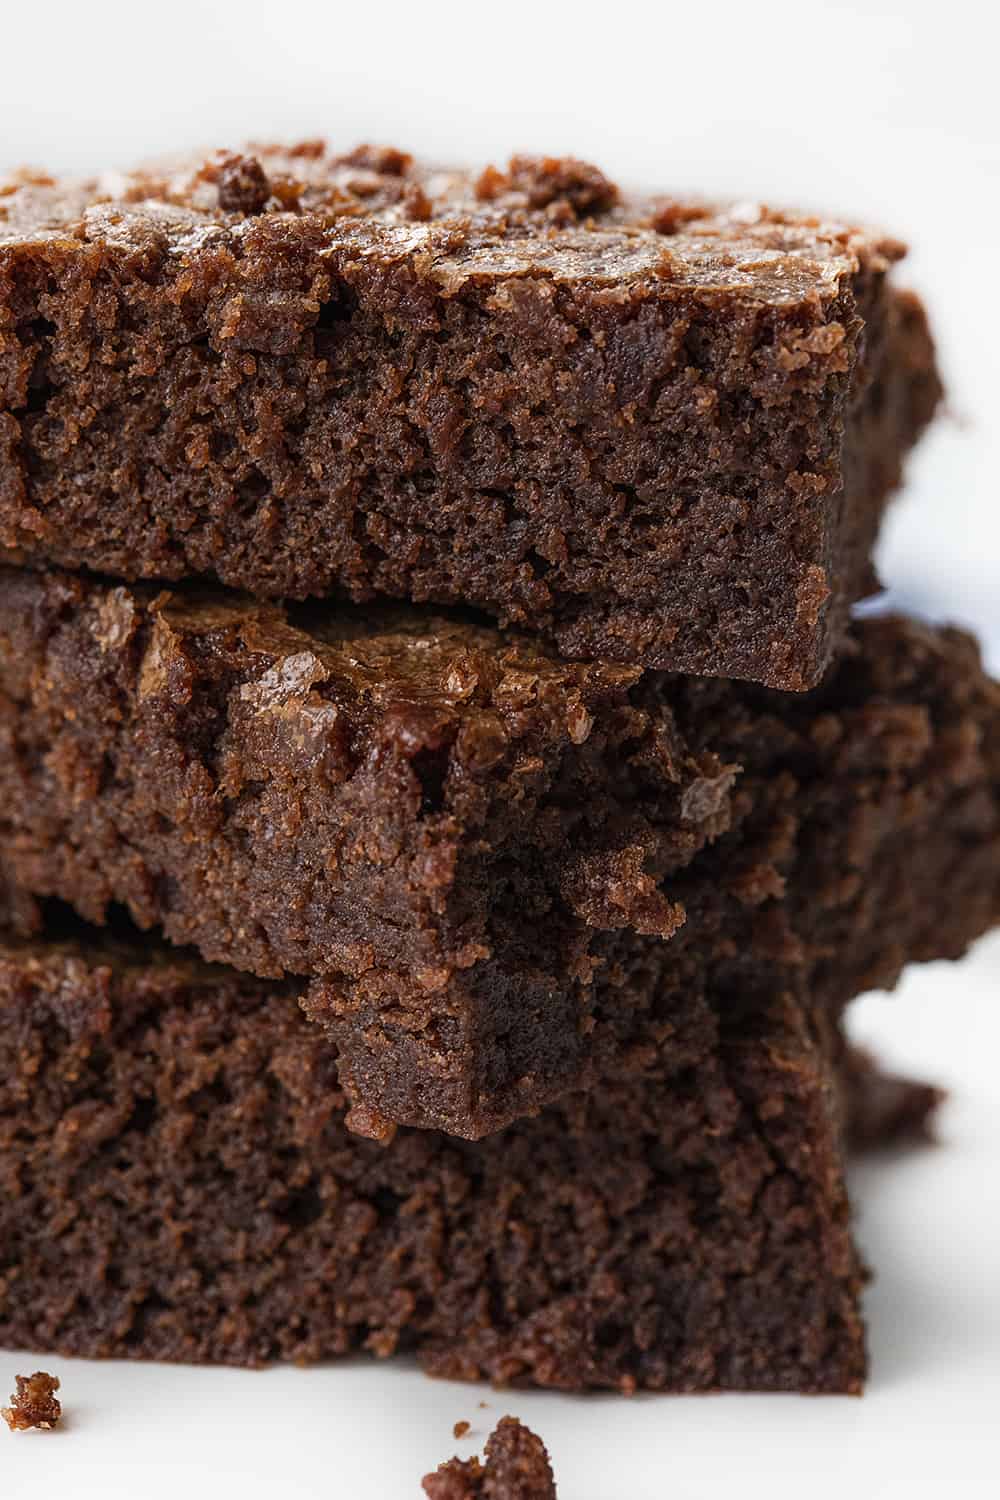
I used this starter to make seriously decadent Chocolate Sourdough Brownies!






I have not made a starter.
Do you use the starter to bake a loaf or only part of the starter? If only part of the starter, how long will the starter last?
I started my starter Saturday night. I did 50g flour and 50g water. Sunday night I added 50g of each again. Tonight I kept 1/4 cup of starter in my jar and added 50g water and 50g flour. Am I doing this right? I read the recipe above and other pages, they all say remove half. With my scale it said 610g and with removing half my jar was completely empty. I’m lost. Please help!!!
You are doing fine! Removing sourdough starter is a maintenance routine that helps manage the size of the starter and refresh its acidity levels. If you don’t remove some of the starter, it will grow too big and be unmanageable. Just remove 1/4 of what is in your jar. 🙂
Does it always smell like vomit? I want to love this process… but the smell…
you said that you can save discard until you have enough for a recipe. Do you keep in refrigerator and do you feed?
If I am not using the discard I will refrigerate it.
First time making starter (2 previous fails) and just did my second feeding. So far so good….I’m just slightly confused by storing discard? Do you just put it back in the fridge and combine until you have enough for your recipe? And how big should my starter be before a feeding…..generally speaking
I have the same questions. My starter isn’t bubbling much so do I just wait to feed?
After the second feeding I got no rise. I have a layer of hootch but no rise. How do I proceed? I’m 12 hours post 2nd feed and I was going to give it til 24 hours and feed again. It was nice and bubbly the first 2 days. Temps are around 75 in my house. Smell is normal.
I noticed in your video that one of your jars looked larger than the 32 oz you recommended. When would you start using a larger one?
Whenever you are comfortable and using it on a regular basis! 🙂
Help! My starter is growing super fast. I’m on day 2 and within 2 hours of feeding it, it grew all the way to the top. What do I do?
Why is my starter growing so fast? I’m on day 2 and just fed it an hour ago and it has already risen about an inch. I’m worried it will reach the top before the end of the 24 hrs.😳
Can you mix all the discard starter together? In other words, can I place today’s discard in the same container with yesterday’s discard?
Yes, you can.
Thank you!☺️
Does the discard go onto the fridge or do you leave it on the counter?
You can put it in the fridge if you are starting a new starter, otherwise is it used in recipes or discarded.
Awsome idea! Finally making this. Looking forward to my own healthy bread! I’m down under in New Zealand ( nit sure where u r based) & its winter so I’d say it’ll take a little longer to make.
Silvia, We keep our house on the cool side. I ended up putting my starter on top of the refrigerator. Warm air rises, so I figured it might work. It DID work! And so I put the starter mix up there all the time now. Hope this idea is helpful!
So I have to add 1/2 cup of water for the pancake consistency. Does anyone else?
Yes…just started day 1 now. Did 1/2 wheat flour and 1/2 water….1/4 was NOT enough…..
Wish me luck.
For day one I had to add extra. Day two it was perfect
What temp of water should you use?
Hi Amanda, I am trying your recipe….I’m on day six but I feel I’m not getting there…my house is a little bit to cold…I’m guessing that’s the reason why…. Will the dough take a little longer to ferment or do I run the risk for it to go bad…? I’m not picking up bad smells but it sure does not smell like sourdough 😅
at least yet😶
Hi Silvia, did you have to add more water? The 1/4 cup was waaay not enough. I had to do 1/2 cup.
Tia.
Kimmie
Can one use oat flour instead of wheat flour? Thank you.
I think so
Do you remove half the starter every time you feed it after day 3?
Do you discard half of the starter on days 4-6 when you feed it?
Haha I just asked the same thing without seeing your reply.
I’m wondering this too. Any response?
I found your video on Pinteest and loved it. I’ve been wanting to start making bread and love sour dough. So glad to find you site. Can’t wait to make my first loaf of bread. Thank a lot…
Sharon
I’m trying this out today,,wish me luck! I would love to know if you have a cookbook out for these sourdough recipes.
You can do it! No book for sourdough recipes, they are all just free here and on iambaker.net