Grilled Corn on the Cob is one of our favorite ways to enjoy corn in the summer. Sweet corn at its peak of freshness, then upgraded with the addition of an amazing herbed butter! If you love fresh summer recipes like this one, you should absolutely add fresh strawberry pie to your dessert menu!

Easy Grilled Corn
Fresh sweet corn on the grill is a weekly meal in the summer. Yes, weekly. We love corn just about any way you can shake it up! Check out jalapeno corn dip, corn and sausage gnocchi, corn casserole, and zucchini corn chowder if you don’t believe me. The subtle crunch and sweetness of this vegetable make it such a versatile ingredient that can be used in a number of different recipes. That being said, my all-time favorite way to eat corn is right off of the cob.

How To Purchase The Best Corn
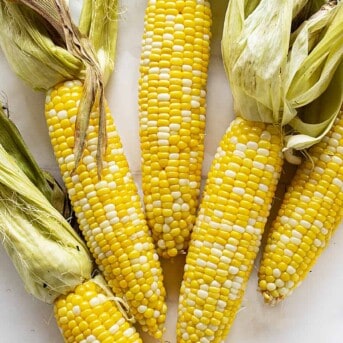
Whatever you do, don’t just throw the ears of corn in a bag without applying a little bit of strategy to your selection. When you are purchasing corn on the cob, the best way to know if you are getting a good ear of corn is by gently peeling back the husks. Peek under the hood, so to speak, to make sure there aren’t any glaring problems like underdeveloped kernels, browning, wilting, or the worst, worms. Ideally, you are looking for plump, bright yellow or bright white kernels. Tightly wrapped, green husks, with light and sticky silk.
Of course, freshly picked is best, so when you can grow it yourself or visit the local farm, that is the best option!

How to Grill Corn on the Cob
Grilling corn is really not that difficult. Even still there is a big debate (some might say controversy!) about which method to use when grilling corn. Believe it or not, there are a few.
Let’s walk through the benefits of each:
Husks On (My Method)
By soaking the corn with the husks on in an ice bath for 20 minutes, you allow the water to saturate the husks, creating a moisture barrier that ensures that the husks protect the corn cob during the grilling process. This prevents burning and creates a juicy and flavorful ear of grilled corn, with no grill lines or smokey char flavor.
Husks Off (Mostly)
This method involves trimming the silk from the top of each ear of corn, essentially preventing it from burning. Additionally, you will peel away the first layer of husks leaving a smaller barrier between the grill and the ear of corn. This method creates a juicy ear of corn, with just a hint of char flavor.
Foiled Corn
For this method, you will remove the husk completely and place it into a foil pouch along with any butter or seasonings you choose. The method is actually very similar to the first, with the foil taking the place of the husk, creating a juicy and flavorful ear of corn. The downside is that you have to clean the ear of corn before you cook it, which can be messy. The upside is that you cook the corn right in the butter which enhances the flavor.

Easy Herb Butter
Why pick regular butter when an herbed butter is SO much better! It is so easy to prepare, and you can refrigerate it if you have leftovers. To make this simple herb butter just mix 1/2 cup of butter with 2 tablespoons of very finely diced chives. We love to use it on bread and for pan cooking too.
You can adjust the herbs to your liking. I have also made this herb butter with fresh rosemary and parsley. In each case, just make sure that you are dicing the herb as fine as possible.
If you are using dried herbs, cut the amount in half. (Dried herbs tend to be stronger.)

How to Season Grilled Corn
Many people will argue that grilled sweet corn, on its own and with no seasonings is perfect. I prefer to add the herbed butter along with a dash of salt and pepper.
Bonus Tip: Want to know TWO of the easiest ways to cook corn on the cob?
Oven: Throw it in the oven at 350°F for 25-30 minutes. That’s it. Leave the husk on, it will trap in the moisture, leaving you with juicy, tender corn. The husk and silk will peel away easily once it’s cooked. Cut off the large end and it slides right out with no silk.
Microwave: Using the same method as above, pop the corn (husk and all) in the microwave for 3 minutes. Add one additional minute for each ear of corn you add (2 ears=4 minutes, 3 ears=5 minutes, etc). Allow the husk to cool for 1 minute, chop off the large end and the corn will slide out with no silk.
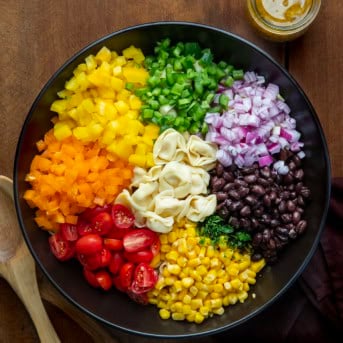
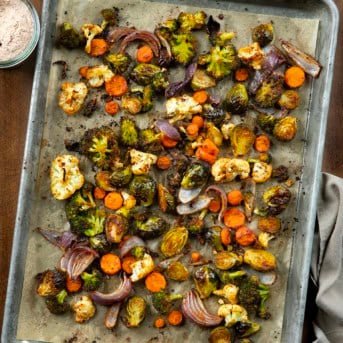
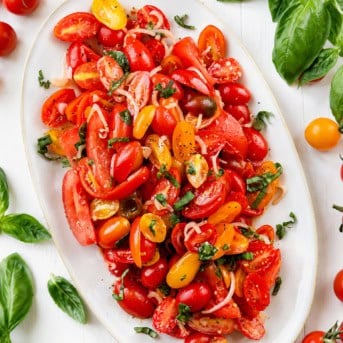
More Side Dishes
Grilled Corn with Herb Butter
Ingredients
Herb Butter
- ½ cup (1 stick) butter, room temperature
- 2 tablespoons fresh chives, finely chopped
Grilled Corn
- 6 ears of corn still in their husks
- salt and pepper to taste
Instructions
Herb Butter
- Place the room temperature butter in a bowl and add in the freshly diced chives. Stir until well combined. Set aside.
Grilled Corn
- Soak the cobs (still in husk) in an ice water bath for 20 minutes.
- Preheat your gas grill to medium heat.
- Gently dry the cobs and place them on the grill.
- Rotate each cob every 5 minutes for a total cook time of 20 minutes.
- Remove from grill.
- Peel back the husks and generously spread each cob with the herb butter.
- Sprinkle with salt and pepper.
Did you make this recipe?
You can tag me at @iamhomesteader.
Did you Make Grilled Corn on the Cob?
I want to hear about it! Take a picture and tag me on Instagram or on Facebook. I would love to see your finished product! Make sure to tag me @iamhomesteader or hashtag #iamhomesteader, or both!

do you leave the husk on?
I soak mine in salt water overnight. The salt makes a crust and seals in the juices. Then all you need is butter
I love it using your method, grilled husks on! Been doing it that way for years! Love it.
I’ve used soaking and putting on grill for years