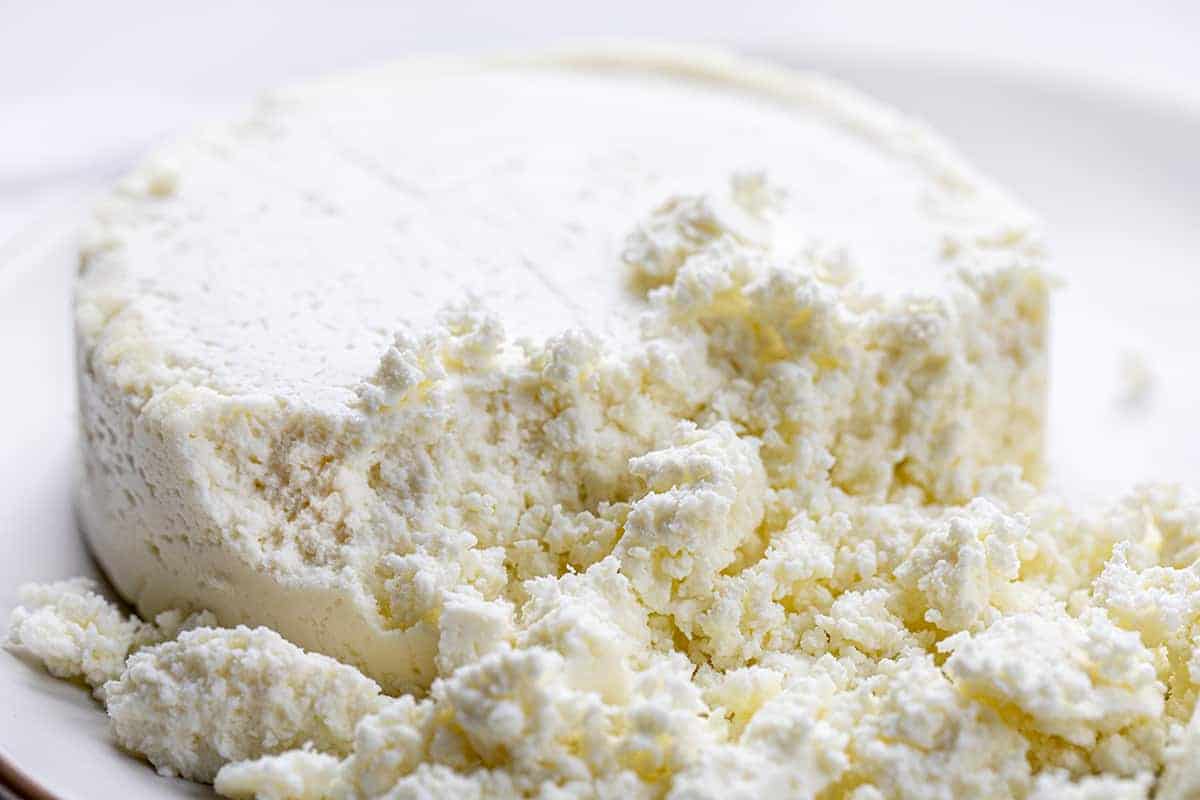
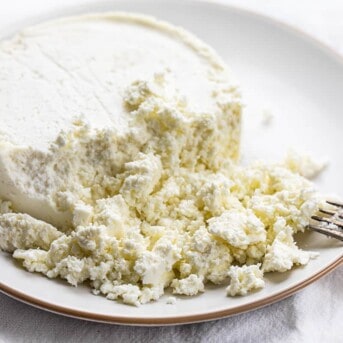
Queso Fresco, or fresh cheese, is a homemade white cheese that is soft and crumbly with a mild flavor that is a great substitute for feta or goat cheese. I decided to tackle this Queso Fresco recipe after making my Shredded Beef Tacos or Lazy Birria Tacos. It’s amazing!
Queso Fresco
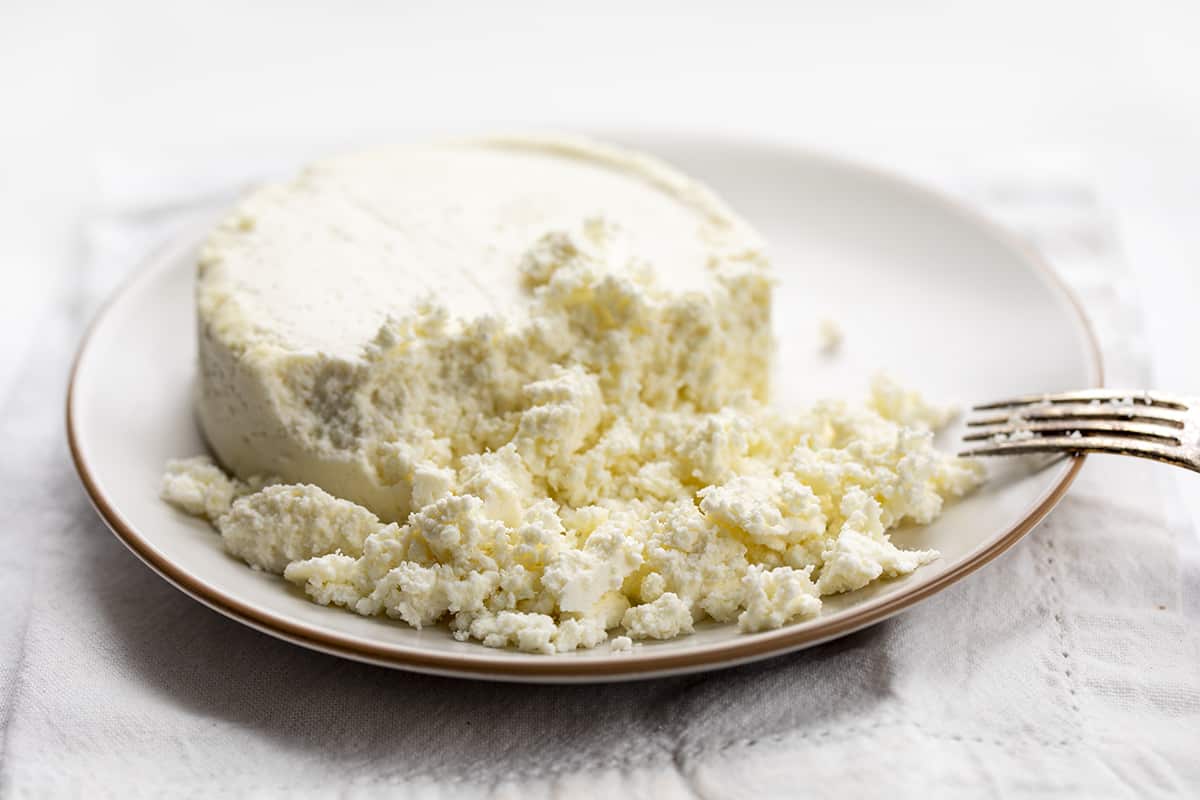
Queso Fresco is a white, milky cheese that is commonly associated with Mexican cuisine. It is made with just three ingredients and a little bit of patience. Milk is heated, acidified with vinegar, and then allowed to curdle before being strained in cheesecloth and stored in loose curd form or pressed. It is a perfect garnish for burrito bowls, tacos, and enchiladas, as well as a substitute for ricotta cheese in some recipes like my Three Cheese Manicotti.
Queso Fresco Ingredients
There are just three ingredients in this recipe. However, make sure you also have some cheesecloths to use for draining the curds. I used these Cheesecloths (affiliate link) – they are inexpensive, reusable, and high-quality!
Milk: I prefer whole milk for the best results. If you only have reduced-fat milk, you could try it, but the cheese will not be as creamy.
Vinegar: Distilled white vinegar is added to the warm milk to acidify the milk, resulting in curdling.
Salt: This cheese does have a little bit of a salty kick, so add kosher salt to the curds after they have been drained.
How to Curdle Milk
As I stated above, you need some patience when making this, but other than that, it is pretty easy! And, homemade cheese is guaranteed to give you fresh cheese compared to processed cheese you would buy. The first step in making cheese is to curdle the milk.
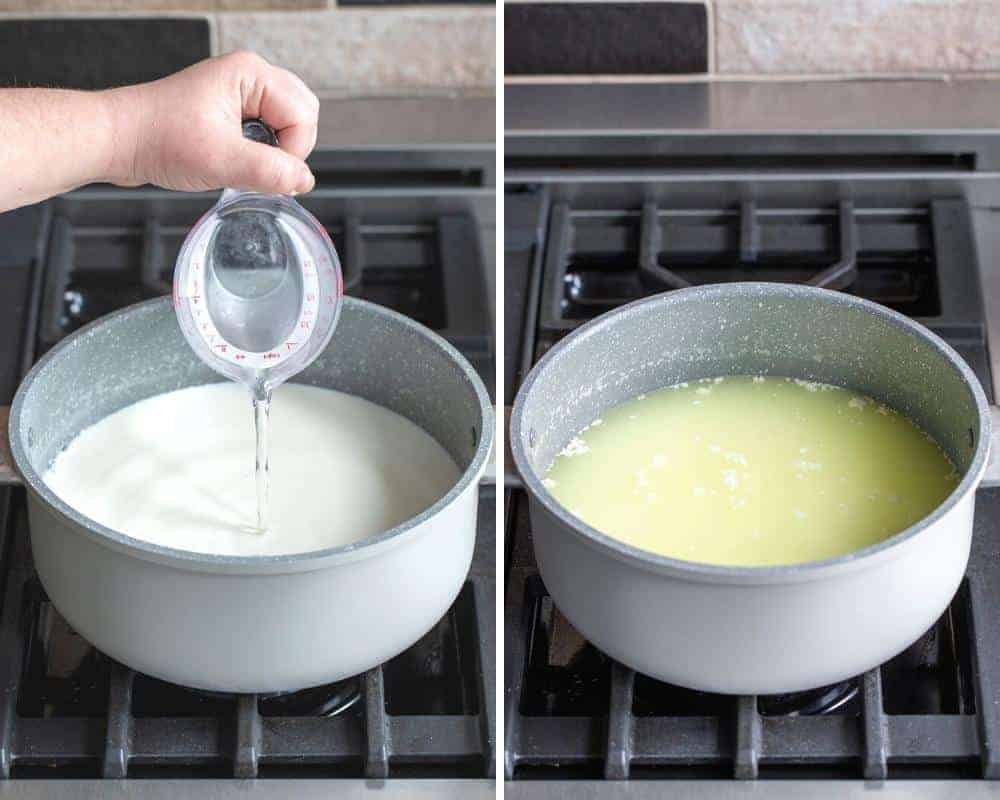
To get started, add the milk to a large, heavy-bottom pot over medium-low heat. Make sure the heat stays at medium-low; if you try to heat up the milk too fast, it could burn. Stir the milk constantly over the heat for up to 30 minutes, or until it reaches a temperature of 180°F-190°F. Remember, slow and steady wins the race; or, in this case, evenly heats the milk without burning it.
When the milk has slowly reached an almost boiling temperature, remove it from the heat and pour in the vinegar. Gently stir the milk and vinegar together for about 5 minutes before letting it rest for about 30 minutes. At this point, the curds will have formed.
How to Make Queso Fresco
Once you have the curdled milk ready to go, follow these steps:
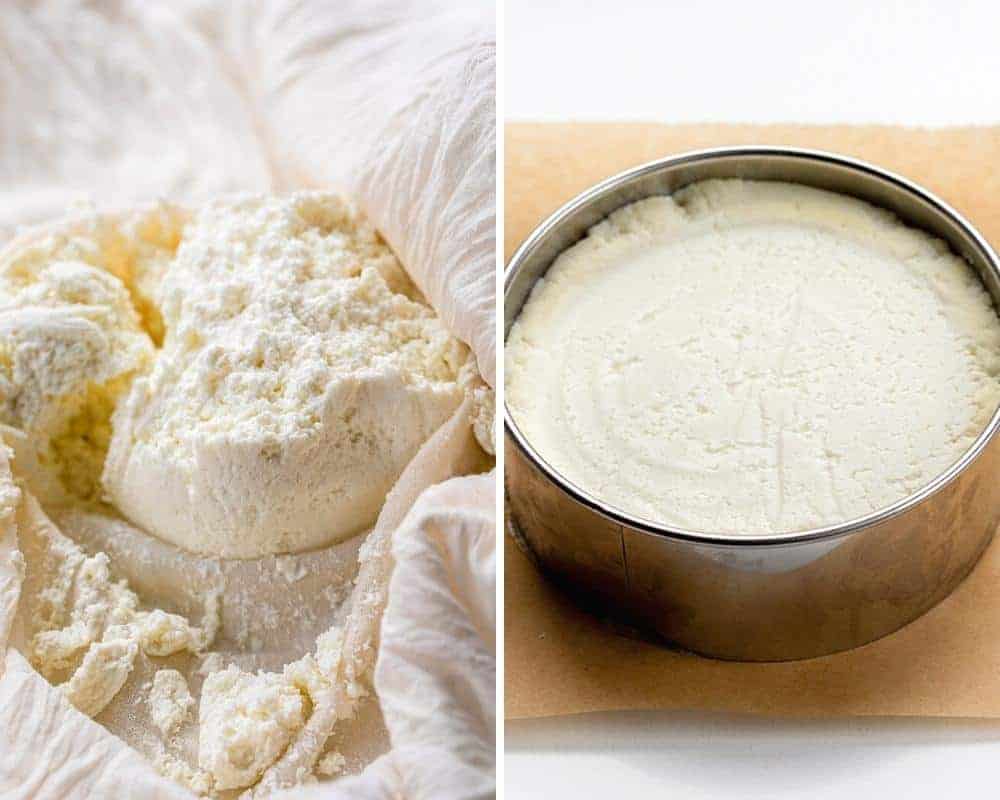
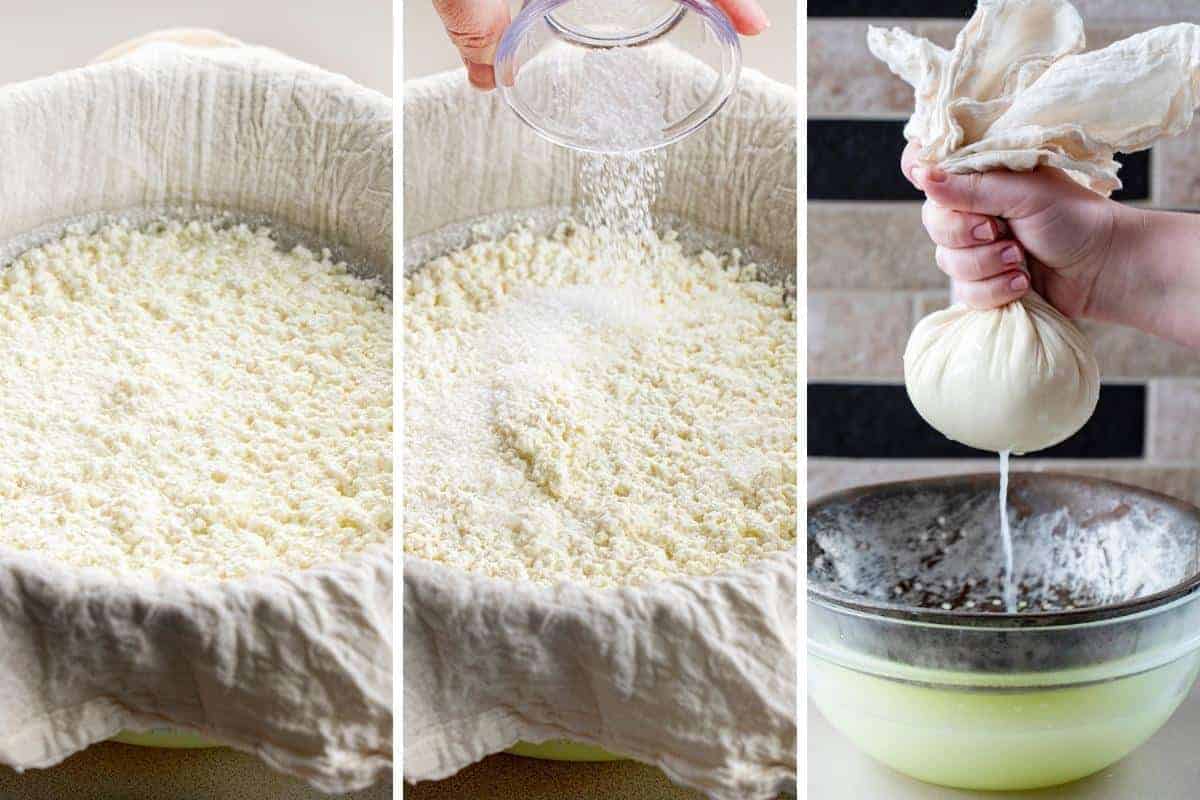
- Place a large colander lined with a couple of cheesecloths over a bowl. The bowl will catch the draining liquid from the curds. (If the cheesecloths have larger holes, stack up to 10 cloths to make the holes as fine as possible.)
- Carefully pour the curds into the cheesecloths, letting the whey (the liquid) drain into the bowl.
- Sprinkle the salt over the curds, stirring them gently.
- After the cheese curds have cooled enough to touch, gather the edges of the cheesecloths together at the top. Twist to drain more of the excess liquid, leaving you with a ball of cheese in the cheesecloths.
- Use a rubber band or kitchen twine to tightly secure the cheesecloth, fully sealing in the queso fresco.
- Finally, suspend the ball of cheese (in the cheesecloth) over the sink or tie it up to a cabinet handle over a bowl. Let it continue to drain for about an hour. (This is optional. We tested without doing the additional drain and had similar results. The quality of your cheesecloth will make a difference.)
Storing and Pressing Queso Fresco
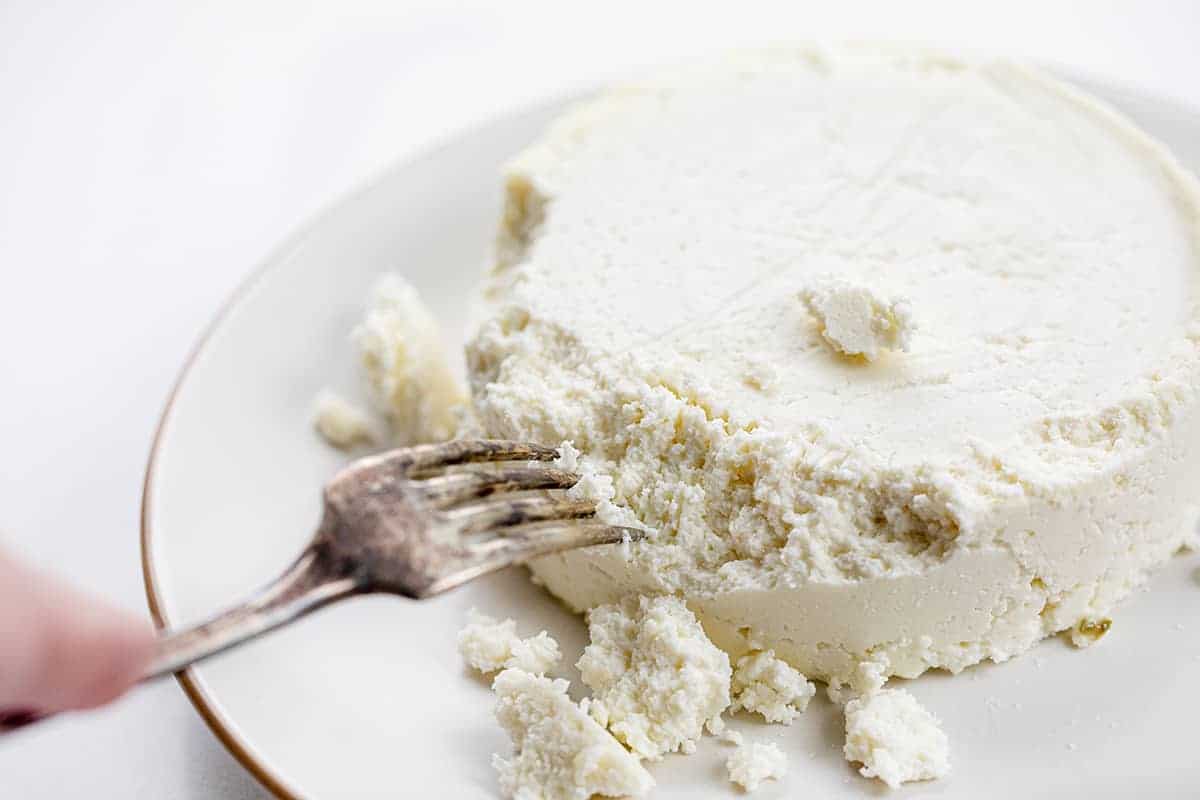
After the final draining, you can store the cheese in its loose form in the refrigerator in an air-tight container. Or, you could press it into a mold and store it that way. To press the cheese, follow these instructions:
- Place a 4 to 5-inch mold on a flat plate or baking sheet. We used a large cookie cutter, but you could use any shape you wanted to use or even a cup, bowl, jar, etc., to mold it.
- Add the curds to the mold and press firmly to the edges.
- Cover the mold (or container used) with parchment paper and top with a 1-2 pound weight that fits inside the mold. We used a mason jar filled with water as our weight.
- Chill the cheese for 3-4 hours, up to overnight.
- After chilling the cheese, be sure to remove it from the mold and wrap it in plastic wrap to store for up to 7 days. (Leaving it in the metal mold for too long can cause the cheese to mold prematurely.)
This recipe made about 12 ounces of cheese.
What is Whey and How Can I Use It?
Whey is the liquid that is drained while curdling milk. You could use it for soups, to braise meats, in place of water for baking, or soaking rice.
More Dip Recipes
Queso Fresco
Ingredients
- ½ gallon (8 cups) whole milk
- ¼ cup (59.5g) distilled white vinegar
- 2 teaspoons kosher salt
Instructions
- In a large heavy-bottomed pot over medium-low heat, add milk and heat, stirring constantly to avoid uneven heating, until it almost boils (between 180°F-190°F). Do not heat too quickly to avoid burning the milk. (This may take up to 30 minutes.)
- Remove from heat and slowly pour in vinegar. You will begin to see small curds forming. Gently stir the mixture for about 5 minutes and then let it rest, untouched, for about 30 minutes.
- Place a large colander lined with 2 large layers of cheesecloth over a large bowl (the cheesecloth should drape over the edges of the bowl). Carefully pour the curds into the cheesecloth, allowing the liquid (whey) to drain into the bowl. Add salt to the curds and stir gently. Please note: If you have cheese cloths with larger openings, you may have to layer up to 10 to make sure the openings are very fine before pouring the curds.
- Once the cheese is cool enough to handle, carefully lift the edges of the cheesecloth and gather them together at the top. Twist to drain more of the excess liquid. You should have a ball of cheese in the cheesecloth.
- Use a rubber band or some kitchen twine to tightly secure the excess cheesecloth, fully sealing in the queso fresco.
- Use the excess cheesecloth to suspend the cheesecloth to the faucet over your sink or a cabinet handle over a bowl. It will continue to drain about for about an hour.
Store and/or Press
- At this point, the cheese can be stored in its loose curd form, or it can be pressed. Give it one more squeeze and place it in an airtight container or press it into a mold.
To Press
- Place a 4 to 5-inch mold, any shape (we used a large cookie cutter) on a flat plate or baking sheet. Add the curds to the mold and press firmly to the edges. Cover the mold with parchment paper and then top with a weight. (Anything that is 1-2 pounds and will fit inside the mold will do; we used a mason jar filled with water.)
- Chill 3-4 hours, up to over night.
- After chilling, remove the cheese from the mold and wrap it tightly in plastic wrap. Store in the refrigerator for up to 7 days.
Did you make this recipe?
You can tag me at @iamhomesteader.
