
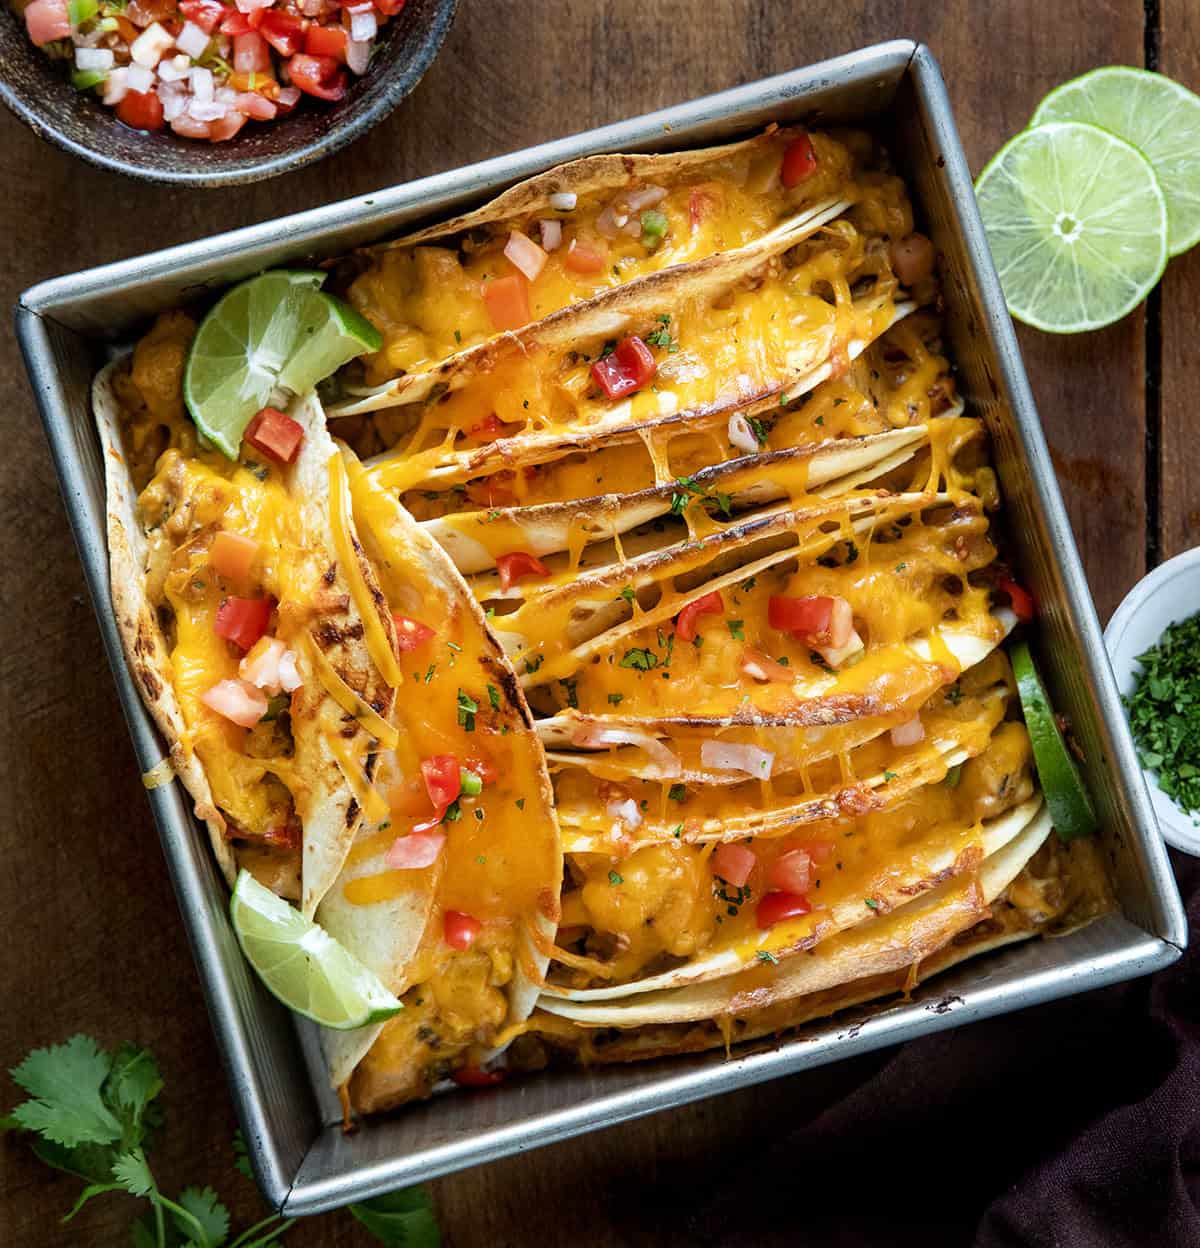
If you’re in a taco mood, these Baked Chicken Tacos are an easy dinner that brings everything together in one cozy, flavorful dish. The chicken is seasoned with my Best Chicken Seasoning (makes every chicken dish better!) and cooked on the stovetop with peppers, corn, and a creamy sauce, then tucked into tortillas, topped with cheese, and baked until golden and bubbly.
A great alternative to my Chipotle copycat Chicken Tacos, this is an easy chicken taco recipe for nights when you want something warm, cheesy, and a little more hands-off.
Ingredients & Substitution
- Chicken: Boneless, skinless chicken breasts (or thighs if preferred), cut into bite-sized pieces.
- Best Chicken Seasoning: This is where the flavor really comes from. It’s bold, savory, and coats the chicken perfectly. (Seriously, it adds SO much flavor!) You can also swap with your favorite taco seasoning or fajita seasoning if needed.
- Olive Oil: Used to coat the chicken before cooking and brushed over the tortillas before baking for a golden, crispy finish.
- Onion, Bell Peppers & Corn: A simple mix that adds sweetness, color, and texture. Any color bell pepper works.
- Jalapeño (optional): Adds heat. Remove seeds for less spice or skip entirely.
- Garlic: Fresh minced garlic adds depth to the filling.
- Cream Cheese: Makes the filling creamy and rich. Neufchâtel cheese for a lighter option, though the sauce won’t be quite as rich.
- Chicken Broth: Helps loosen the sauce so it coats everything evenly. Vegetable broth or even water in a pinch, though broth gives the best flavor.
- Lime Juice: Adds brightness and balances the creamy sauce. Lemon juice works if that’s what you have on hand.
- Flour Tortillas: Soft flour tortillas (I used small tortillas, about 5 inches) that bake up golden and hold everything together.
- Sharp Cheddar Cheese: Melts into a rich, cheesy topping. Monterey Jack or a Mexican blend also works.
Tips for the Best Baked Chicken Tacos
- Don’t overfill the tortillas. It’s tempting, but too much filling can make them harder to fold and can lead to soggy bottoms.
- Cook off excess moisture. After adding the cream cheese mixture, let the filling simmer just until it thickens and coats the chicken. A thicker filling bakes up much better in the oven.
- Warm the tortillas slightly. If your tortillas are stiff, microwave them for a few seconds before assembling so they don’t crack when folding.
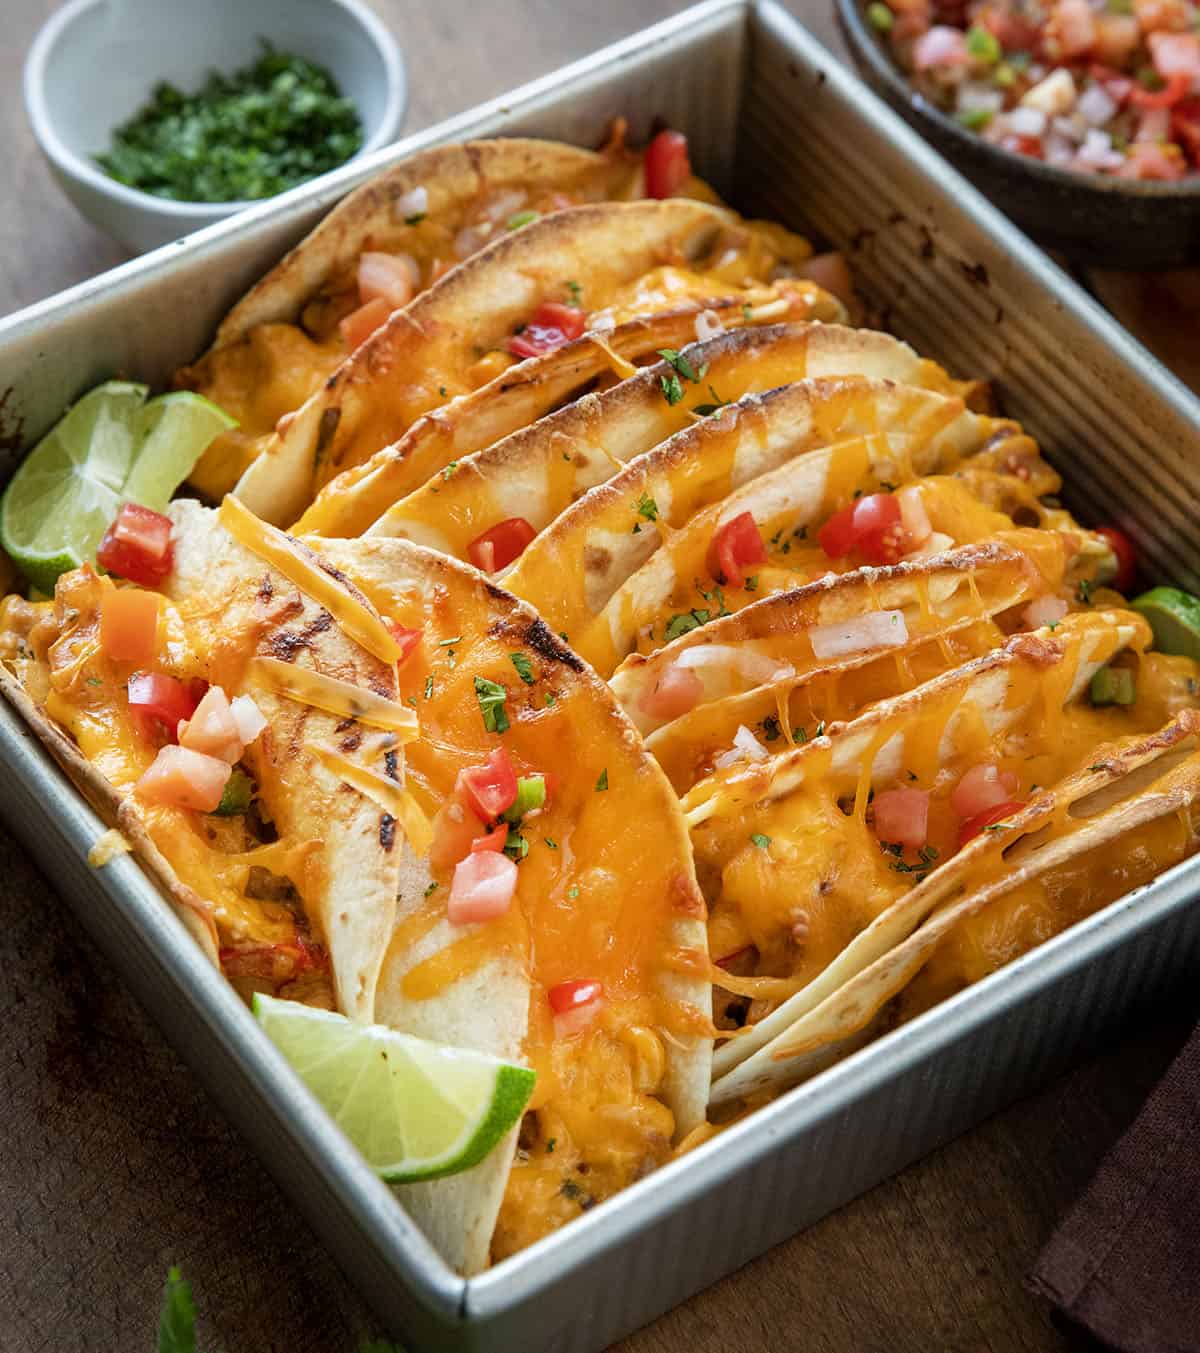
- Pack them tightly in the pan. Nestling the tacos close together helps them hold their shape while baking and keeps the cheese nice and melty.
- Brush the tops with olive oil. This is what helps the tortillas turn golden and crisp in the oven; don’t skip it.
- Bake uncovered at the end. Removing the foil allows the edges to crisp up and the cheese to bubble and brown slightly.
- Serve right away. These are best hot from the oven when the tortillas are crispy, and the filling is creamy and warm.
FAQs
Can I use rotisserie chicken instead?
Yes! It’s a great shortcut. Just skip the stovetop chicken step and stir shredded rotisserie chicken or leftover shredded chicken into the cooked vegetables and sauce. It makes this recipe even faster for busy nights.
Can I use corn tortillas instead of flour tortillas?
You can, but flour tortillas work best here. They hold up better in the oven and get golden and crisp without falling apart. Corn tortillas tend to be more delicate and can crack when folded.
Can I make these ahead of time?
Yes. The chicken filling can be made up to 2 days in advance and stored in the refrigerator. When you’re ready to serve, just assemble the tacos and bake.
How do I keep baked tacos from getting soggy?
The key is not overfilling them and making sure the filling isn’t too wet before assembling. Baking at a high temperature also helps the tortillas crisp up instead of softening.
Can I freeze baked chicken tacos?
I don’t recommend freezing them after baking since the tortillas can soften. However, you can freeze the cooked filling and use it later for quick assembly.
Can I adjust the heat level?
Yes! For a milder version, skip the jalapeño and use a mild seasoning. For more heat, leave the jalapeño seeds in, add extra jalapeño, or finish with hot sauce when serving.
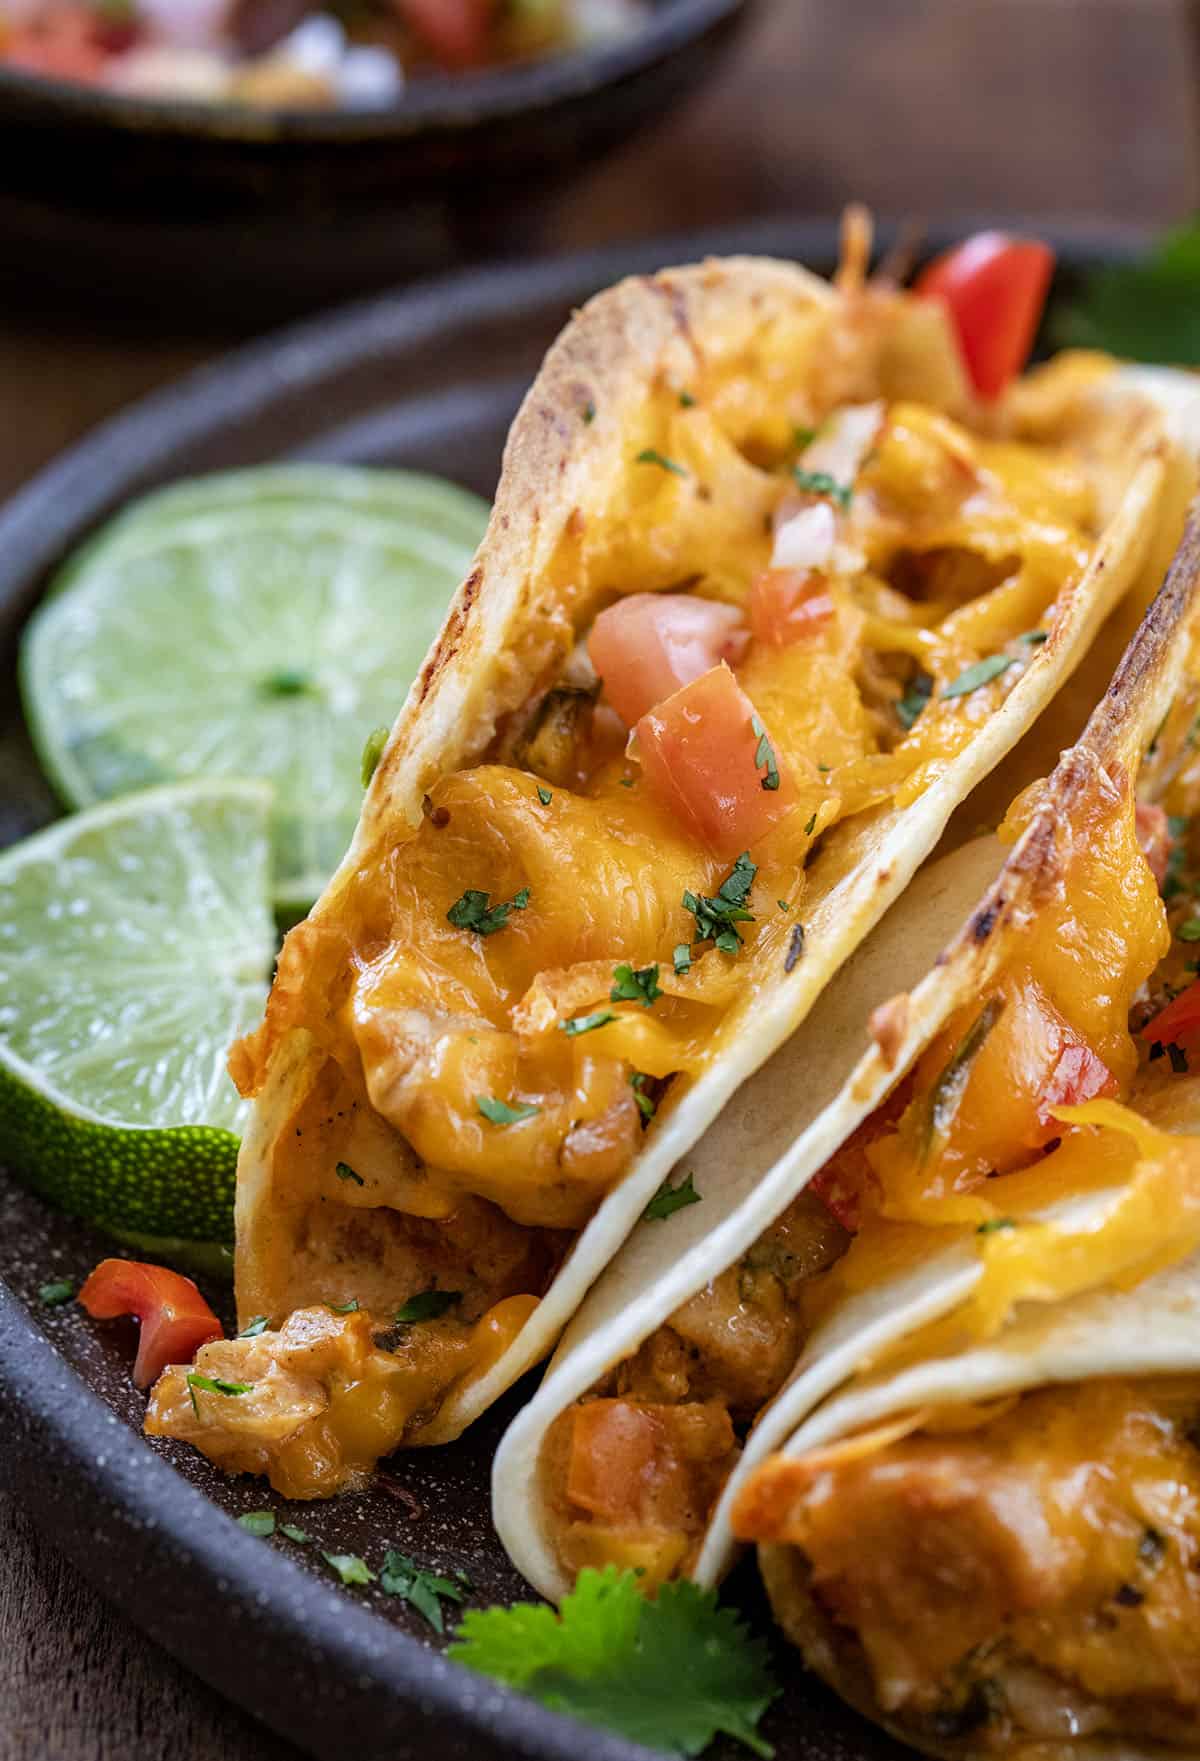
What to Serve With Baked Chicken Tacos
These oven-baked chicken tacos are a full meal on their own, but they pair really well with a few simple sides and toppings:
- Mexican Rice or Cilantro Lime Rice: A classic side that rounds out the meal and soaks up any extra creamy sauce.
- Refried Beans or Black Beans: Simple, hearty, and perfect alongside tacos.
- Pico de Gallo or Roasted Salsa: Adds freshness and a little brightness to balance the creamy filling.
- Guacamole or Sliced Avocado: Creamy, cool, and always a good match with baked tacos.
- Chips and Dip: Serve tortilla chips with salsa, skillet queso dip, or guacamole for an easy starter or side.
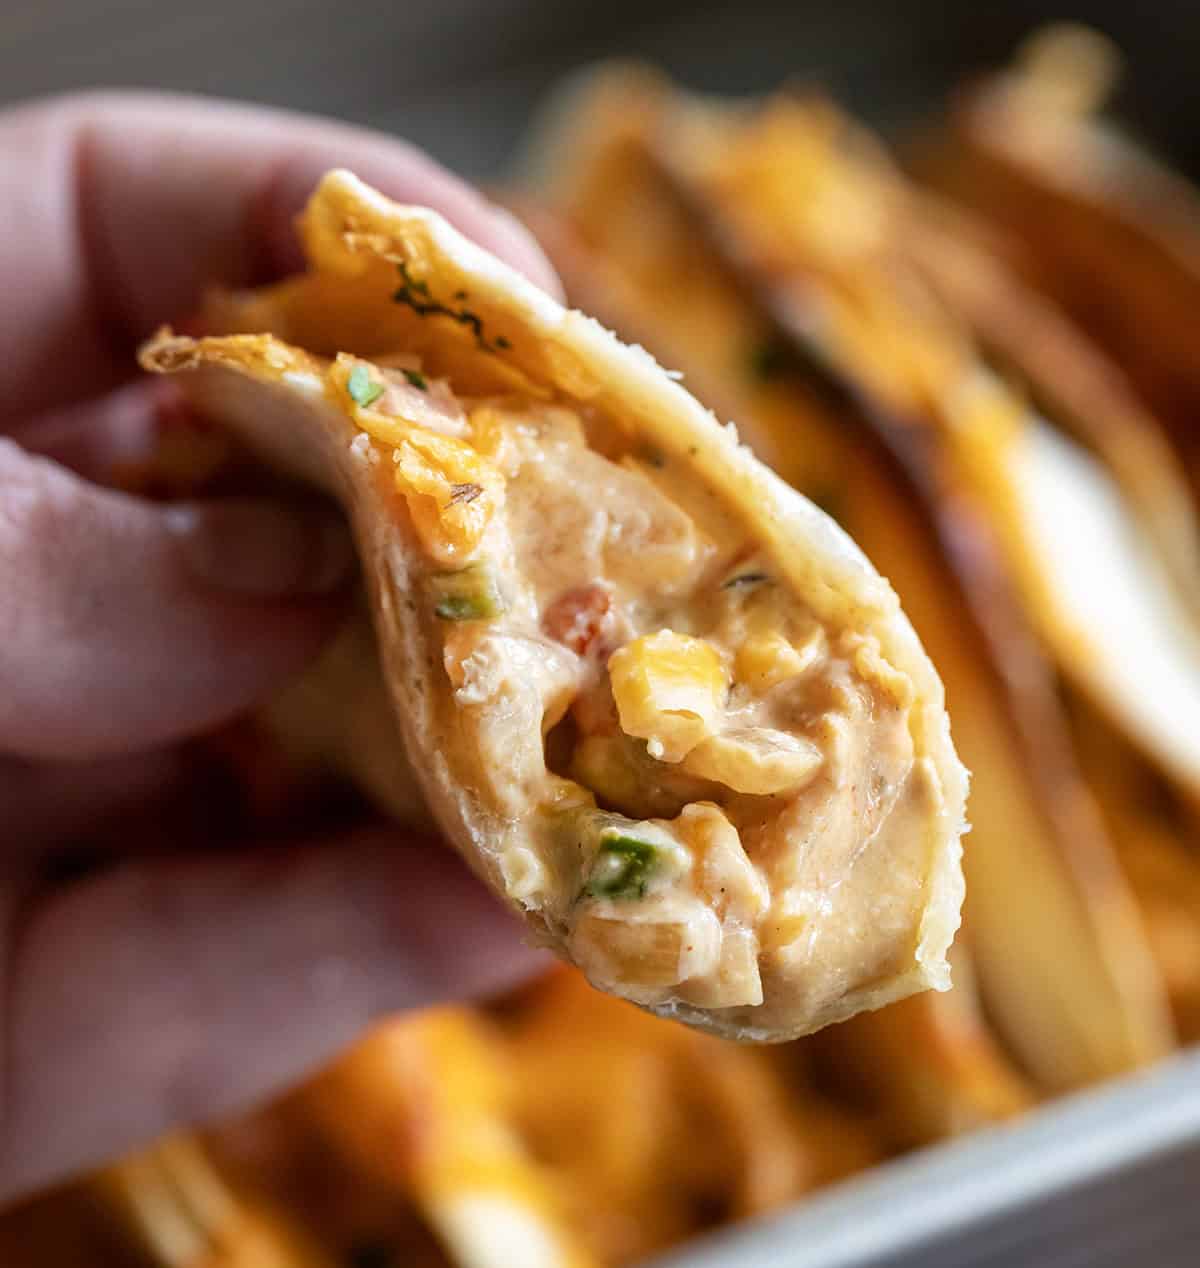
How to Store Baked Chicken Tacos
Refrigerator: Store any leftover tacos in an airtight container in the refrigerator for up to 3 days. For best texture, reheat in the oven or air fryer so the tortillas crisp back up.
Reheating: Warm in a 350°F oven for about 10 to 15 minutes, or until heated through. You can also use an air fryer for a quicker option with crispier results. The microwave works in a pinch, but the tortillas will be softer.
Make-Ahead Tip: The chicken filling can be made up to 2 days ahead and stored separately in the fridge. Assemble and bake the tacos right before serving for the best texture.
Freezing: I don’t recommend freezing assembled tacos, since the tortillas can become soft. However, the cooked chicken filling freezes well for up to 2 months. Thaw in the fridge overnight before using.
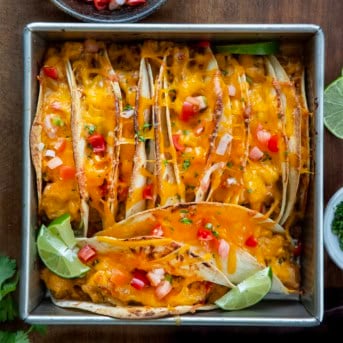
Baked Chicken Tacos
Ingredients
Chicken Filling
- 1 pound boneless skinless chicken breasts, cut into bite-sized pieces
- 1 tablespoon olive oil
- 2 tablespoons Best Chicken Seasoning
- 1 small yellow onion, diced
- 1 red bell pepper, diced
- 1 orange bell pepper, diced
- ½ cup (82.5 g) corn kernels
- 1 medium jalapeño, seeded, finely chopped (optional)
- 2 teaspoons garlic, minced
- 4 ounces cream cheese, softened
- ¼ cup chicken broth
- 1 tablespoon fresh lime juice
For Assembly
- 10 small (5 to 6-inch) flour tortillas
- 1 ½ cups (169.5 g) sharp cheddar cheese, shredded
- Olive oil, for brushing the tortillas
For Serving (Optional)
- Sour cream
- Pico de gallo
- Fresh cilantro
- Avocado
- Lime wedges
Instructions
- In a bowl, toss the chicken pieces with olive oil and Best Chicken Seasoning until evenly coated.
- Heat a large skillet over medium heat. Add the chicken and cook for 6 to 8 minutes, stirring occasionally, until the chicken is browned and reaches an internal temperature of 165°F.
- Add the onion, bell peppers, corn, and jalapeño (if using). Cook for 3 to 4 minutes, until the vegetables begin to soften. Stir in the garlic and cook for 1 more minute.
- Reduce heat to low. Add the cream cheese, chicken broth, and lime juice. Stir until the cream cheese melts and forms a creamy sauce that coats the chicken and vegetables. Let simmer 1 to 2 minutes until slightly thickened, then remove from heat.
- Preheat oven to 425°F. Lightly spray an 8×8-inch baking dish with nonstick cooking spray.
- Spoon the chicken mixture into each tortilla, sprinkle with cheddar cheese, and roll or fold slightly. Place them tightly into the baking dish so they hold each other upright.
- Lightly brush the tops of the tortillas with olive oil. Cover loosely with foil and bake for 10 minutes. Remove foil and bake an additional 8 to 12 minutes, until the cheese is melted and the tortilla edges are golden and crisp.
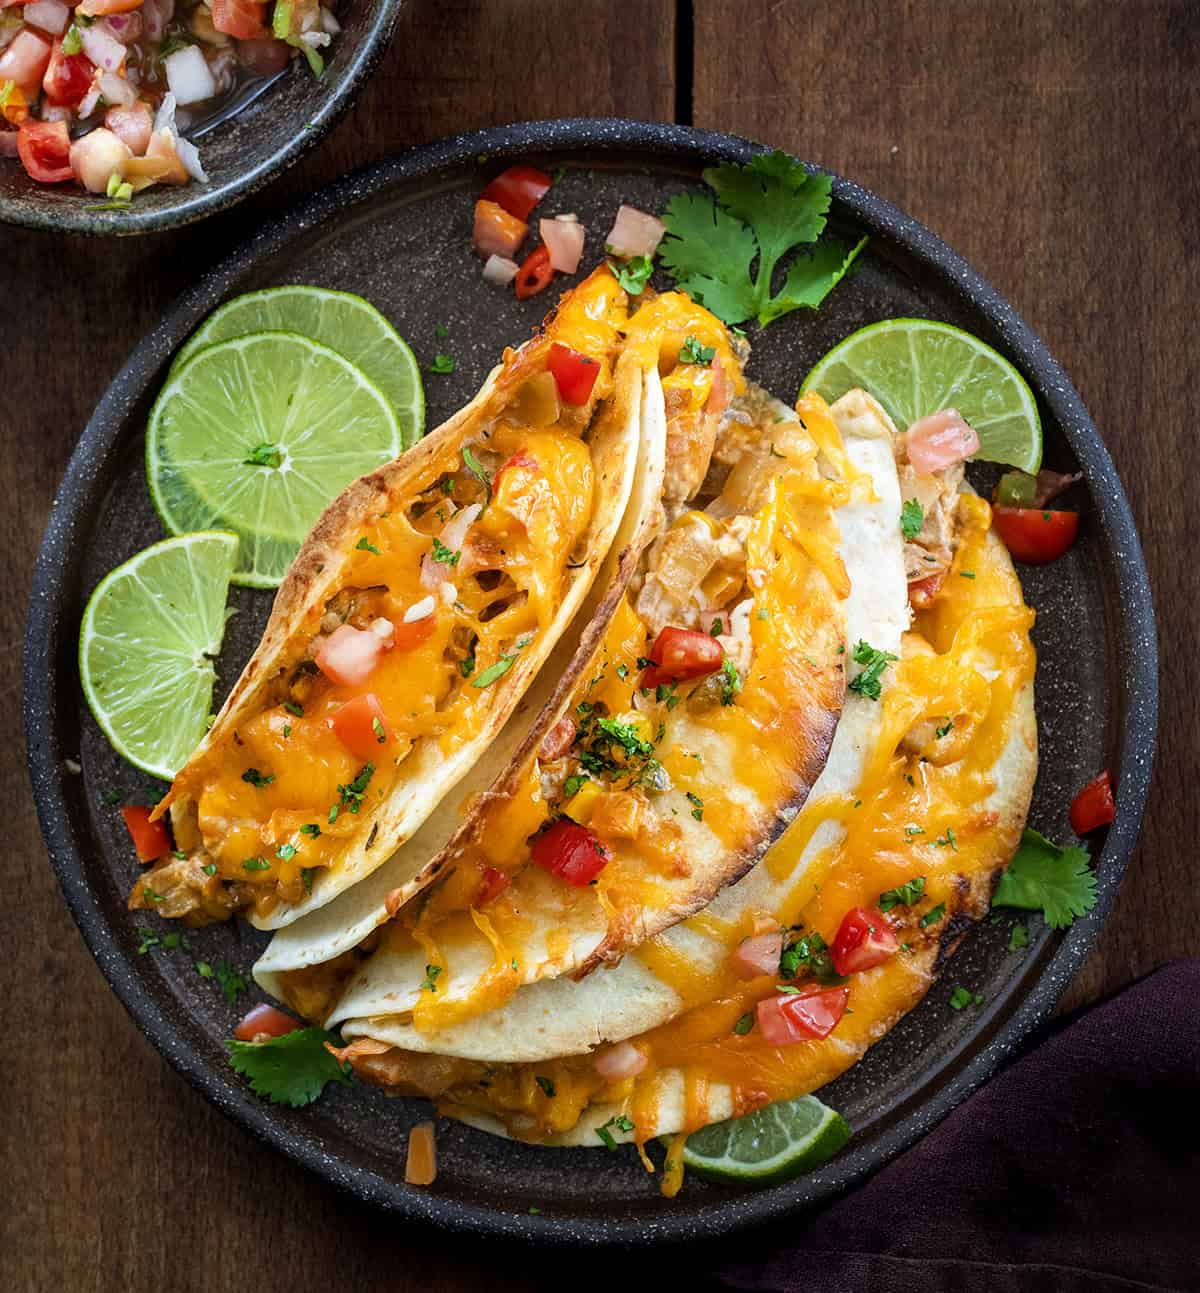
- Serve warm with sour cream, pico de gallo, cilantro, avocado, and lime wedges.
Did you make this recipe?
You can tag me at @iamhomesteader.