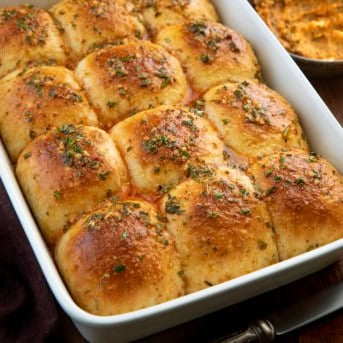
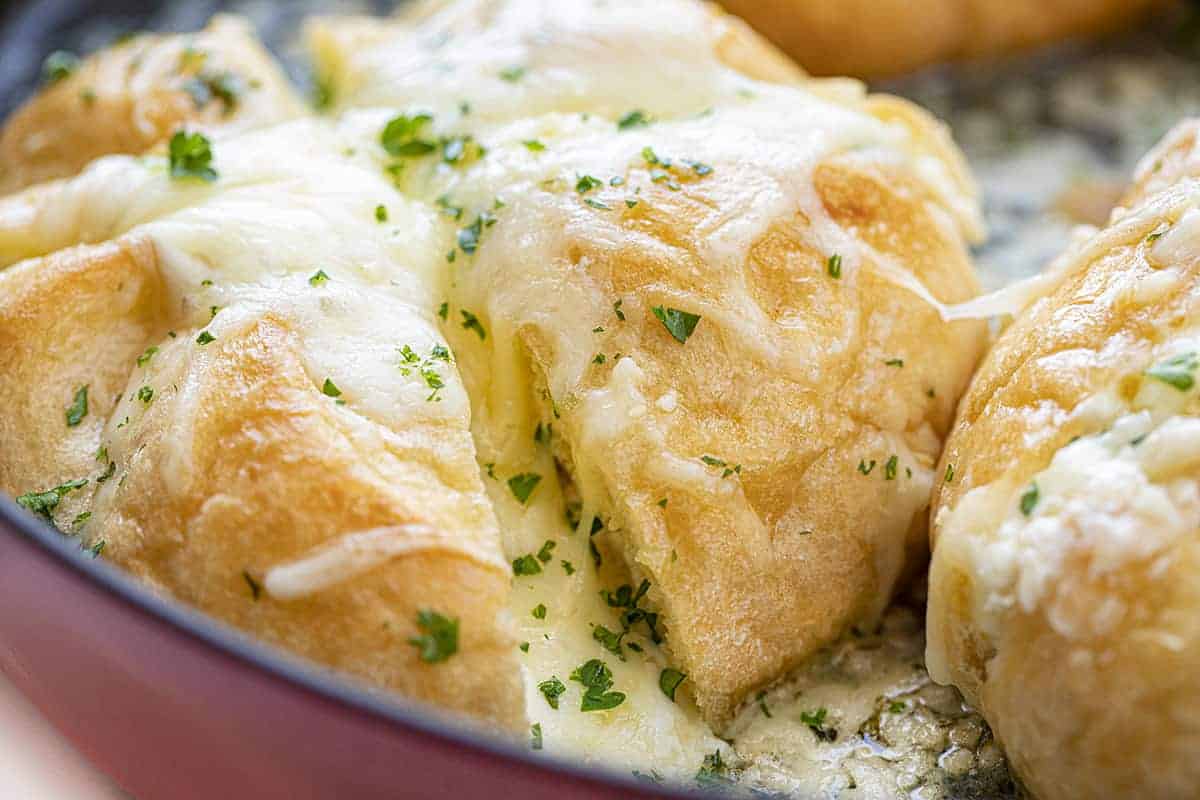
Cheesy Garlic Bread is an individual serving roll that is filled with a garlicky cheesy center and layered with garlic butter and more cheese before being baked to a golden brown. They are meant as individual servings but are big enough for 2 folks to share and definitely a step up from traditional garlic bread. Try my Spicy Country Cheese Bread for another cheesy snack bread.
Ingredients & Substitutions
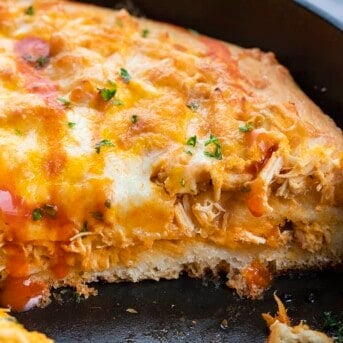
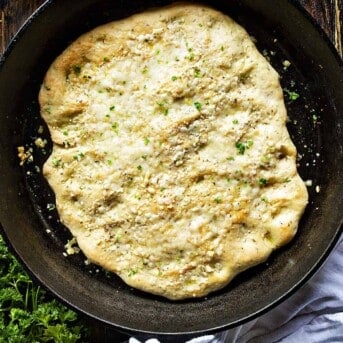
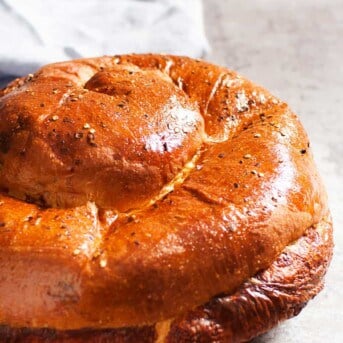
Rolls: I recommend Kaiser rolls, otherwise known as Vienna or hard rolls. They are a bit bigger than standard hamburger buns and are bought uncut. You could also use my homemade bread rolls for this recipe. Keep the bread bowl recipe on hand for Jalapeno Popper Pull Apart Bread and Buffalo Chicken Pull Apart Bread, too!
Filling: The filling is a rich and cheesy mixture made with cream cheese, heavy whipping cream, lemon juice, parsley, and shredded mozzarella cheese.
Garlic Butter: The garlic butter really puts these rolls over the top when it comes to the garlicky flavor.
Assembling and Baking Cheesy Garlic Bread
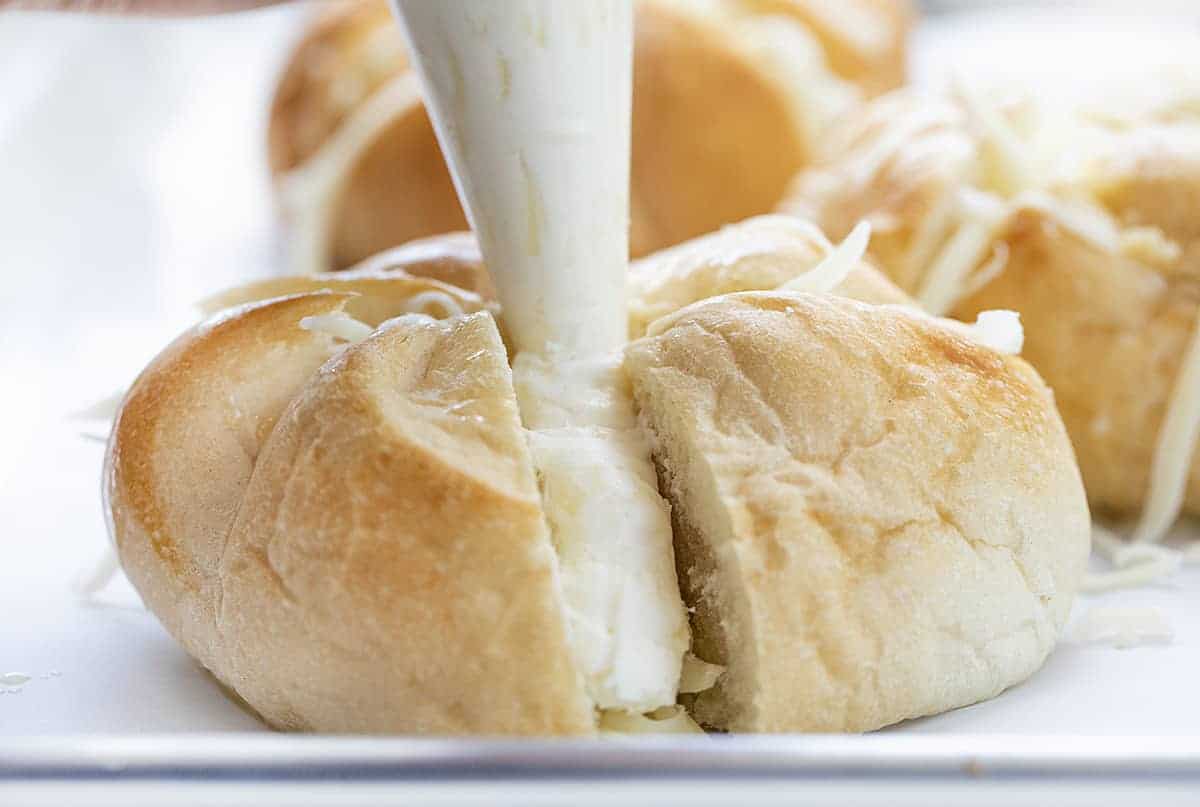
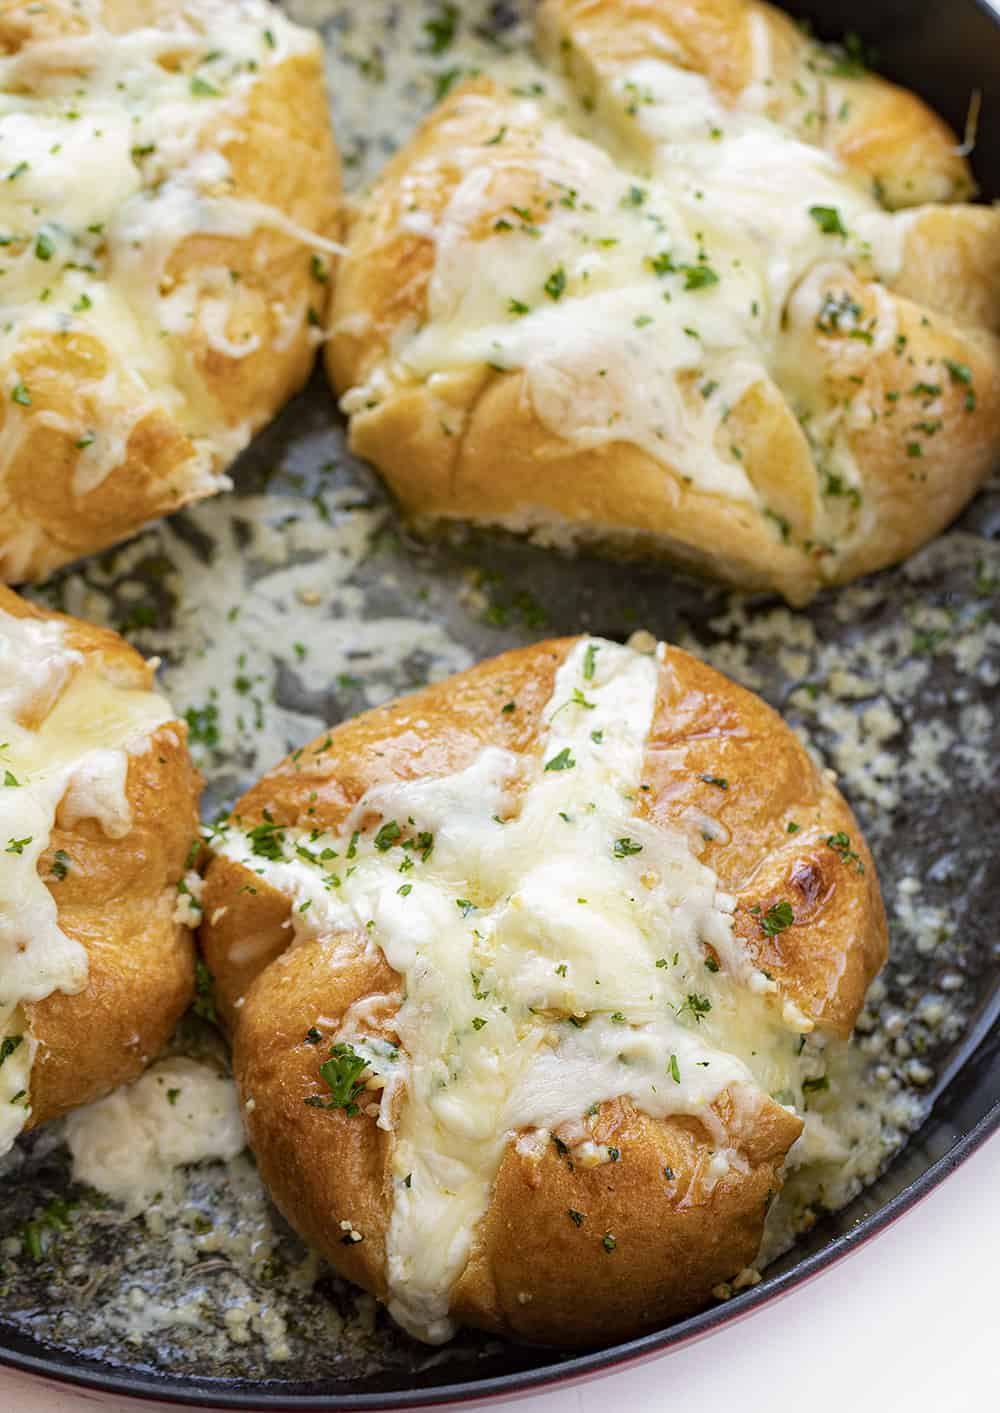
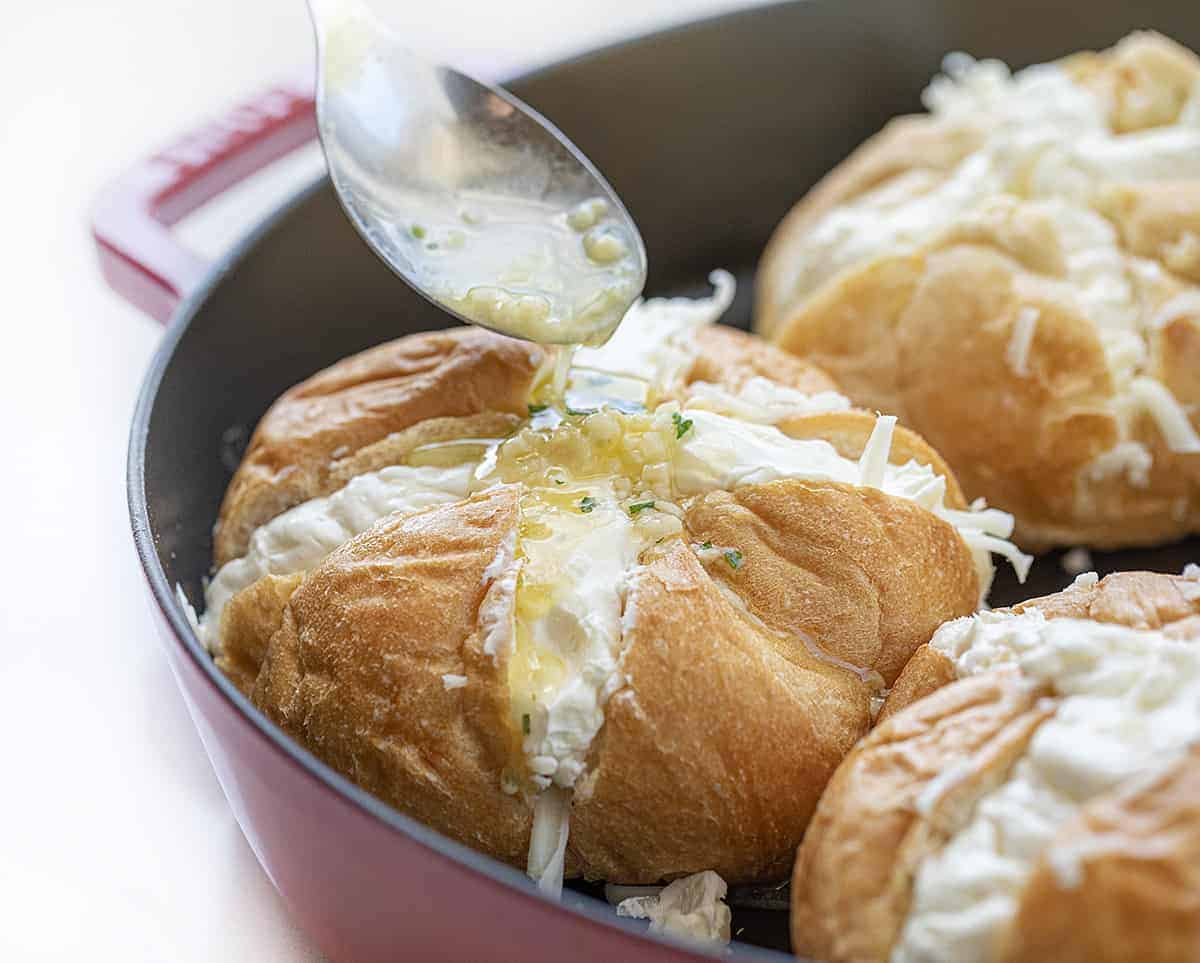
First, make two lengthwise cuts on the tops of each roll so you have four wedges, but don’t cut all the way through the bread or your cheesy layers will not stay in! Begin filling the rolls with the reserved shredded mozzarella cheese. Use about 1/8 cup of cheese for each roll to start.
Next, pipe in equal amounts of the cream cheese mixture in each roll, using all of it. Then, pour half the garlic butter equally over the four rolls. Top with another 1/8 cup of mozzarella cheese in each roll and the other half of the garlic butter. Bake for 7-10 minutes at 350°F, or until golden brown. I baked all four in a large (15-inch) oven-safe skillet, but you could also use a parchment-lined baking sheet as well. Garnish with parsley before serving.
How to Serve Cheesy Garlic Bread
This cheesy bread is definitely a rich and filling bread that can easily be cut in half, or even in fourths, before serving. For serving size, I said 8 servings in the recipe, and that is if everyone ate half a roll. This bread would be delicious with Spaghetti and Meatballs or as a side of bread for any main dish.
Can I Make This Ahead of Time?
Yes! You can certainly get the filling and the garlic butter made ahead of time. Store the cream cheese filling in an airtight container in the refrigerator for up to 2-3 days. Store the garlic butter it in an airtight container in the refrigerator for up to 1 week. Reheat the butter in the microwave or on the stovetop before using it in the recipe. And, if you are making your own rolls, those can also be made in advance.

How to Store Cheesy Garlic Bread
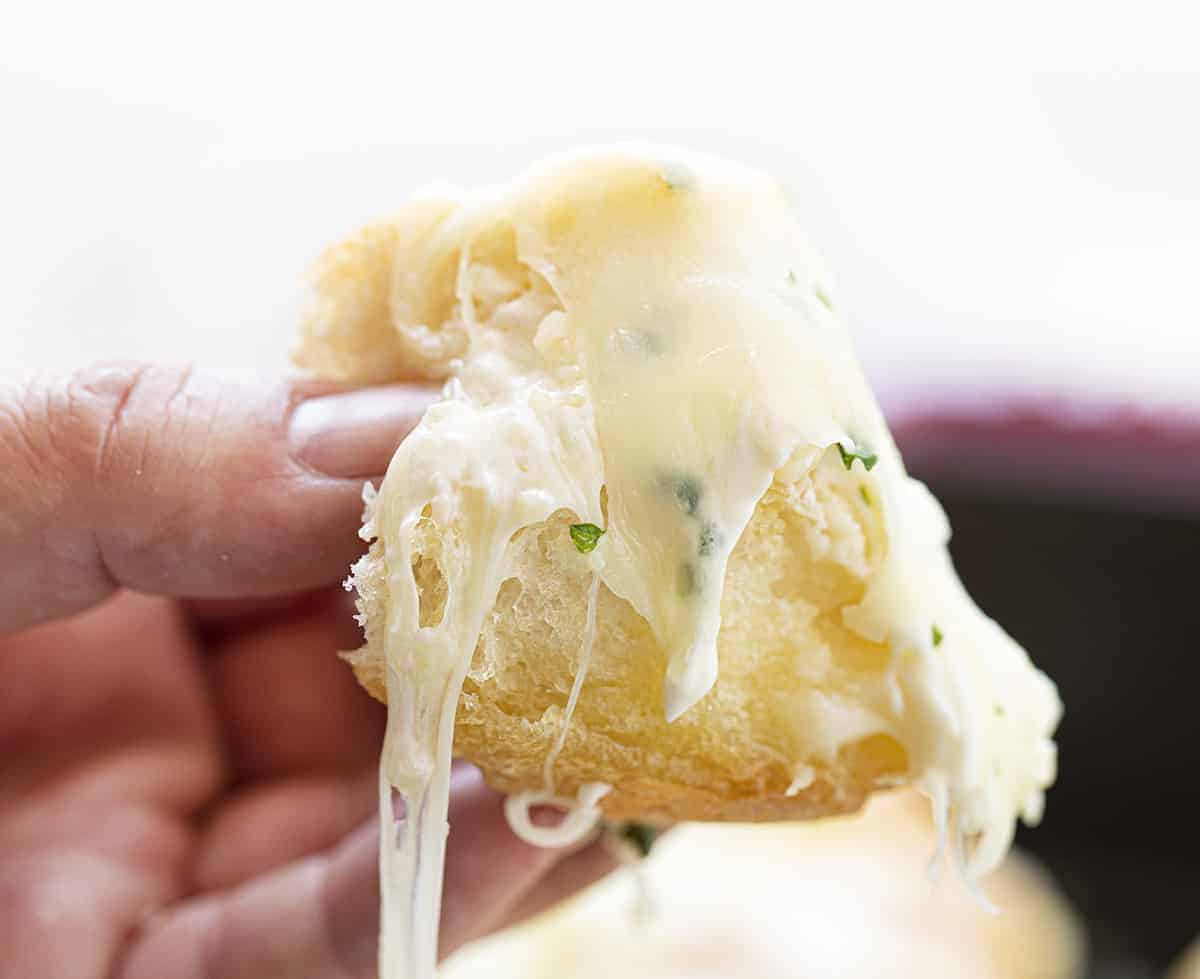
Although best served fresh, you could store the garlic rolls for a few days. To store the leftover cheesy garlic rolls, first, let them cool completely. Next, wrap them tightly in plastic wrap or place them in an airtight container and store them in the refrigerator for up to 2-3 days. When you’re ready to reheat them, you can either reheat them in the oven or microwave until they’re warm and gooey.
More Bread Recipes

Cheesy Garlic Bread (Individual Portions)
Ingredients
- 4 round (5-6 inch) rolls
CREAM CHEESE FILLING
- 1 package (8 ounces) cream cheese, room temperature
- 2 tablespoons heavy whipping cream
- 2 teaspoons lemon juice
- 1 teaspoon parsley, minced (optional)
- 2 cups mozzarella cheese, shredded, divided
GARLIC BUTTER
- 1 cup (2 sticks / 227 g) unsalted butter, melted
- 2 tablespoons garlic, minced
- 1 teaspoon Kosher salt
- 1 tablespoon parsley, minced
Instructions
- Preheat oven to 350°F.
CREAM CHEESE FILLING
- Beat the cream cheese with a hand mixer until creamy.
- Add the heavy whipping cream, lemon juice, and parsley and continue to beat until the mixture is smooth.
- Fold in one cup of the mozzarella cheese, reserving the other cup for layering.
- Transfer the mixture to a piping bag and chill in the fridge while you prepare the garlic butter.
GARLIC BUTTER
- In a medium bowl combine butter, garlic, salt, and parsley. Stir until well combined.
ASSEMBLY
- Make two lengthwise cuts on the top of the rolls (like an X), making sure that the base of the bread remains attached (not cutting all the way through).
- Place the cut rolls into a large, 15-inch oven-safe skillet. You could also use a parchment paper-lined baking sheet.
- Begin by filling each roll with ⅕ cup shredded mozzarella cheese.
- Pipe the cream cheese mixture equally into each roll. To do that fill up a plastic bag (or piping bag) with the cream cheese mixture and then twist it on top to avoid spillage. Cut off the top so that you can easily pipe the cream cheese mixture between the bread wedges. You can also apply with a knife, just be careful with the bread.
- Pour half the garlic butter sauce equally on each roll on top of the cream cheese mixture.
- Add another ⅛ cup of mozzarella cheese.
- Top with the remaining garlic butter. I like to spoon it over so that you can get all the delicious garlic bits on each roll.
- Bake for 7-10 minutes, or until golden brown. Top with parsley, for garnish.
Video
Did you make this recipe?
You can tag me at @iamhomesteader.
